This article was co-authored by wikiHow staff writer, Nicole Levine, MFA. Nicole Levine is a Technology Writer and Editor for wikiHow. She has more than 20 years of experience creating technical documentation and leading support teams at major web hosting and software companies. Nicole also holds an MFA in Creative Writing from Portland State University and teaches composition, fiction-writing, and zine-making at various institutions.
This article has been viewed 233,336 times.
Learn more...
The HP Deskjet 5525 is an all-in-one printer, copier, and scanner. The scanning function allows you to scan directly to an inserted memory card, scan and attach the photo or document via email, and scan wirelessly to your computer. This is a great feature for when you need to access and display physical documents, photos, or papers on your computer.
Steps
Setting Up Your Printer
-
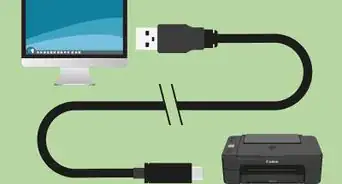
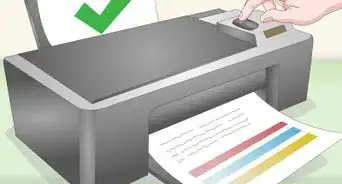
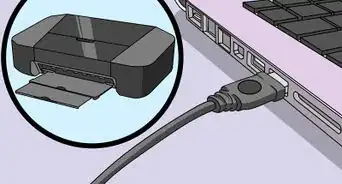
1Turn on your printer. Make sure it is plugged into a power source and press the power button to turn it on.
-
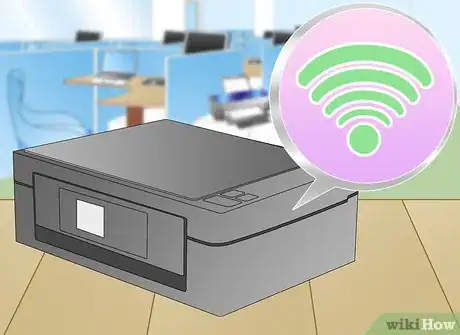
2Make sure your printer’s connected to the same Wi-Fi network as your computer. You'll need to access the control panel, Wireless Wizard set up, then follow the instructions to connect.Advertisement
-
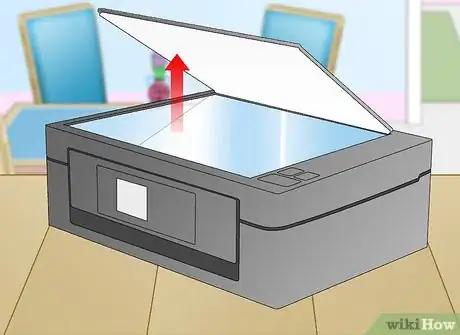
3Open the printer’s flatbed scanner. Merely lift it up away from the printer.
-
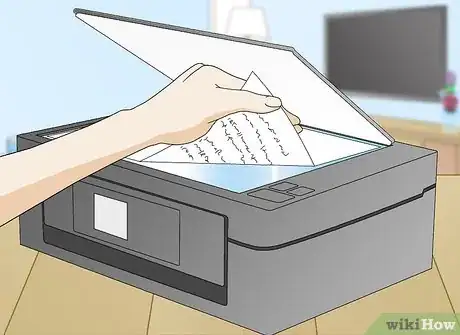
4Add your document. Lay, facing down, the document or photo you will be scanning.
Scanning from Your Computer
-
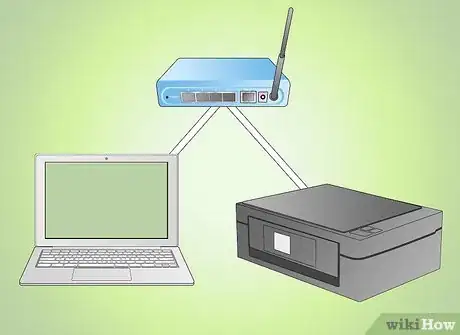
1Turn on your computer. Make sure you’re connected to the same Wi-Fi network as your printer.
-
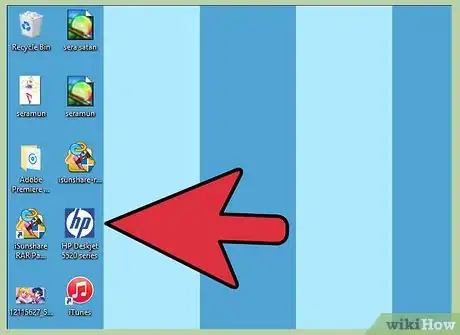
2Open the HP Deskjet application. From your computer desktop, click on the Start menu then Programs. Look for the HP Deskjet 5520 series program or HP Scan link. The program will load and then detect the connected printer in your network.
-
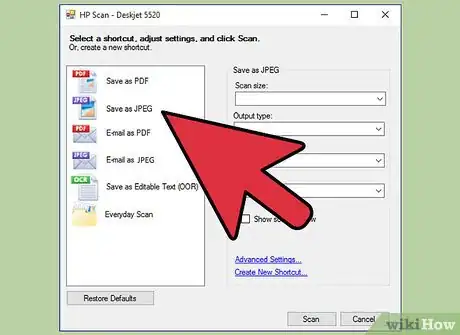
3Select a shortcut. From the left panel, you can see a list of available scan settings for the most common scanning tasks or types.
-
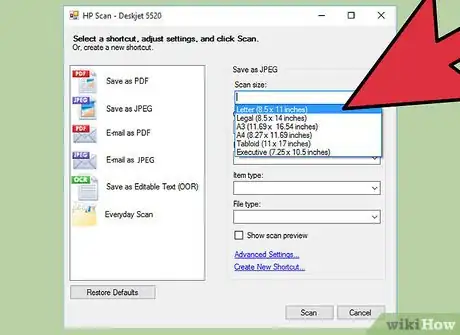
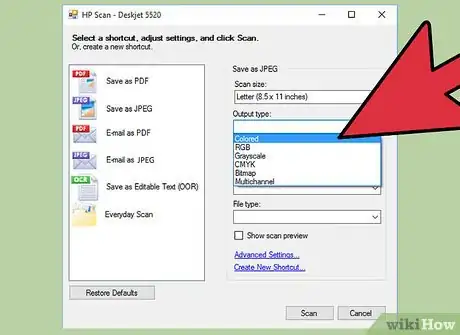
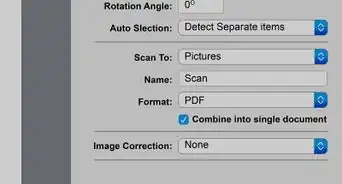
4Adjust settings. On the right panel, after you’ve chosen a scan shortcut, you can further adjust your settings:
- Select scan size—Define how large the scanned document or photo is. You can choose from the Entire Scan Area, a Letter, an A4, and other various dimensions.
- Select output type—Define the output file’s color. It can be set to Color, Grayscale, or Black & White.
- Select resolution—Define the output file’s resolution in dots per inch (dpi).
- Select item type—Define whether your output is a Document or a Photo.
- Select file type—Define the file type of your output file. It can be in Bitmap, JPEG, PNG, TIFF, or PDF formats.
-
5Preview your image. Tick on Show Scan Preview. It is a good idea to review what the output will be like before confirming the scanning process.
-
6Further customize your settings. If you want to further tweak your settings, you can do so by clicking on the Advanced Settings link toward the bottom of the box.
- Scan— A dialog box will appear to show you the progress while scanning.
- Lighten or Darken—You can further adjust the output’s Brightness and Contrast in the Preview screen. Just drag the corresponding bars until you find your proper setting.
- Rotate—You can either rotate 90 degrees to the right or to the left by clicking on the corresponding buttons.
- Crop—You can do some final cropping and selections before finally scanning the photo or document.
-
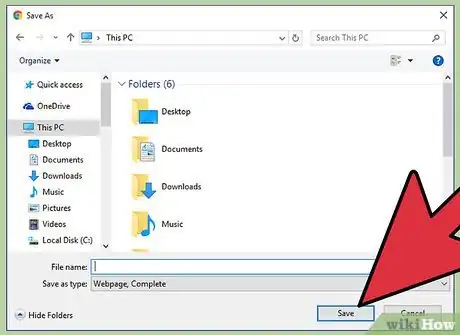
7Save your image. Click on Save to define your output file’s name and location on your computer.
Community Q&A
-
QuestionI have an HP ENVY5546 printer-scanner-copier. How do I use it?
 Gerald J. O'BrienCommunity AnswerHP has a down loadable app called Easy Scan. Go to the HP website and check downloadables.

