wikiHow is a “wiki,” similar to Wikipedia, which means that many of our articles are co-written by multiple authors. To create this article, volunteer authors worked to edit and improve it over time.
This article has been viewed 69,819 times.
Learn more...
HP ePrint-capable printers will have built-in Wi-Fi capabilities that allow you to wirelessly communicate with them. You don’t need to be tied near the printer just to use it. You can be somewhere else and still be able to use the printer. With the HP All-in-One Printer Remote app on your iPad, managing and using your printer remotely will be easier. No need for a computer to configure, manage, and use the printer. Everything you need can be accessed from this app on your iPad. You can print, scan, copy, and share right from your mobile device. With the app, you can scan and save a file directly on your iPad. No need for a computer to mediate between the printer and your iPad, nor to be near the printer in order to receive a scan.
Steps
Downloading HP All-in-One Printer Remote
-
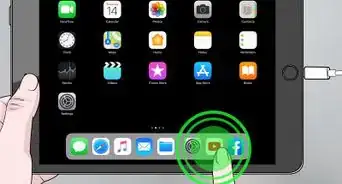
1Launch the App Store. Tap the App Store on your iPad to launch it.
-
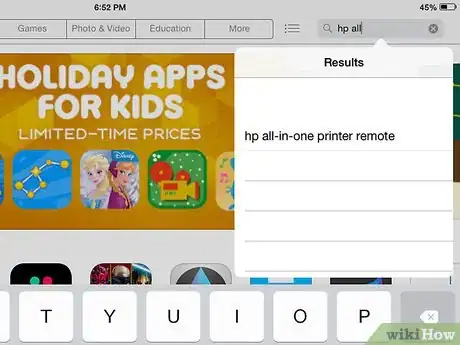
2Search for the HP All-in-One Printer Remote app. Type in “HP All-in-One Printer Remote” on the search field.[1]Advertisement
-
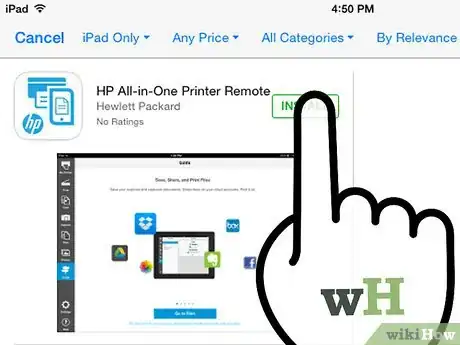
3Download HP All-in-One Printer Remote. Locate the correct app and download it. Tap the “Install” button beside the app; it’s free.
-
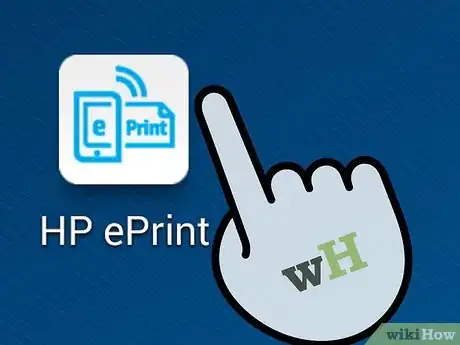
4Launch HP All-in-One Printer Remote. Locate the app on your iPad and tap it to open. Its icon has an HP logo on it with a printer and a tablet.
Registering for HP ePrint Service
-
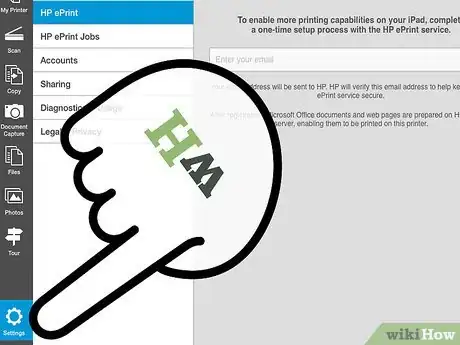
1Go to Settings. On the HP All-in-One Printer Remote app, tap the gear icon for Settings on the left panel toolbar. Tap the HP ePrint menu.
-
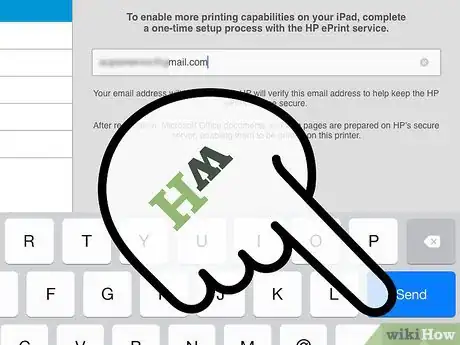
2Register your email. Enter your email address and tap the “Send” button. HP ePrint will validate your email address by sending you a PIN code.
-
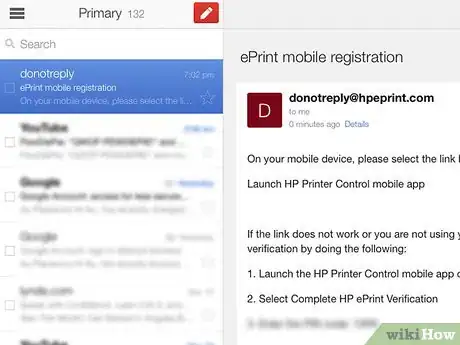
3Check your email. Go to your email account and look for the email from HP ePrint.
-
4Activate HP ePrint account. The email from HP ePrint will contain an activation link and a PIN code. Click on the link to activate your account.
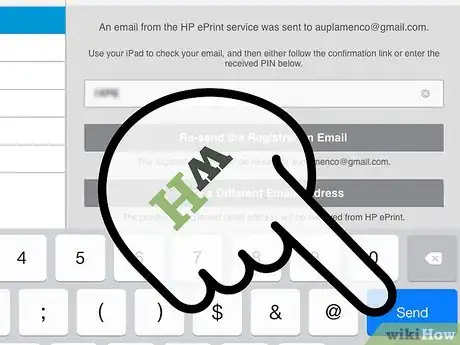
- If you can’t click on the link, copy the PIN code and enter this on the app where you left off.
- Tap the “Send” button to complete your registration.
Linking the Printer
-
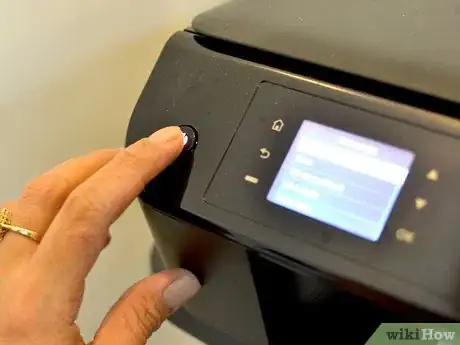
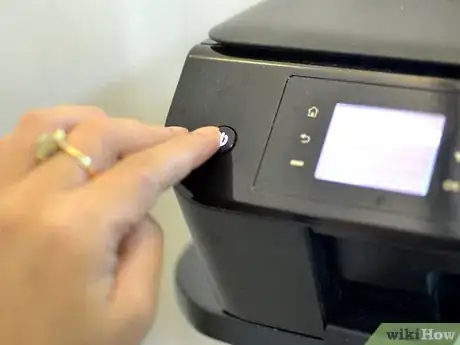
1Turn on the printer. Make sure the printer is powered on and connected to a Wi-Fi network. Make sure also that the printer has been registered with HP ePrint.[2]
- Refer to your printer’s user manual and HP ePrint for more details.
-
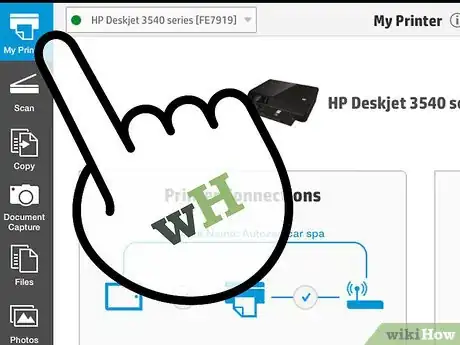
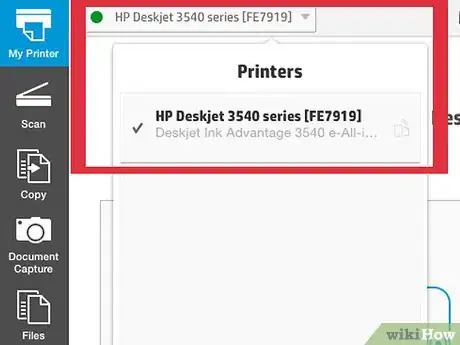
2Add printer. On the HP All-in-One Printer Remote app, tap the printer icon for My Printer on the left panel toolbar. Tap the right arrowhead beside the printer icon near the top of the screen, and then tap “HP ePrint”. It will search for HP ePrint-capable printers within the network.
-
3Connect a printer. Tap the printer you’d like to add. The app will link with the printer and retrieve its information.
- If the app cannot find the printer, you can search for it using its HP ePrint email address. The HP ePrint email address of your printer is assigned when you registered the printer with HP ePrint from Step 1.[3]
-
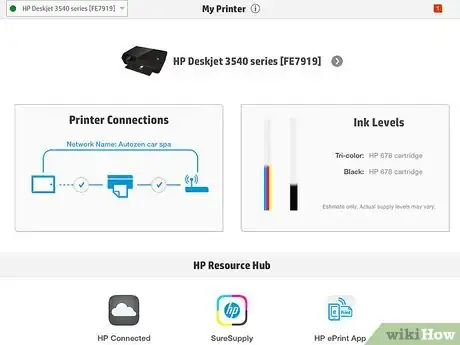
4View a printer. Once the link is successful, you will be able to see the printer model, its network connections, and the ink levels of the cartridges inside it. Tap the printer icon for MY Printer on the left panel toolbar to view this information.[4]
Preparing the Printer for Scanning
-
1Turn on the printer. If the printer has gone to sleep, wake it up or turn it back on. Make sure it’s still connected to a Wi-Fi network.
-
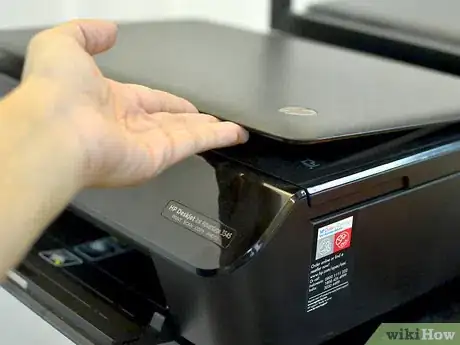
2Open the printer’s flatbed scanner. Lift the lid of the printer to reveal the flatbed scanner.
-
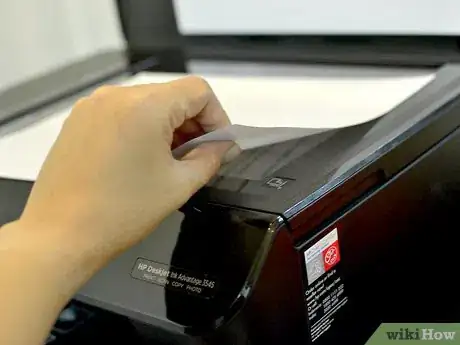
3Lay down the document to scan. Lay the document or photo you will be scanning facing down on the scanner. Close the lid.
Scanning Wirelessly from iPad
-
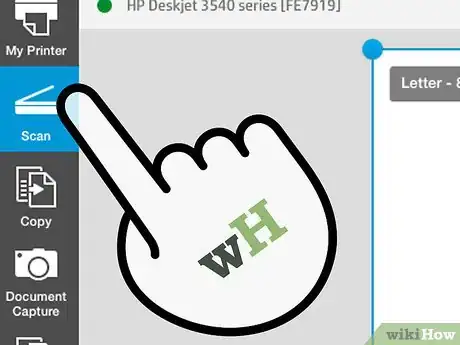
1Go to Scan. On the HP All-in-One Printer Remote app, tap the scanner icon for Scan on the left panel toolbar. You will see a blank sheet on the screen.
-
2Preview the scan. Before you do the actual scanning, you can do a preview of what the output will look like. Tap the “Preview” button at the bottom of the screen.
- The app will link with the printer and process the request.
-
3Adjust the size. The preview will have an adjustable blue border around it. Use your finger to resize this box to determine the actual size and area to be scanned.
- There are also some predefined sizes available. Tap the drop-down list found at the upper left side of the preview to see the available sizes. Tap on the size you want and the box will be adjusted to fit it.
-
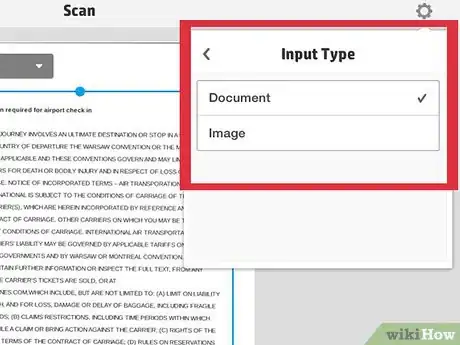
4Define the input type. Tap the gear icon at the upper right side of the preview, and select “Input Type.” Choose between Document and Image.
- The scan will be optimized based on the type you chose. The output file type will also be determined by this.
-
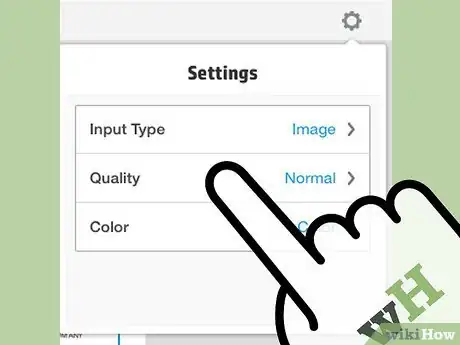
5Define the quality. Tap the gear icon at the upper right side of the preview, and select “Quality.” Choose between Normal and Draft. The quality of the scan will be based on what you select.
-
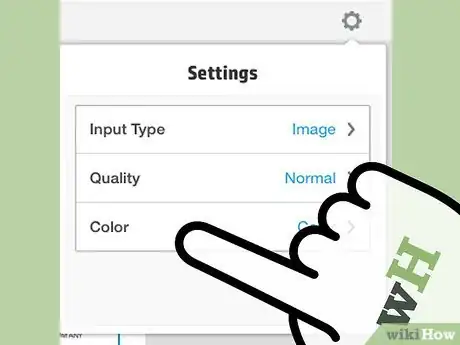
6Define the color. Tap the gear icon at the upper right side of the preview, and select “Color.” Choose between Black and Color. The color of the scan will be based on what you select.
- If you chose Black, the output will be in black and white. Otherwise, the output will be colored.
-
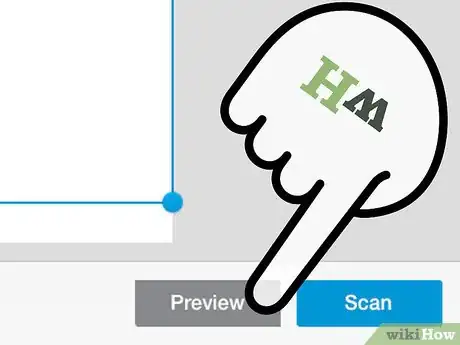
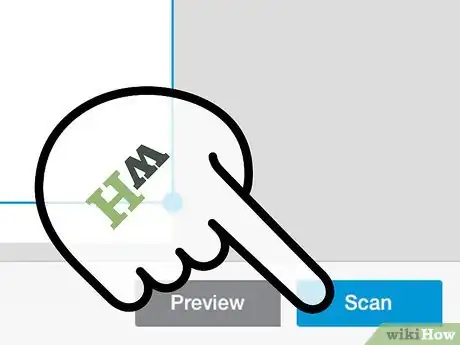
7Scan. Once you’ve set all the parameters and are ready to start the actual scan, tap the “Scan” button at the bottom of the screen.
-
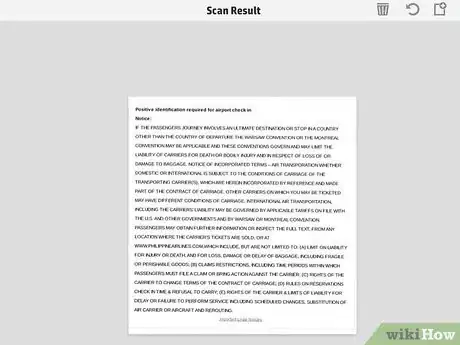
8View the result. After the scan is completed, the final output will be displayed on screen.
-
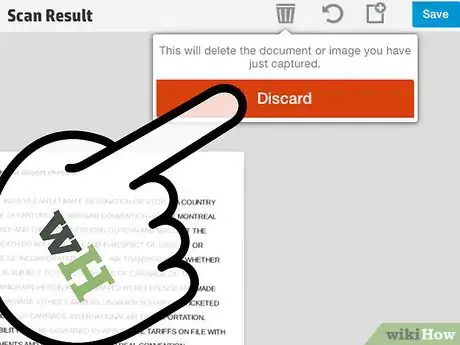
9Delete the scan. If you don’t like the scan and will like to delete it, tap the trash icon found on the upper right toolbar. Confirm your action by tapping the “Discard” button.
- The scan will be removed and you will be brought back to the Scan screen, Step 1.
-
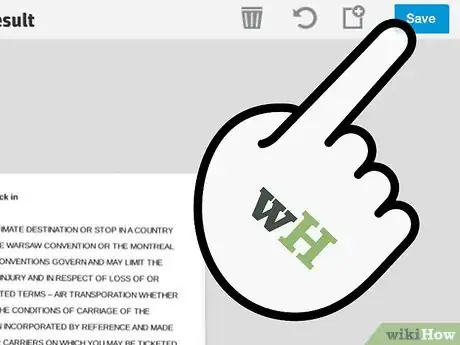
10Save the scan. Tap the “Save” button found on the upper right toolbar to save the scan. The file will be saved locally on your iPad under the folder defined by the file type set from Step 4.
Community Q&A
-
QuestionWhere are documents saved to on the iPad?
 Community AnswerIt should be under the "Notes" application, but it depends on what kind of document you are talking about.

