This article was co-authored by wikiHow staff writer, Darlene Antonelli, MA. Darlene Antonelli is a Technology Writer and Editor for wikiHow. Darlene has experience teaching college courses, writing technology-related articles, and working hands-on in the technology field. She earned an MA in Writing from Rowan University in 2012 and wrote her thesis on online communities and the personalities curated in such communities.
This article has been viewed 21,701 times.
Learn more...
This wikiHow will show you how to create a transparent background in Paint 3D by removing the background and adding a transparent layer.
Steps
-
1Open your project in Paint 3D. You'll find Paint 3D in your Start Menu.
- You can either open your project within Paint 3D by selecting Menu>Open or you can right-click the project file in file explorer and select Open With>Paint 3D.
-
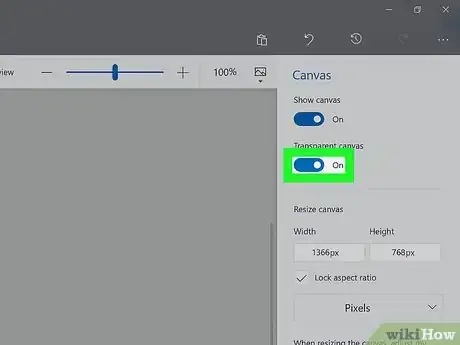
2Click Canvas. You'll see this above the project area next to Effects and Text. A bar will then slide out from the right.
- If you don't see it there, you'll find it in a drop-down next to Menu.
Advertisement -
3
-
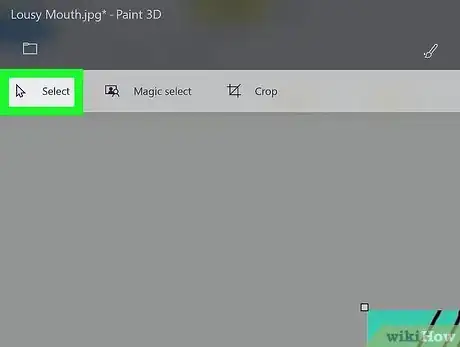
4Click Select. You'll see this in either the upper left of the window or at the top of the sliding menu.
-
5Select the area you want to delete. By clicking and dragging your mouse, you can select an area. Selected areas will highlight with a line.
-
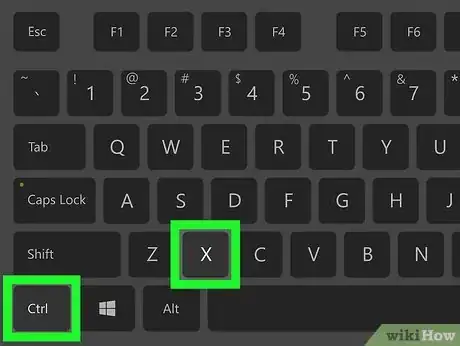
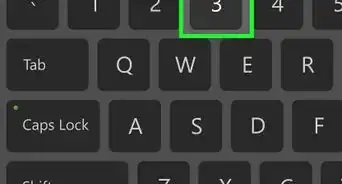
6Press Ctrl+X. This keyboard shortcut will cut the selected area out of your canvas, revealing the transparent background.
- If you want to fill the area with another color, you can use Brushes or Tools.
-
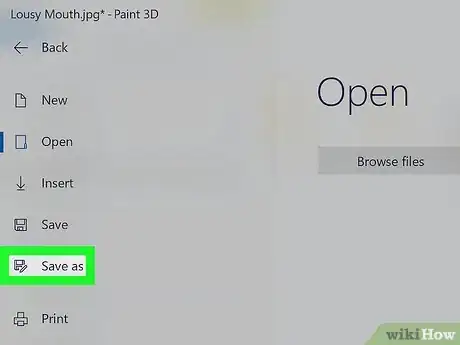
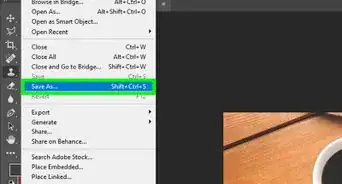
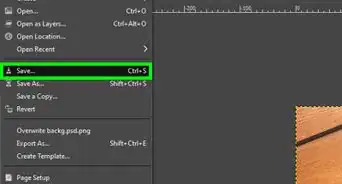
7Save your document. You can go to Menu>Save As and choose 2D PNG as the file type.[1]
About This Article
1. Open your project in Paint 3D.
2. Click Canvas.
3. Click the switch next to "Transparent Canvas" to enable it.
4. Click Select.
5. Press Ctrl+X.
6. Save your document.


