This article was co-authored by Yaffet Meshesha. Yaffet Meshesha is a Computer Specialist and the Founder of Techy, a full-service computer pickup, repair, and delivery service. With over eight years of experience, Yaffet specializes in computer repairs and technical support. Techy has been featured on TechCrunch and Time.
This article has been viewed 96,082 times.
To recover Internet history, you need to understand certain important aspects. One of them is where the Internet history get stored. The Internet history gets stored in the Windows Registry. There are also chances that the Internet history may get stored as Internet cookies too. The ways to recover deleted Internet history is, hence, meant to target these system resources and get the history.
Steps
Using System Recovery
-
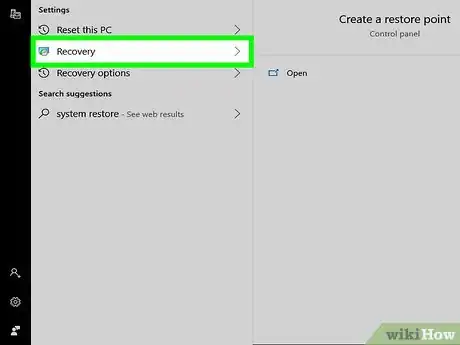
1Use the System Restore tool to get the deleted history back. Here's what you have to do:
-
2Click on Start and go to Programs. In the 'Programs' menu, click on 'Accessories' and then go to 'System Tools'.
- The 'System Tools' option will give way to various options. One of them is the 'System Restore'.
Advertisement -
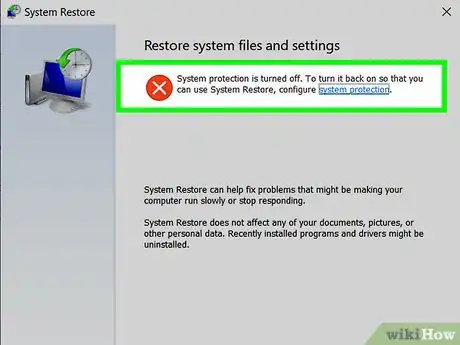
3Select that option, then pick a date that precedes the date when you cleared your Internet history.
-
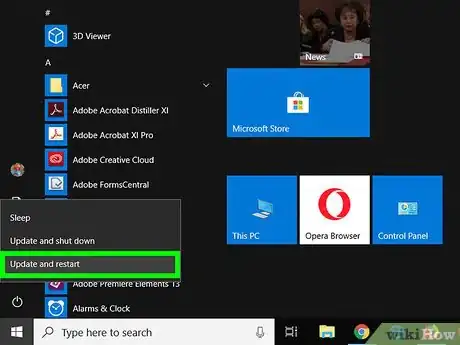
4Reboot and check your browser, the history should be right there.
Using Log Files
-
1Perform this procedure if the history was deleted a long time ago. Using System Restore would be pointless, as you'd end up losing too much recent data in the process. If you have intentionally deleted the Internet history and are now in a desperate need to get it back, then this is what can help you.
- A desktop search will also not be of much help in such cases. The log files are where all the operations that you perform in your system are stored. A look into the log files can also let you recover deleted Internet history.
- All Windows computers have this file extension that stores arbitrary data, the .DAT extension. In our scenario, the system uses a file called 'index.dat', that stores all the information of the operations you have performed.
-
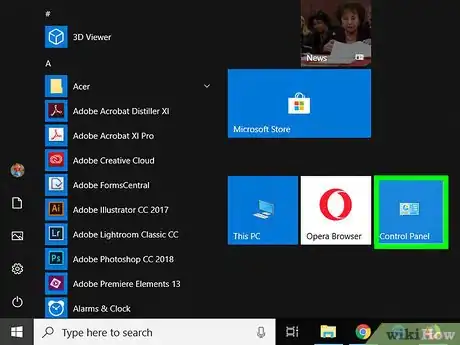
2Click on the Start menu, and go to the Control Panel.
-
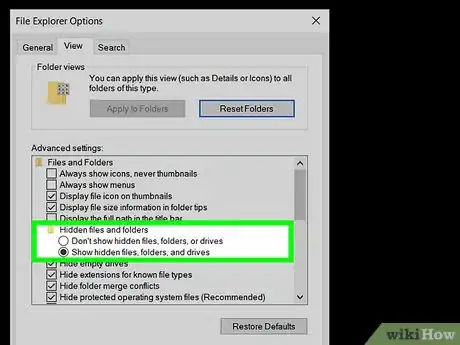
3Look for Folder Options and click on the icon. You will have three tabs in this window, the second of which is View.
-
4Inside the View tab, look for, and select, the Show hidden files and folders option. There will be another check box under it called "Hide protected operating system files" (Recommended).
- Remove the check in its box. Apply changes and exit the window.
-
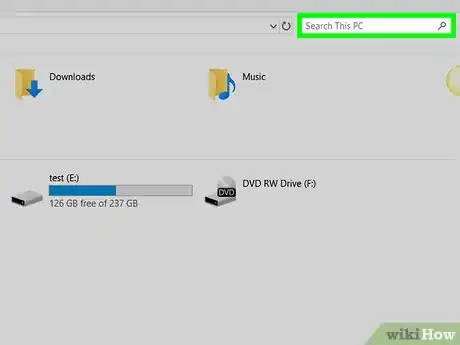
5Go to My Computer and use the search tool to find all instances of index.dat in the C drive and the C drive only.
- You should now have multiple index.dat files in the search results.
- To read a .dat file, we need to know the software that created the file. Sometimes, .jpg, .avi, .doc, etc. file extensions get renamed to .dat. In our case, we need to get the software that programmers used to create the index.dat files to read them.
- Try using Notepad through the Open With option, but more than half the information displayed will be garbage that you won't understand.
- You should now have multiple index.dat files in the search results.
-
6Google index.dat reader, or directly go to a software downloading site that you trust (like Softpedia or CNET) and get the reader. WinSpy is an example of such a reader.
-
7Use the reader to view the index.dat files, in which you'll have all the information of the sites that you have accessed, when you accessed them and for how long.
-
8In case of Firefox, it is the 'history.dat' file, which needs to be checked out.
Other Options
-
1Consider the other options that you can resort to. Depending on how important the data is, and what lengths you are prepared to go to in order to recover it, there are two things you can try.
- Install professional recovery software, which may cost a bit, but stands a better chance of recovering any lost data.
- Opt for professional data recovery services. Not only does this option cost a lot, it also means that you will have to send your hard disk to them.
-
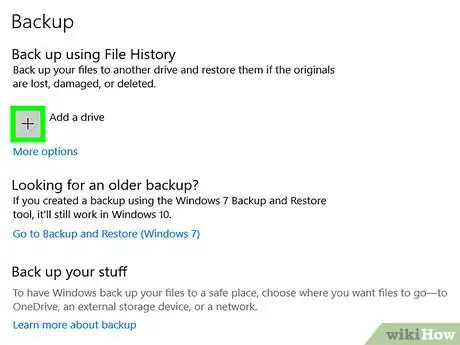
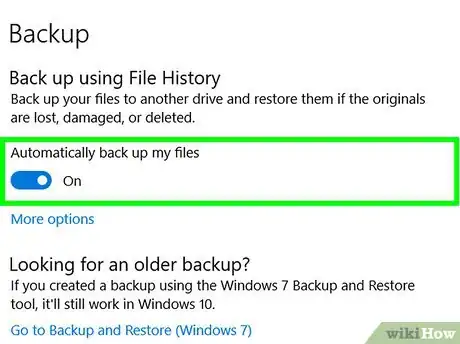
2Perform regular backups. Regular backups is always the best option to avoid a scenario where recovering deleted data becomes too difficult or impossible.
-
3If you do follow the guidelines given here, make it a point to remember every step you take, so it becomes easier to retrace them, if need be.
