This article was co-authored by wikiHow staff writer, Travis Boylls. Travis Boylls is a Technology Writer and Editor for wikiHow. Travis has experience writing technology-related articles, providing software customer service, and in graphic design. He specializes in Windows, macOS, Android, iOS, and Linux platforms. He studied graphic design at Pikes Peak Community College.
This article has been viewed 47,379 times.
Learn more...
Performing an Android factory reset will erase everything on your phone or tablet. Before you reset your Android, we'll show you how to back up your data so you can restore it easily.
Steps
Enabling Backup on Your Device
-
1
-
2Tap the magnifying glass icon . This is the search icon. It's usually in the upper-right corner of the Settings menu. This allows you to search for menu items in the Settings menu.Advertisement
-
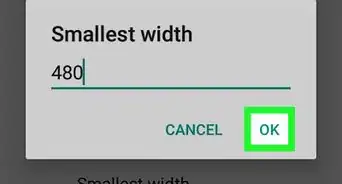
3Type Backup in the search bar. This displays the location of the Backup menu in the Settings menu. The location of the Backup menu is different from one Android device to another.
-
4Tap on Backup. This displays the backup options for your Android device.
-
5
-
6Tap on App data. This should be the first option under active backups.
-
7
-
8
-
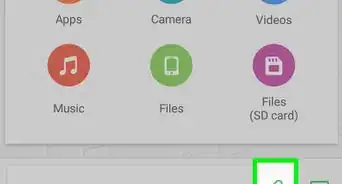
9Tap on Photos & videos. This menu allows you to set your backup settings for your photos and videos.
- Backup of photos and videos will only occur on Wi-Fi unless you tap on the toggle switches next to Photos and Videos under "Cellular Data Back Up". This can use up a lot of data, so it is typically recommended to not enable this option.
-
10
-
11Tap on Back up device folders. It's in the Photos & Videos Back Up & Sync options.
-
12
-
13
-
14Tap on Back up now to backup your data. Make sure that you are currently connected to Wi-Fi.
- This will backup your data to your main Google account. If you would prefer, you can change to a different account by tapping on Account under Back up now and selecting any other accounts you have attached to your phone.
- If you are running an older version of Android, then your menu layout may look slightly different, but the process should be similar.


Recovering Your Data from a Backup
-
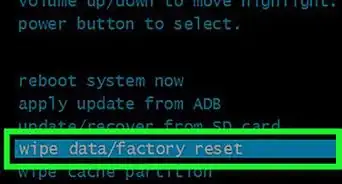
1Turn on your device. A Factory reset will revert your phone to its factory settings, so you will need to go through the setup process like it was new.
-
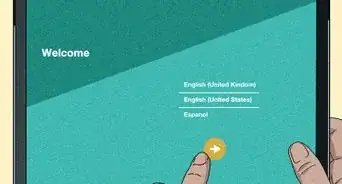
2Select your language. Use the drop-down menu under the "Welcome" header to select your language.
-
3Tap Let’s Go on the welcome screen. This should be directly under the language option.
-
4Tap on Copy your data on the "Copy apps & data" page. This allows you to use the option to restore your data.
-
5Tap on the name of the Wi-Fi network that you want to use. Then use your wireless password to connect to your Wi-Fi network.
-
6Tap on A backup from the cloud. This should be the second option under "Bring your data from".
-
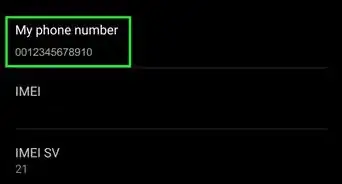
7Enter your Google account information on the next screen. Make sure that this is the same account that you had tied to the device before the factory reset.
-
8Tap on I agree to Google’s Terms of Service. You will not be able to proceed with this process if you do not agree to the terms.
-
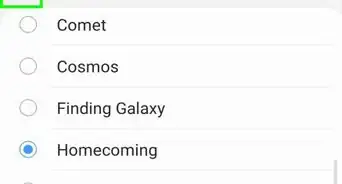
9Tap on the name of the most recent backup. It's in the list under "Choose a backup".
-
10Tap on Restore. This restores all the data from the backup.
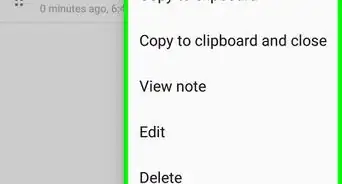
- Alternatively, you can also tap on the checkboxes to select which data to restore, such as which apps, call history, or device settings.
-
11Continue with the rest of the setup process. Follow the on-screen instructions to continue setting up your phone. Your data is being restored to your device in the background.[1]


Recovering Your Data without a Backup Using MobiSaver
-
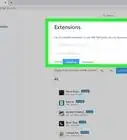
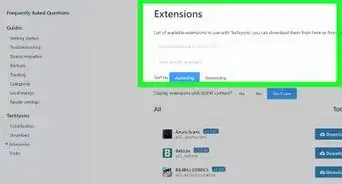
1Download and install EaseUS MobiSaver on a Windows PC. It can be downloaded at https://www.easeus.com/spec/mobisaver-android-free.html. Click the download button, and then click the install file once it finishes downloading. Follow the on-screen instructions to install MobiSaver.
- It is recommended that you install the free trial before paying for the software as not all data is recoverable. The free trial will allow you to preview which files are recoverable, but you will need to pay for the software to recover the files. The sooner you act after factory resetting your phone, the more likely you will be able to recover your lost data.
- There are several other recovery programs of varying quality. MobiSaver has good reviews and is pretty easy to use. Caution is always recommended before installing and using recovery software. The general process is similar regardless of the program that you use.
-
2Open MobiSaver on your PC. The icon looks like a white medical symbol on a blue background. It can be found on your desktop or by clicking on the Windows Start button and typing MobiSaver.
-
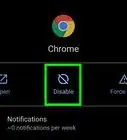
3Root your phone. Rooting your phone allows MobiSaver to access the entire Android system. There are several apps you can use to root your phone, such as Framaroot, and Universal Androot, that can be downloaded from the internet.
- Warning: Rooting your phone can void your warranty, and cause permanent damage to your phone if it is not done correctly. These steps are for advanced users only. Follow at your own risk.
-
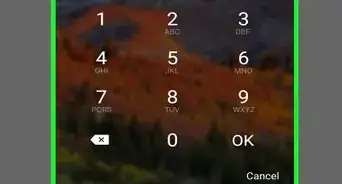
4Enable USB debugging on your Android phone. To do this, you will first need to tap the magnifying glass icon in the Settings app and search Build number. Locate Build number in the Settings menu and tap it 7 times. This enables Developer Options. Then use the magnifying glass icon to locate the Developer options in the Settings menu, and tap the toggle switch next to "USB Debugging" under Developer Options.
-
5Connect your Android to your PC via a USB cable. This allows your computer to communicate with your Android device.
-
6Click on Start in MobiSaver. The name of your phone will be displayed and the Start button will turn blue once your phone is found.
- Allow the software time to scan your files. The time it takes will vary based on your hardware and how much data can be recovered.
- It is recommended that your phone is charged before starting this process.
-
7Select file types to preview the information that is recoverable. Options will include contacts, messages, gallery (photos), videos, audio, and documents.
-
8
-
9Click on Recover. It's at the bottom of the window.
-
10Select where you want to save your data. It is recommended that you save the data to your PC first in case there are any issues with the transfer.[2]
- The transfer process may take awhile if you have a lot of media on your Android.
-
11Transfer the files back to your Android if you want. You could do this either by manually moving the data from your PC to your Android while the USB cable is connected or by uploading the data to Google Drive.


Warnings
- As stated before, the third method is for advanced users only. Rooting your Android can void your warranty and brick your phone if done incorrectly. Users are accepting all risk when rooting their devices and using third-party recovery software.⧼thumbs_response⧽

References
About This Article

1. Start the setup process after the factory reset.
2. Tap on Let's go.
3. Tap on Copy your data.
4. Select a Wi-Fi network.
5. Tap on A backup from the cloud.
6. Select backup file and tap on Restore.