wikiHow is a “wiki,” similar to Wikipedia, which means that many of our articles are co-written by multiple authors. To create this article, volunteer authors worked to edit and improve it over time.
This article has been viewed 98,681 times.
Learn more...
If you are a user of new VMware Workstation, then you may find it annoying that VMware installing your Virtual Machine with its default settings, which is called "Easy Install" and wouldn't let you customize your VM like in RHEL if you are setting your VM for a FTP server, then there is no need of things like News server, Mail server etc. which will unnecessarily take memory and slow down your server with its services. To customize your VM installation, follow steps given below.
Steps
-
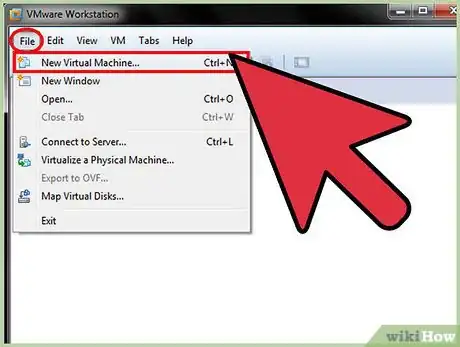
1Click on File → New Virtual Machine in VMware Workstation window. You can create a new virtual machine by pressing Ctrl+N .
-
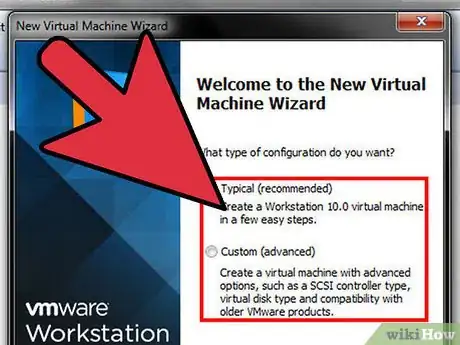
2Choose the your VM configuration from New Virtual Machine Wizard window and click on Next. This guide uses Typical configuration, but you can choose Custom and do your changes, then click Next.Advertisement
-
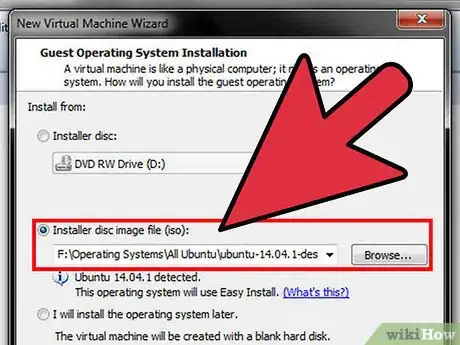
3Choose the operating system installer disc drive or image file (.ISO) and then click on Next. You can choose to install operating system later.
-
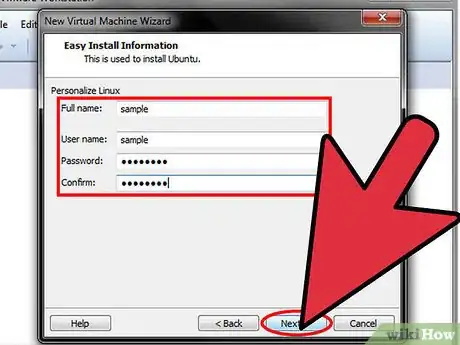
4
-
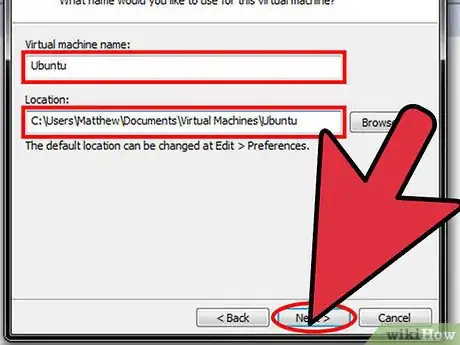
5Type your VM's name and choose the location, where you'll save your VM. Then click Next.
-
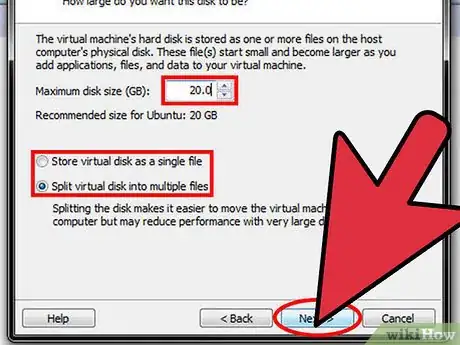
6Choose the disk space you want to give to your VM and its allocation method, then click Next.
-
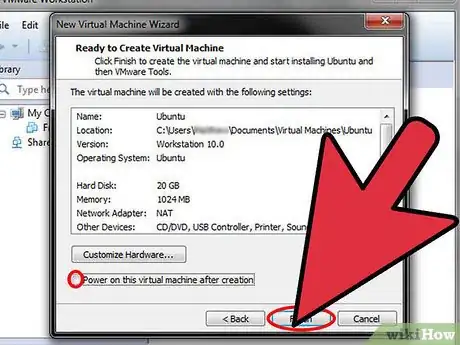
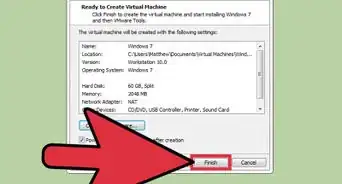
7Check your VM settings and be sure that "Power on this virtual machine after creation" checkbox is not selected. Click on Finish button.
-
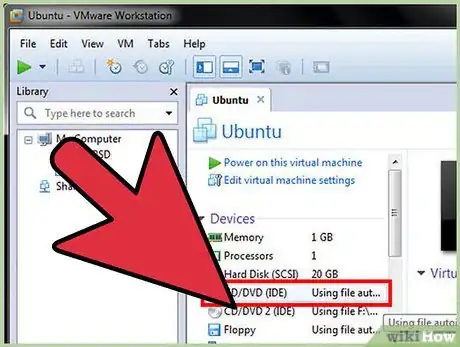
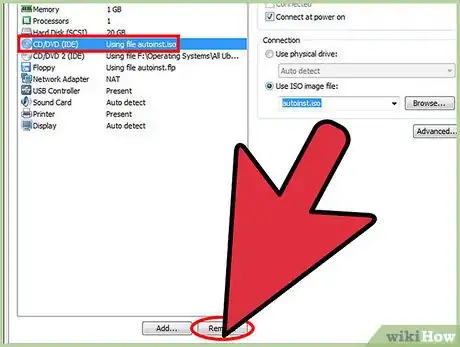
8Now you'll notice an extra CD/DVD(IDE) drive, which is using autoinst.iso file. Click it to open "Virtual Machine Settings.'
-
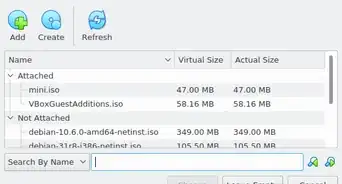
9Click on CD/DVD (IDE) device, which is using autoinst.iso file, then click on Remove button below. Click OK.
-
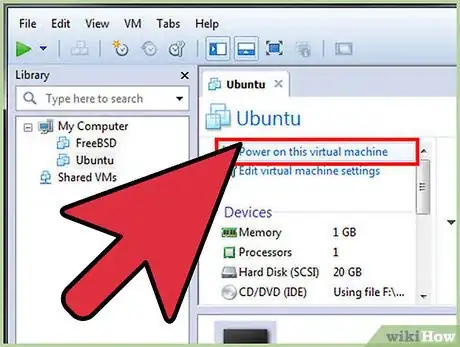
10Power on your VM by clicking on "Power on this virtual machine" under Commands section of left side pane and do the manual installation of your new VM.
