X
This article was co-authored by wikiHow Staff. Our trained team of editors and researchers validate articles for accuracy and comprehensiveness. wikiHow's Content Management Team carefully monitors the work from our editorial staff to ensure that each article is backed by trusted research and meets our high quality standards.
This article has been viewed 44,760 times.
Learn more...
This wikiHow shows you how to pair any Jaybird headphone products with your computer using the computer’s Bluetooth settings.
Steps
Method 1
Method 1 of 2:
Pairing Jaybird Headphones with Windows Bluetooth
-
1
-
2Select Settings in the Start menu. This has a gear-shaped icon and, once selected, will pull up a pop-up menu displaying different system settings, including settings for connecting devices to your PC.Advertisement
-
3Click Devices. This is listed in the top-center of the Settings menu and has an outline of a speaker and keyboard as the display next to its title.
-
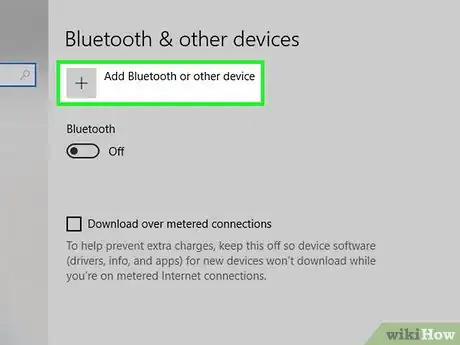
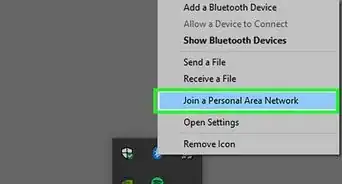
4Click Add Bluetooth or other device. This will open a new menu where your PC will scan for available Bluetooth devices.
-
5Press and hold the button on your headphones for 4 seconds. A light in the middle will turn solid to indicate that your headphones are now in pairing mode, which is necessary for Windows to detect them via Bluetooth.
-
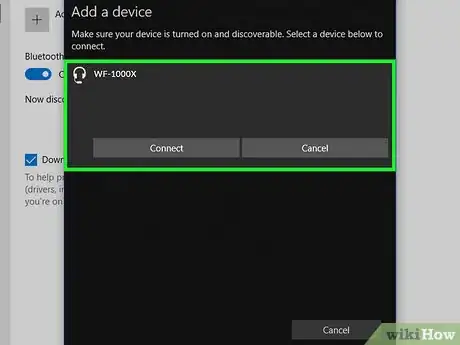
6Select your headphones in the Bluetooth menu. Once you activate pairing mode, an icon with the name of your headphones will show up in the menu listing Bluetooth devices available for connection.
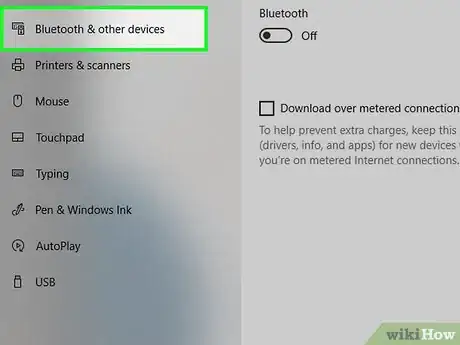
- Make sure your PC has Bluetooth enabled before putting your headphones into pairing mode. To do this, go to Settings, select Devices, and click on the Bluetooth and other devices option in the menu pane on the left side to pull up the Bluetooth switch. Toggle it to on if it isn’t already on.
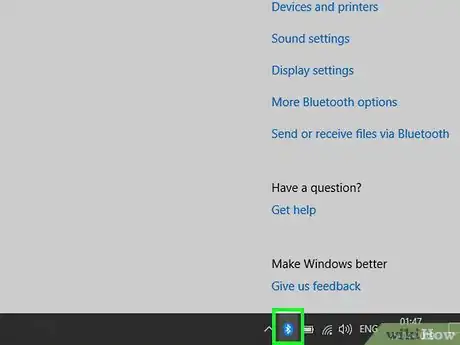
- If there isn’t any Bluetooth switch visible in the Bluetooth and other devices menu, then you may need to open the Bluetooth troubleshooter (Settings > Update & Security > Troubleshoot > Bluetooth > Run the troubleshooter) to check if your PC has Bluetooth capability. If not, then you’ll need to go to your PC manufacturer’s website and search for updated drivers that enable Bluetooth support.[1]
-
7Click on the name of your headphones. This will complete the connection process and, once done, the Bluetooth search menu will close and your Jaybird headphones should be paired with your PC.
Advertisement
Method 2
Method 2 of 2:
Pairing Jaybird Headphones with Mac Bluetooth
-
1Click the Bluetooth icon on the desktop screen. This is usually found in the top-right corner, or it can be accessed by opening the Apple menu, selecting System Preferences, and clicking Bluetooth.[2]
-
2Press and hold the button on your headphones for 4 seconds. A light in the middle will turn solid to indicate that your headphones are now in pairing mode, which is necessary for your Mac to detect them via Bluetooth.
-
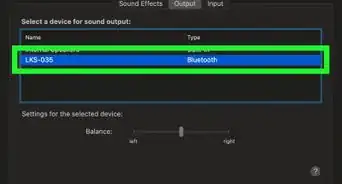
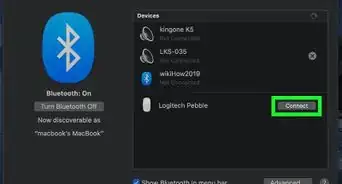
3Select your headphones from the list of available Bluetooth devices. Once you’ve navigated to the Bluetooth menu, a list of detected devices will appear. If your headphones are pairing mode, they should be displayed in this list.
-
4Click Connect. You’ll just need to click Accept, or enter a series of numbers and click Enter, to finish pairing your headphones with your Mac.
Advertisement
References
About This Article
Article SummaryX
1. Click Start then Settings or the Bluetooth icon.
2. Put your Jaybird headphones into pairing mode.
3. Click Add Bluetooth or other device or Turn Bluetooth On.
4. Select your headphones in the display menu.
Did this summary help you?
Advertisement


