This article was co-authored by Lois Wade. Lois Wade has 45 years of experience in crafts including sewing, crochet, needlepoint, cross-stitch, drawing, and paper crafts. She has been contributing to craft articles on wikiHow since 2007.
wikiHow marks an article as reader-approved once it receives enough positive feedback. In this case, 89% of readers who voted found the article helpful, earning it our reader-approved status.
This article has been viewed 756,504 times.
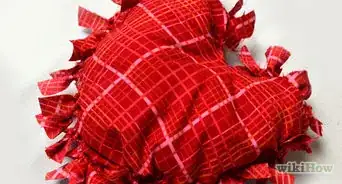
Pillows are cheap and easy to make, and a great way for a beginner to practice their sewing skills. If you don't know how to sew, you can try making a fringed, tied/knotted pillow instead. Once you know the basics of pillow-making, you can even make an envelope pillowcase!
Steps
How to Make a Simple Pillow
-
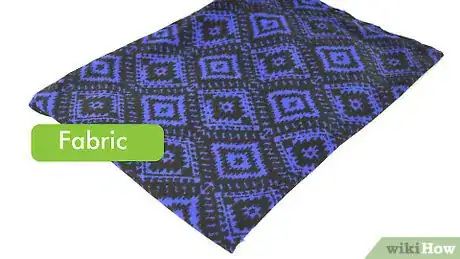
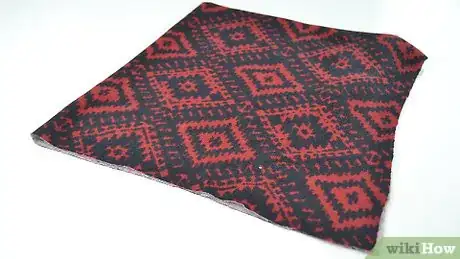
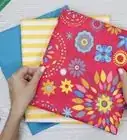
1Choose your fabric. Almost any fabric can work, but consider the purpose of the pillow you want. If you are going to be using it rest on at night, pick a fabric that feels good against your face. If your pillow will be decorative, pick a fabric that matches your other furniture.[1]
- Soft cotton with a high thread count works well for pillows you'll be sleeping on.
- Brocade and other home decor fabrics work well for decorative pillows.
-
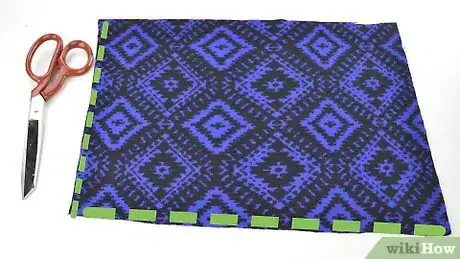
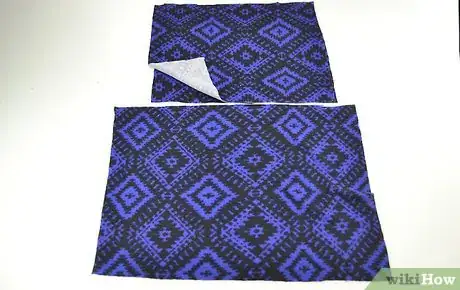
2Cut the fabric into two squares or rectangles of equal size. Add ½ inch (1.27 centimeters) to each side to allow for seam allowances. How big you cut the pieces depends on what size pillow you want. If you will be stuffing your pillow with a pillow form, cut the fabric the same size and shape a the pillow form; this will give you a nice, full pillow.
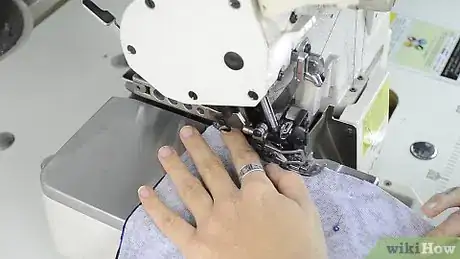
- If the fabric is prone to fraying, serge or zigzag stitch the edges after you cut it.
Advertisement -
3Place the two fabric pieces together right-side-in. If you need to, secure three of the edges with sewing pins; leave the other edge un-pinned so that you can turn the pillow right-side-out later.[2]
-
4Sew three of the edges together. Use a matching thread color, a straight stitch, and a ½-inch (1.27-centimeter) seam allowance. Remove the pins a you sew, and leave the fourth edge un-sewn. You can do this either by hand or with a sewing machine.[3]
- If you are using a sewing machine, backstitch at the start and end of your sewing so that your stitching doesn't come undone.[4]
-
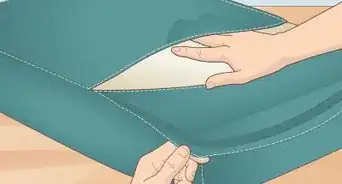
5Turn the pillow right-side-out. If you used very thick fabric for the pillow, you might want to cut the corners off first; this will help reduce bulk. After you turn the pillow right-side-out, use your fingers to help push the corners out further so that they are nice and sharp.[5]
-
6Fold the raw edges in and press them flat. Go to the open edge of the pillow. Fold the raw edge in by ½ inch (1.27 centimeters). Press them flat with a hot iron; this will make a crease that will serve as a guideline for when you are ready to sew the pillow shut.
- If you don't have an iron, you can pin each folded edge separately; don't pin them together, however, or you won't be able to stuff the pillow.
-
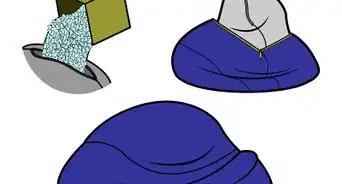
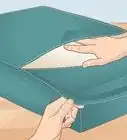
7Stuff the pillow as much as you can, so that it is nice and full. Polyester stuffing is a popular and readily-available pillow filling. You can purchase it in fabric shops and craft stores. If you based your pillow off of an existing pillow form, insert the form now.[6]
- You can also cut open an old pillow, and use the down or polyester stuffing from it instead.
-
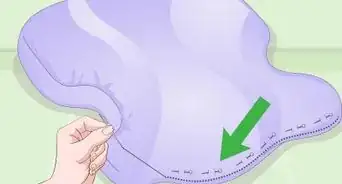
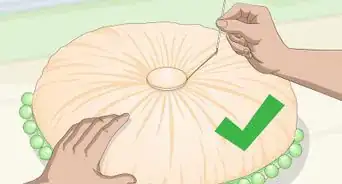
8Pin and sew the opening shut. You can do this by hand with a ladder stitch or a blind stitch, or you can topstitch it on the sewing machine instead. Remove the pins when you are done.[7]
- Keep the stitching tight and small hen hand sewing. Knot the thread securely at the end.
- Use a ⅛-inch (0.32-centimeter) seam allowance and a matching thread color when machine sewing. Remember to backstitch at the start and end of your sewing.
How to Sew an Envelope Pillowcase
-
1Pick your fabric. You can use jut about any type of fabric you want to make a pillowcase. Some types of fabric work better than others depending on what you ill be using the pillow for, however. For example, a soft cotton with a high thread count will work best for a sleeping pillow. Brocade and home decor fabric would work better for decorative throw pillows.[8]
-
2Cut a piece of fabric that is the same size as your pillow form. Measure the pillow insert first, then cut a piece of fabric according to that measurement. This will make the front of your pillow.[9]
- You will be making the pillowcase a little smaller than the pillow form itself. This will give you a nice, full pillow.
-
3Cut two smaller pieces of fabric for the back of the pillow. Each piece needs to be the same width as the pillow, but only half the height, plus an additional 5 inches (12.7 centimeters). This will create an overlap while accounting for hems and seam allowances.[10]
- Alternatively, you can make the pieces the same width and two-thirds of the height.
- The back piece can be the same color and pattern as your front piece, or they can be different.
-
4Hem one of the long edges on each of the back pieces. Turn one of the back pieces so that the wrong side is facing you. Fold the long, top edge down twice by ½-inch (1.27 centimeters). Press it flat once more, then topstitch it as close as possible to the inside folded edge.[11]
- Repeat this step for the other back piece.
-
5Pin the back pieces to the front piece, hemmed edges overlapping. Set the front piece down first, right-side-up. Place one of the back pieces on top, right-side-down, then add the second back piece, right-side-down.[12]
- Make sure that the raw edges of the back pieces match up with the raw edges of the front piece.
- Make sure that the hemmed edge of the back pieces are overlapping along the middle of the front piece.
-
6Sew along all four edges. Use a ½-inch (1.27-centimeter) seam allowance and a matching thread color. Backstitch at the start and end of your sewing, and remove the pins as you sew.[13]
- Do not leave a gap for turning. You will be turning the pillow through the opening created by the overlapping back pieces.
-
7Finish the inside of the pillowcase, if needed. If you used thick or bulky fabric, snip off the corners as close to the stitching as you can. If your fabric is prone to fraying, serge or zigzag stitch the raw edges.
-
8Turn the pillowcase right-side-out. Pull apart the to hemmed edges in the middle of the pillow. Reach into the pillow and grab it by the corners. Pull the corners through the opening. Use your fingers to push the corners out further, if needed.
-
9Insert your pillow form. The back pieces of the pillow will overlap across the back of the pillow form, keeping it inside. There is no need to add buttons, snaps, or zippers!
How to Tie a No-Sew Pillow
-
1Get some non-fraying fabric, such as fleece or flannel. You will be cutting two pieces of fabric, one for the front of the pillow, and one for the back. You can use the same color and pattern for each piece, or you can use coordinating ones. Make sure that you use the same type of fabric, however!
-
2Cut the fabric into two identical squares or rectangles. Each piece needs to be 6 inches (15.24 centimeters) wider and 6 inches (15.24 centimeters) longer than you want the final pillow to be.[14]
- Your fringe will be 3 inches (7.62 centimeters) long. If you want a longer fringe, cut the fabric larger.
-
3Cut a 3-inch (7.62-centimeter) square out of each corner. Lay the two fabric pieces on top of each other, with the wrong sides facing in. Cut a 3-inch (7.62-centimeter) square out of each corner. Make sure that you are cutting through both layers of fabric.[15]
- If you cut your fabric larger for a longer fringe, cut the squares the same size you want the fringe to be.
-
4Cut a fringe into each of the four edges. Each tassel needs to be 3 inches (7.62 centimeters) deep and ¼ to 1 inch (0.64 to 2.54 centimeters) wide. Again, make sure that you are cutting through both layers of fabric, otherwise the fringes won't match up.[16]
-
5Tie the top tassels to the matching bottom tassels. Use a tight, double knot or a square knot. Tie together three of the edges, and only half of the fourth edge. You won't be turning the pillowcase inside out, but you will be stuffing it![17]
-
6Add your stuffing. A polyester stuffing will work the best, but you can use a pillow form as well. Stuff the pillow until it is nice and full, making sure to fill out the corners.
- You can buy polyester stuffing at a fabric store or craft store.
-
7Finish tying the pillow. Poke the stuffing into the pillow as you tie the last few tassels together. For extra security, tie the corners together in a double-knot.
Expert Q&A
-
QuestionWhat stuffing works well for homemade pillows?
 Lois WadeLois Wade has 45 years of experience in crafts including sewing, crochet, needlepoint, cross-stitch, drawing, and paper crafts. She has been contributing to craft articles on wikiHow since 2007.
wikiHow Crafts Expert You can use pretty much anything that's soft and can withstand being put through a washing machine. I wouldn't recommend paper, but you could use fabric scraps, cotton wool, polyester wool, woolen wool, Kapok, thistledown, mill end thread, or whatever else you have on hand. I’ve had some very useable couch pillows stuffed with plastic shopping bags that had been cut into squares.
 -
QuestionCan you use cotton balls to stuff a pillow?
 Community AnswerYes, but the pillow would lack support and would likely be uncomfortable.
 -
QuestionHow do I prevent cotton stuffing from coming out lumpy?
 Community AnswerGently pull apart the cotton stuffing first, then add it into the pillow. Keep in mind that washing these pillows is not recommended, as it can cause the cotton to bunch up.
Things You'll Need
Making a Simple Pillow
- Polyester stuffing or pillow form
- Fabric
- Matching thread
- Needle or sewing machine
- Fabric scissors
- Sewing pins
Sewing an Envelope Pillowcase
- Pillow form
- Fabric
- Matching thread
- Sewing machine
- Fabric scissors
- Sewing pins
- Iron
Tying a No-Sew Pillow
- Flannel or fleece fabric
- Fabric scissors
- Polyester stuffing or pillow form
References
- ↑ https://www.thehandmadehome.net/2013/12/how-to-sew-a-pillow/
- ↑ https://www.thehandmadehome.net/2013/12/how-to-sew-a-pillow/
- ↑ https://www.youtube.com/watch?v=STT1M7Qrt7w
- ↑ https://www.thehandmadehome.net/2013/12/how-to-sew-a-pillow/
- ↑ https://www.thehandmadehome.net/2013/12/how-to-sew-a-pillow/
- ↑ https://www.thehandmadehome.net/2013/12/how-to-sew-a-pillow/
- ↑ https://www.thehandmadehome.net/2013/12/how-to-sew-a-pillow/
- ↑ https://www.thehandmadehome.net/2013/12/how-to-sew-a-pillow/
- ↑ http://www.heytherehome.com/how-to-make-an-envelope-pillow-cover/
- ↑ http://www.heytherehome.com/how-to-make-an-envelope-pillow-cover/
- ↑ http://www.heytherehome.com/how-to-make-an-envelope-pillow-cover/
- ↑ http://www.heytherehome.com/how-to-make-an-envelope-pillow-cover/
- ↑ http://www.heytherehome.com/how-to-make-an-envelope-pillow-cover/
- ↑ https://www.youtube.com/watch?v=A6HjUAQeMqk
- ↑ https://www.youtube.com/watch?v=A6HjUAQeMqk
- ↑ https://www.youtube.com/watch?v=A6HjUAQeMqk
- ↑ https://www.youtube.com/watch?v=A6HjUAQeMqk
About This Article
To make a pillow, first cut your fabric into two squares or rectangles that are ½ an inch bigger than you want your pillow to be. Then put the pieces together, print sides facing, and use a sewing machine or hand sew three of the edges together. Next, turn the pillow right side out, fold in the edges that aren't sewn yet, and press them flat with a hot iron. Finally, stuff your pillow and, using the crease from where you ironed as a guide, sew the opening shut. If you want to learn how to make a pillow without sewing it together, keep reading the article!
