X
wikiHow is a “wiki,” similar to Wikipedia, which means that many of our articles are co-written by multiple authors. To create this article, volunteer authors worked to edit and improve it over time.
This article has been viewed 28,977 times.
Learn more...
The Smart Cover is a good accessory to have with your Apple iPad. It conveniently attaches itself to the tablet using proprietary connection features at the left portion of your tablet. The Smart Cover will protect your device and keep the display clean, and you can even make it into a stand for reading, viewing, or typing. To begin learning how to install a Smart Cover for your iPad, see step 1.
Steps
-
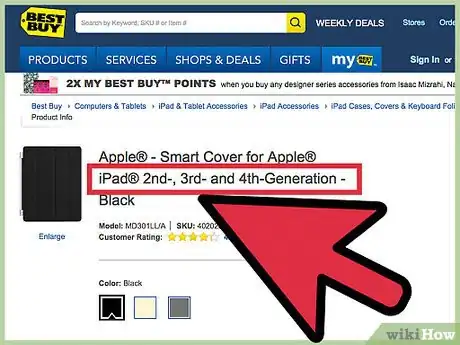
1Make sure the Smart Cover will fit your iPad before purchasing.
- If you are ordering online, the Smart Covers for the different iPad sizes may look alike, so before ordering, make sure that your product search is accurate for the device you have.
- If you are buying locally from a gadget shop, make sure to read the label to ensure that the Smart Cover is the right match for your device.
-
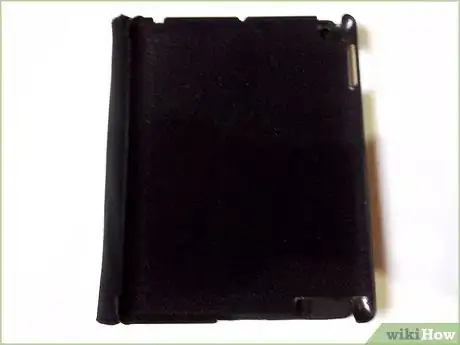
2Unbox the Smart Cover. When you get your hands on your Smart Cover, it is important to unbox it properly to prevent any damage to it. Remove the top flap carefully then slide out the Smart Cover from the packaging.Advertisement
-
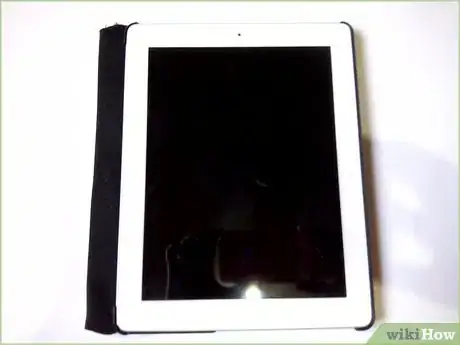
3Install the Smart Cover. At the left side of the Smart Cover, you will find a silver surface with a rubber material on it. This is where the magnet is located, as well as the rubber that ensures a snug connection.
- Bring the silver surface close to the left side of your Apple tablet. Inch it closer to let the magnets snap onto each other. You do not need to align the magnets since they do that for you automatically.
- When that’s done, fold the Smart Cover over to the face of your tablet. This will put the tablet automatically into sleep mode. To wake the tablet, simply open the cover.
Advertisement
About This Article
Advertisement
