wikiHow is a “wiki,” similar to Wikipedia, which means that many of our articles are co-written by multiple authors. To create this article, 10 people, some anonymous, worked to edit and improve it over time.
This article has been viewed 99,353 times.
Learn more...
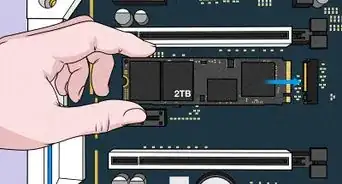
The instructions below will explain how to install a Serial ATA hard drive to an old motherboard with only IDE hard drive port. IDE hard drives are smaller in memory size, more expensive and slower at transferring files. Sata hard drives can help you extend the life of your old computer. If you have an old computer but wish to install a newer Sata hard drive you will have to do these steps.
Note: You will need an operating system that allows Fat32, NTFS or Linux File systems due to the fact that the hard drives may be larger than the allowed size to older operating systems.
Steps
-
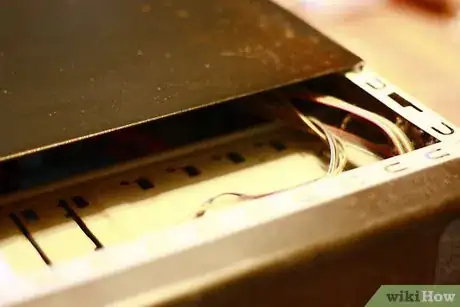
1Open left panel ( left panel while facing the front of the tower) of your computer case. You will need to remove the two rear Phillips head screws holding the tower panel to access the interior of the computer.
-
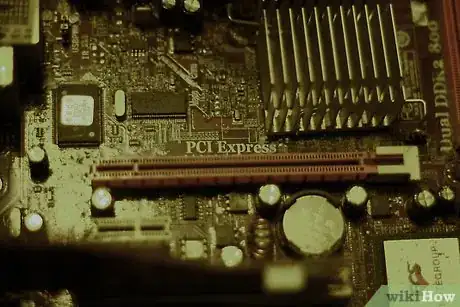
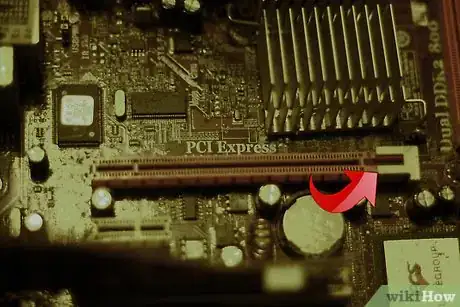
2Identify an locate a PCI slot open to place your PCI Sata controller card.Advertisement
-
3Wear anti static gloves or wrist band to avoid discharging an electrostatic shock. If you do not have these items simply lean your elbows against the frame of the tower while working inside the computer, this will halt any static that can discharge from your fingers and ground you while you work. If you can, avoid working near carpeted areas.
-
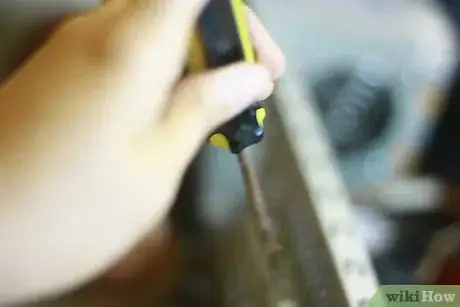
4Remove the aluminum tab from the rear of the tower. Use the screwdriver to twist it slightly an pry it off do not lean the screwdriver on any electronic component while doing this step, doing so may damage your computer. Sharp edges of the aluminum tab can cut skin
-
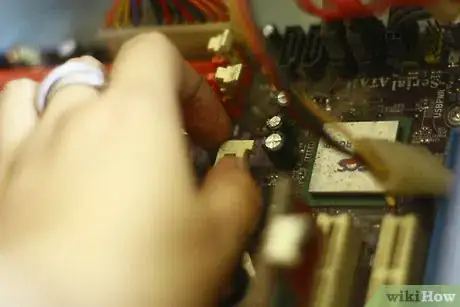
5Place the silver bracket of the PCI Sata controller card loosely into the slot on the side of the tower. Align the PCI Sata controller pins with the PCI Slot on the motherboard. Always double check and make sure they are properly aligned. Once aligned delicately press down on the edge of the PCI Sata controller card. Avoid touching any of the chips and circuits with your fingers. Pressing too hard on them may break them off
-
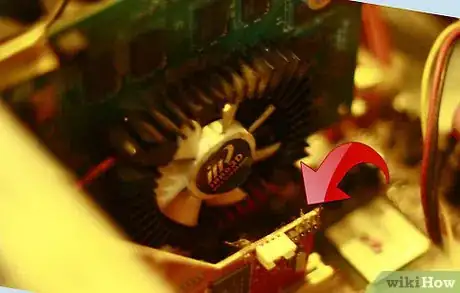
6You will feel it slide and come to a stop, when it stops then it is in place. If your uncertain then pull it out and try again. Make sure you press down evenly this will avoid being half in and half out of the slot. The image below is an example of a PCI Sata Controller card.
-
7Once the PCI sata controller card is in place, fasten it to the tower with a screw make sure it is solid and will not fall out of its slot. You can test this step by pushing very lightly on the outside of the tower upon the silver tab of the PCI Sata controller card, simply press inwards if its not solid it will pop out of the PCI slot. If this happens start back at Step 4.
-
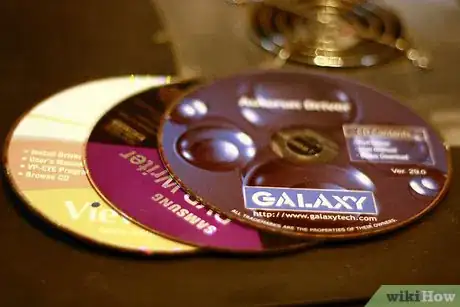
8Boot the computer and install the driver for the Sata controller card. The driver usually comes with the card if you do not have the driver you can find the serial number of the controller card on to its board, search that serial number on the internet and find the driver for the PCI sata controller card.
-
9Turn off the computer and remove the power cable from the tower. Take the hard drive you wish to install and place it into an empty hard drive bay of your computer tower. Make it solid by screwing both opposite side with computer screws (Screws usually come with the hard drive). Make sure it is solid and will not move. Your hard drive bays are usually at the front of the tower below your CD/DVD Rom drive. This location can change depending on your tower.
-
10Plug your Sata cable into the PCI Sata controller card and the other end into your Sata hard drive. The image below is an example of s Sata Connector cable.
-
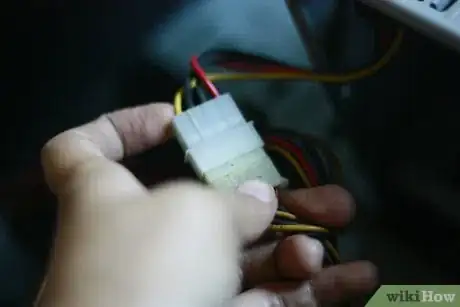
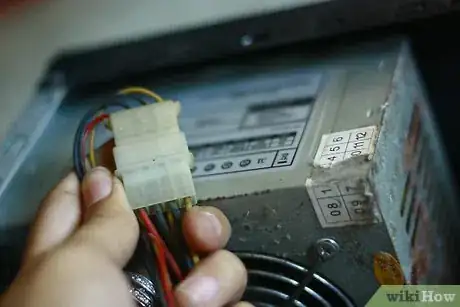
11If your power supply has the Sata power cables then plug one into your new hard drive. If you do not you will need an adapter that plugs into the older 4 pin power connector and converts into a Sata power connector. The image below is an example of an adapter.
-
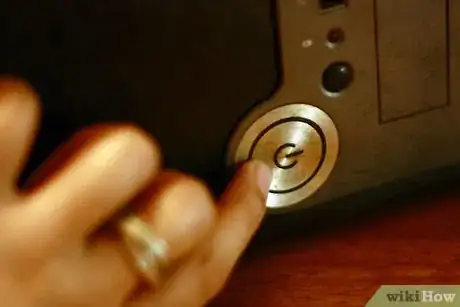
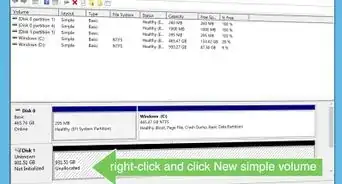
12Power up and boot your computer. Verify that your computer has recognized your new hard drive. You can do this in several different ways if your comfortable in the bios menu you can verify there. Also in the Computer Management program in windows XP. This program is located under Control panel/ Administrative tools/ Computer management. Once in the program you will see a list of hard drives for your computer under the “Disk management” tab.
-
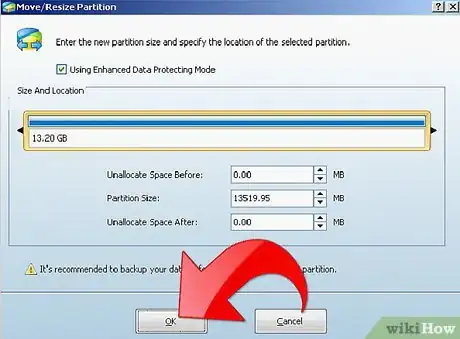
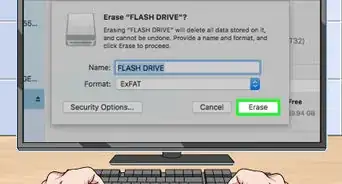
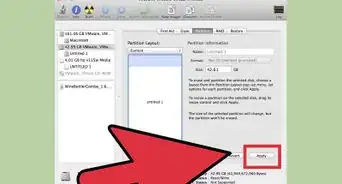
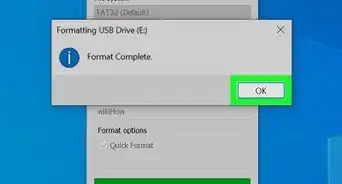
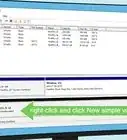
13Partition the drive and format the drive. Depending on which Operating system you use you will have different instructions at this point. If you verified your drive through the computer management program, the disk management tab will display your drive, right click on it and select create partition. Once partition is made go to “My computer” and the drive will appear. Right click on the new partitioned drive and select format disk. Some Older Operating systems will not accept the entire space of the newer hard drives, you may need to partition the new drive into two or three partitions to access its full potential.
Warnings
- Turn off your computer and unplug the power cable ( Black cable ) from the rear of the tower before starting. You can receive an electric shock from touching any interior component while it is running.⧼thumbs_response⧽
- Partitioning a drive that was already active on your computer will erase any information that was on it, formatting the wrong drive will also erase all files, not all operating system prompt you before doing these actions.⧼thumbs_response⧽
Things You'll Need
- One PCI Sata controller card
- Computer case screws
- One Sata controller cable
- One Sata hard drive
- One Phillips head screwdriver
- One Sata power adapter
