This article was co-authored by wikiHow Staff. Our trained team of editors and researchers validate articles for accuracy and comprehensiveness. wikiHow's Content Management Team carefully monitors the work from our editorial staff to ensure that each article is backed by trusted research and meets our high quality standards.
This article has been viewed 29,500 times.
Learn more...
This wikiHow shows you how to group a set of Microsoft PowerPoint animations together using Windows or macOS. You'll also learn how to group a set of objects together to apply a single animation.
Steps
Grouping Animations to Run at the Same Time
-
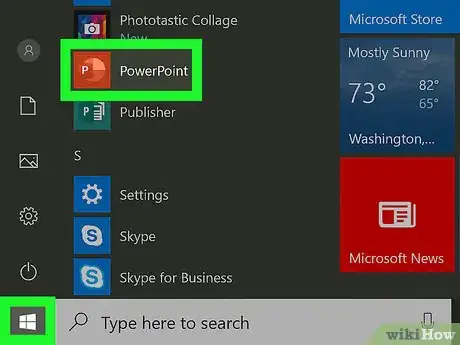
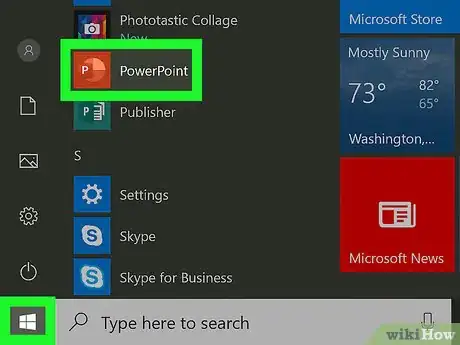
1Open Microsoft PowerPoint. The icon is reddish orange with white lines in it. You can find it in your Applications folder on a Mac, or in the Start menu on a PC.
-
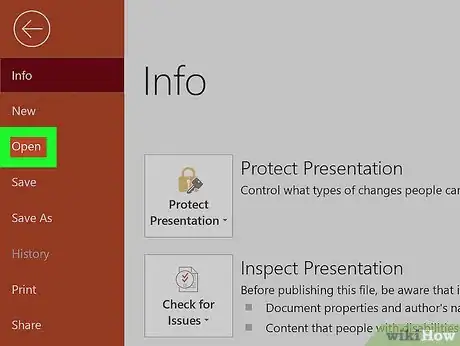
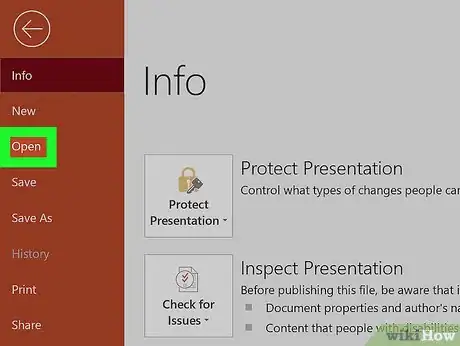
2Open your project. You can open an existing project by clicking File and then Open from the top-left corner.Advertisement
-
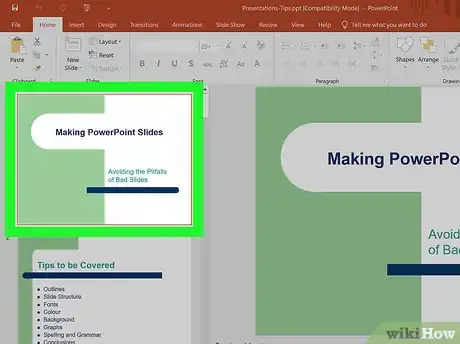
3Go to the slide with the objects you want to animate. Have your animation paths and effects all set up.
- To learn more about animations in PowerPoint, see this wikiHow.
-
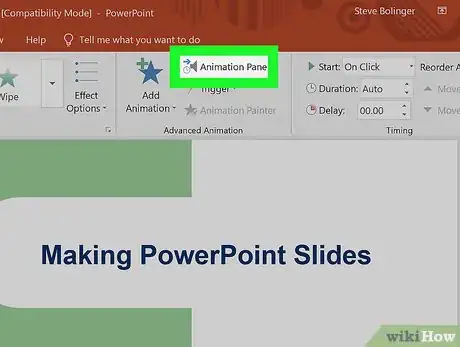
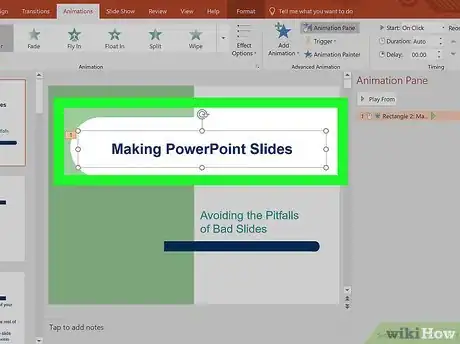
4Click Animation Pane. This is located at the top next to the star icon that says "Add Animation." A list of your animations will appear.
-
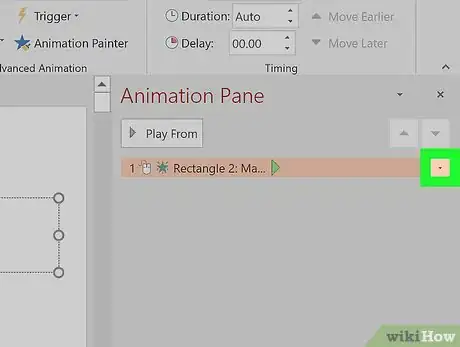
5Select the first object to animate. You'll do this on the Animation Pane. It will become highlighted and an arrow will appear.
-
6Click the down-arrow ▼ next to the object. A menu will expand.
-
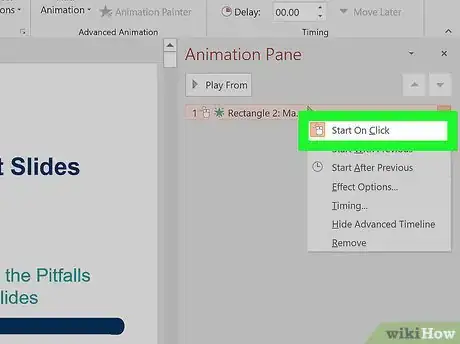
7Select Start with Click from the menu. This will make the animation begin when you click on it while presenting.
- If you want to customize the transition further, click Timing from the drop-down menu. This will open another window where you can control delays and animation duration.
-
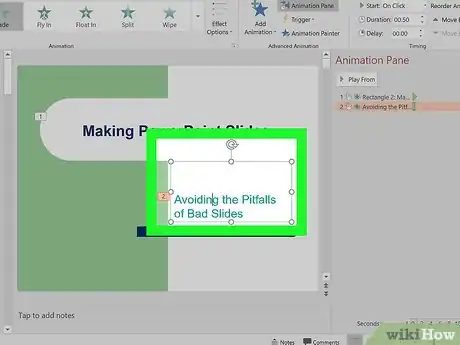
8Select the next object to animate. Just click its layer on the Animation Pane.
-
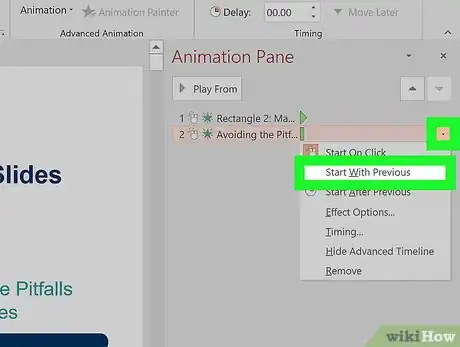
9Click the down-arrow ▼ and select Start with Previous. This makes the selected object animate at the same time as the previous. These two animations are now grouped together.
-
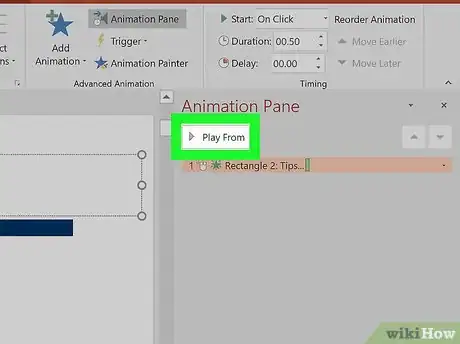
10Repeat steps 8-9 for objects you want to animate together. You can preview your animations by clicking Play From.
- To group and animate two objects after the previous animation ends, select Player After Previous.
- You can click and drag each object around to change the sequence of animations. Just remember that the first object in the list under the Animation Pane will always play first.
Animating a Group of Objects
-
1Open Microsoft PowerPoint. The icon is reddish orange with white lines in it. You can find it in your Applications folder on a Mac, or in the Start menu on a PC.
- Use this method if you want to apply one animation to multiple objects, such as text or images, at once.
-
2Select the presentation you want to group animations in. Alternatively, you can also select “blank presentation” to start a new one.
-
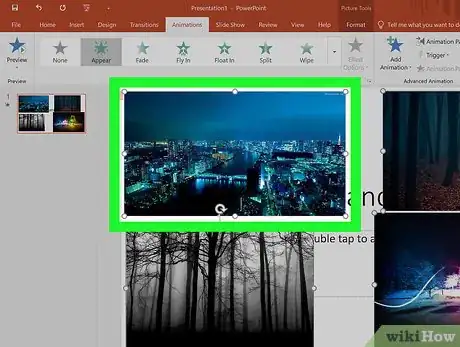
3Select the objects you want to group. Hold Control (PC) or ⌥ Option (Mac) as you click to select multiple objects. This should create a black, square outline around each object.
-
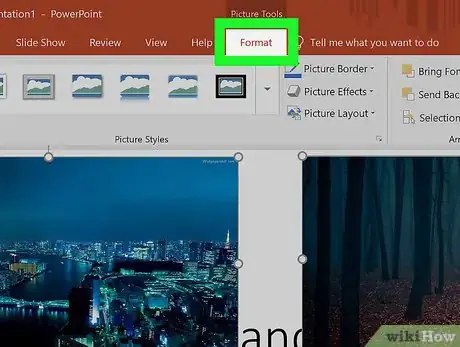
4Click the Format tab at the top. This will open up a different menu.
-
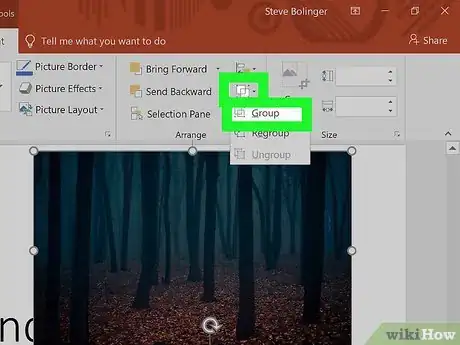
5Click Group and Group again from the menu. This will group together all of your selected objects.
- To ungroup your objects, select Ungroup from this menu.
-
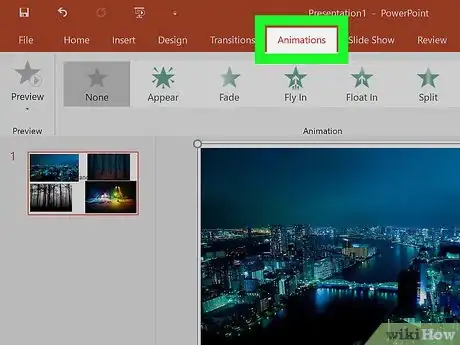
6Click the Animations tab at the top. Make sure your group is still selected.
- To check if your group is still selected, you should be able to drag all of them at once on the screen.
-
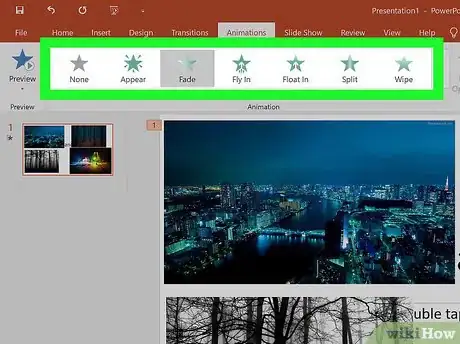
7Select an animation that you want to apply to the group. This will apply the animation to your grouped objects.
About This Article
1. Open Windows PowerPoint.
2. Hold CTRL and click each object you want to group.
3. Click the Format tab at the top.
4. Click Group and Group again from the drop-down menu.
