An easy-to-use guide to permanently delete files on an SD card
X
This article was written by Aydin Yildiz and by wikiHow staff writer, Jack Lloyd. Aydin Yildiz is an Electronics Repair Specialist and the Founder of Aasha Inc. With more than five years of experience, he specializes in phone, tablet, and computer repairs. Aydin holds an MBA from Southern States University.
This article has been viewed 2,124,190 times.
This wikiHow teaches you how to format an SD card, which is a form of removable storage found in cameras, tablets, and phones. Formatting a drive of any kind removes all of the drive's files, so make sure you back up your SD card's files (such as photos or videos) before formatting it.
Steps
Method 1
Method 1 of 3:
On Android
-
1Make sure your Android's SD card is in place. If you need to insert the SD card, you may need to remove the back from your Android. To do so, just poke the hole.
- Tablets and phones use microSD cards, which are miniature versions of the SD cards found in cameras and such.
- In some cases, you'll need to remove the battery from your Android as well before you can access the SD slot.
-
2Advertisement
-
3Scroll down and tap Storage. You'll find this option about halfway down the Settings page.
- On a Samsung device, tap Device maintenance.
-
4Tap your microSD card's name. It should be below the "Portable storage" heading.
-
5Tap ⋮. This option is in the top-right corner of the screen.
-
6Tap Storage settings. It's at the bottom of the drop-down menu.
-
7Tap Format or Format as internal. If you want to set up your SD card as an internal storage option, tap Format as internal. If you're simply attempting to erase your SD card, tap Format.
- You may first have to tap Storage at the bottom of the page on a Samsung device.
-
8Tap ERASE & FORMAT. It's at the bottom of the page. Doing so will begin formatting your SD card for your Android device.
- This process should only take a few seconds. Once it's complete, your SD card has successfully been reformatted.


Advertisement
Method 2
Method 2 of 3:
On Windows
-
1Insert the SD card into your computer. Your computer should have a thin, wide slot on its housing; this is where the SD card goes.
- Make sure you insert the SD card angled side first and label side up.
- If your computer doesn't have an SD card slot, you can purchase an SD-to-USB adapter that plugs into a USB port and into which you'll plug the SD card.
-
2
-
3
-
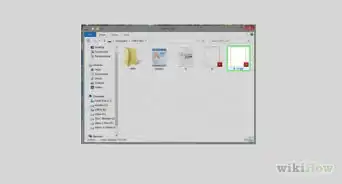
4Click This PC. This monitor-shaped icon is on the left side of the File Explorer window.
-
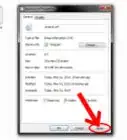
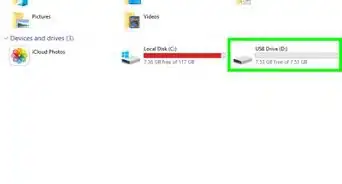
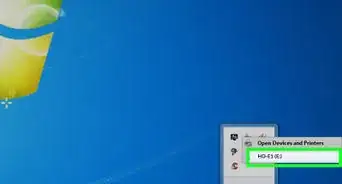
5Click your SD card's name. You'll find it below the "Devices and drives" heading in the middle of the This PC window. Your SD card will typically have "SDHC" in its name.
-
6Click the Manage tab. It's a menu item in the top-left side of the This PC window.
-
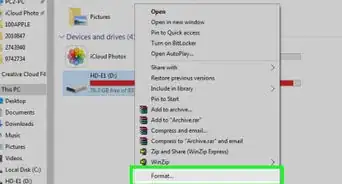
7Click Format. This icon, which is in the top-left side of the window, resembles a flash drive with a red, circular arrow on it. Doing so opens the Format window.
-
8Click the "File System" box. It's below the "File System" heading near the top of the page. A drop-down menu will appear with the following options:
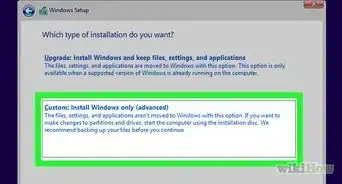
- NTFS - The default Windows operating system format. This format only works with Windows.
- FAT32 - The most widely compatible format. Works on Windows and Mac, but has a total storage limit of 2 terabytes, however individual files are limited to a max size of 4 gigabytes.
- exFAT (Recommended) - Works on Windows and Mac, and has no storage limit.
-
9Click a format. Doing so will select it as the formatting type.
- If you've formatted your drive before, check the Quick Format box as well.
-
10Click Start, then click OK. Windows will begin formatting your SD card.
- Your SD card's photos will be deleted during this process.
-
11Click OK when prompted. This indicates that your SD card has been altered to support your selected format.


Advertisement
Method 3
Method 3 of 3:
On Mac
-
1Insert the SD card into your computer. Your computer should have a thin, wide slot on its housing; this is where the SD card goes.
- Make sure you insert the SD card angled side first and label side up.
- Many newer Macs don't have an SD card slot, so you'll need to purchase an SD-to-USB adapter in order to connect your SD card.
-
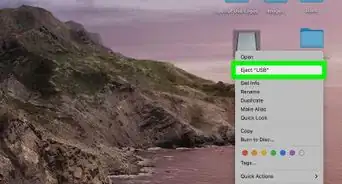
2Open the Finder. It's a blue, face-shaped icon in the Dock.
-
3Click Go. This menu item is on the left side of your Mac's menu bar, which is at the top of the screen.
-
4Click Utilities. It's in the Go drop-down menu.
-
5Double-click Disk Utility. It's in the middle of the Utilities page.
- The utilities on this page are usually arranged alphabetically.
-
6Click your SD card's name. You'll see it in the window that's on the far-left side of the Disk Utility page.
-
7Click the Erase tab. It's at the top of the Disk Utility window.
-
8Click the box below the "Format" heading. This box is in the middle of the page. Doing so causes a drop-down menu to appear with the following format options:
- Mac OS Extended (Journaled) - The default Mac format. Only works on Mac.
- Mac OS Extended (Journaled, Encrypted) - Encrypted version of the default Mac format.
- Mac OS Extended (Case-sensitive, Journaled) - Version of the default Mac format that treats files with the same name differently if there are case differences (e.g., "file.txt" and "File.txt").
- Mac OS Extended (Case-sensitive, Journaled, Encrypted) - A combination of the three above formatting options for the Mac format.
- MS-DOS (FAT) - Works on both Windows and Mac computers, but has file size limit of 4 gigabytes.
- ExFAT (Recommended) - Works on both Windows and Mac computers. Has no storage limit.
-
9Click a format you want to use. Doing this will set your selected format as the preference for your SD card.
-
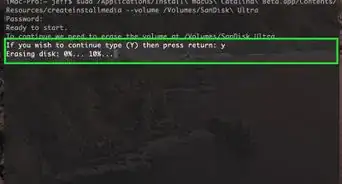
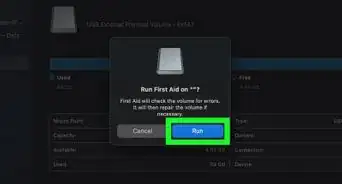
10Click Erase, then click Erase when prompted. Doing so will cause your Mac to begin erasing and reformatting your SD card. Once this process is complete, your SD card will support your selected format.


Advertisement
Community Q&A
-
QuestionIs FAT32 and ExFAT the same thing?
 wikiHow Staff EditorThis answer was written by one of our trained team of researchers who validated it for accuracy and comprehensiveness.
Staff AnswerwikiHow Staff EditorStaff AnswerNo, they are different. The main difference is that FAT32 has a file limit of 4GB, whereas ExFAT has a much larger limitation, being designed for larger files. ExFat is also a newer file system. FAT32 is fine for small file transfers and has the benefit of being compatible with both Windows and Mac computers, as well as Linux and older computers, while ExFAT is only useful for recent Windows and Mac operating systems. -
QuestionHow do I clear my SD card on my computer?wikiHow Staff EditorThis answer was written by one of our trained team of researchers who validated it for accuracy and comprehensiveness.
Staff AnswerwikiHow Staff EditorStaff AnswerTo erase your SD card on a Windows computer, insert the SD card first. Then go to Start and choose Computer. This will open the File Manager. Find the SD card’s drive, right click on it and a drop-down menu will appear. Here you can highlight Format. Do not use the Quick Format option (uncheck it), and then allow the erasure to occur. The SD card should now be cleared and ready for use again. -
QuestionHow do I format an SD card for my camera?wikiHow Staff EditorThis answer was written by one of our trained team of researchers who validated it for accuracy and comprehensiveness.
Staff AnswerwikiHow Staff EditorStaff AnswerIt is important to read the manual accompanying your camera to be sure you are following the exact process required for your camera. However, a general method is to insert the SD card into your camera, then open the Menu to find Settings. Once you’ve gone into Settings, press the arrow to take you up and down the Settings menu until you find Format Menu Card (or similar text). Highlight that line, press or tap, and you may be prompted with a message like OK (in which case agree to it or follow other relevant prompts) and allow the formatting to occur.
Advertisement
Warnings
- If you don't back up your SD card before reformatting it, you won't be able to retrieve the deleted files.⧼thumbs_response⧽
Advertisement


About This Article

Aydin Yildiz
Electronics Repair Specialist
This article was written by Aydin Yildiz and by wikiHow staff writer, Jack Lloyd. Aydin Yildiz is an Electronics Repair Specialist and the Founder of Aasha Inc. With more than five years of experience, he specializes in phone, tablet, and computer repairs. Aydin holds an MBA from Southern States University. This article has been viewed 2,124,190 times.
How helpful is this?
Co-authors: 19
Updated: November 29, 2022
Views: 2,124,190
Categories: External Storage Devices
Advertisement