This article was co-authored by wikiHow Staff. Our trained team of editors and researchers validate articles for accuracy and comprehensiveness. wikiHow's Content Management Team carefully monitors the work from our editorial staff to ensure that each article is backed by trusted research and meets our high quality standards.
This article has been viewed 170,473 times.
Learn more...
Are you looking for a free video editing tool? This wikiHow will teach you how to edit videos using the free mobile app, CapCut. Many people use the app to edit videos for TikTok, but the opportunities are endless! We will outline most of the more popular and essential features. These range from basic editing tricks, including how to navigate the app, to more unique features such as adding background music and filters.
Steps
Getting Started with CapCut
-
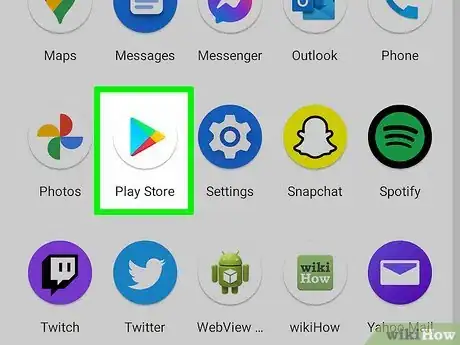
1Download the app. CapCut is available to download on iPhone and Android devices. Navigate to your respective application store (i.e. Apple App store or Google Play Store).
-
2Tap on the ‘Search’ icon in the lower right corner. Next, tap on the top search bar and type in ‘CapCut.’
- If using an Android with Google Play, tap on the top search bar labeled, ‘Google Play’ and type in ‘CapCut.’
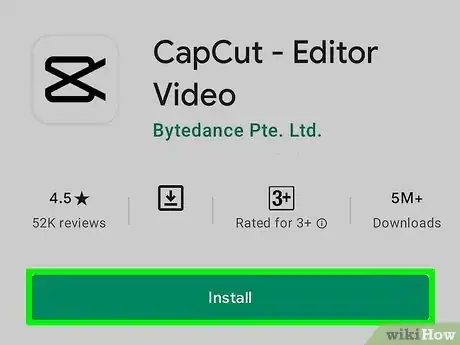
- In your search results, tap on the app titled ‘CapCut - Video Editor.’
Advertisement -
3Tap the Download/Install button. It is completely free to download!
-
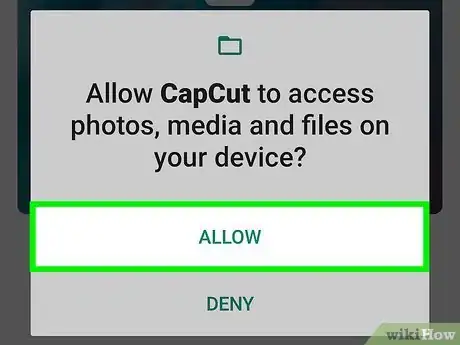
4Give CapCut access to your camera roll. This allows you to insert the video clips you want to edit! Open the app and tap on the “New Project” button at the top of your screen.
-
5Tap on the green ‘Confirm’ button. This acknowledges that CapCut needs access to your photos. On the next pop up window, tap the button that allows access to all photos.
- You will only need to complete this step the first time you open the app!
Familiarizing Yourself With the Interface
-
1Start a New Project. After opening the app, tap on the “New Project” button - a new screen will pop up that displays your camera roll videos.
-
2Select a video clip. Locate which video clip you want to add to your project by scrolling through the new page that shows your camera roll. Tap on the thumbnail of your desired video and tap the “Add” button in the lower right corner of your screen.
- For now, you are just choosing one video clip. We’ll guide you through adding more clips in a later step.
-
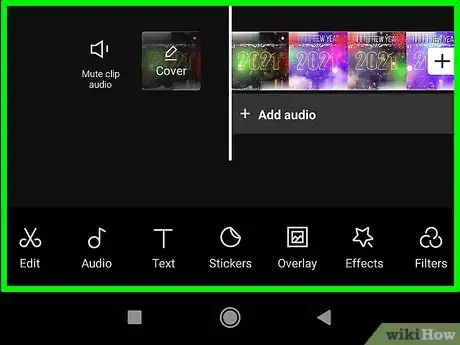
3Get to know your workspace. CapCut directs you to your primary workspace after you upload your first clip. This is where you will spend most of your time in the app. From top to bottom, there's the preview panel, timeline, and toolbar.
-
4View the preview panel. This is the top half of your screen and it displays a preview of what your edited video clip will look like.
-
5View the timeline and toolbar. These are the bottom half of your screen. The timeline is below the preview panel and it is where you will perform all your edits. The toolbar at the very bottom of your screen contains all of your editing tools like split, audio, text, stickers, effects, and more.
Completing Basic Editing
-
1Trim video clips. "Trimming" in video editing is when you shorten the beginning or end of your video. To trim the beginning of your clip, drag your finger from right to left on the timeline until the playhead is where you want the video to start. The playhead is the white line underneath the play button. Next, tap on the clip and drag the thick white line on the left to meet the adjusted playhead. Your video will now start at the location where you put the playhead.
- Trimming means that the part of your clip that used to be between the thick white line and the adjusted playhead will be completely cut out.
- To trim the end of your video, perform this step on the right side. Drag the timeline to the place you want the video to end (indicated by the playhead). Then tap on the clip and drag the thick white line on the right to meet the playhead.
-
2Join video clips. If you want to add more clips to your project, use the ‘Join’ tool to do so. Tap on the white "plus" button on the right of the timeline. Then select another clip, tap on its thumbnail, and click "Add" in the lower right corner. You will now see the new clip located to the right of the old clip on your timeline!
- If you want to switch around the chronological order of your clips, simply press, hold, and drag a clip in the timeline and to your desired location (i.e. placing the new clip to the left of your old clip to make it play first).
-
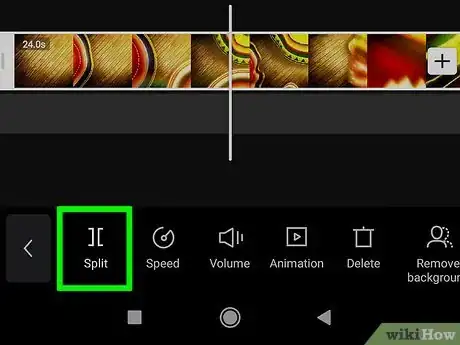
3Split video clips. To split a clip in two, drag the timeline until the playhead is where you want to split. Tap on your clip, and then on the “Split” icon in the toolbar. Your result will now display two separate clips, rather than one.
- This can be helpful if you want to place a separate clip in the middle of one. Split the original clip where you want the other one to go, then use the Join tool to add a new video. Drag this new clip in between the split you just created!
Applying More Advanced Edits
-
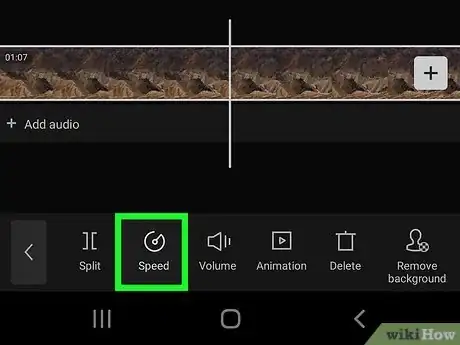
1Change the speed of your video. Speeding up or slowing down a clip is a popular feature that many people use for TikTok videos. Tap on a clip in your timeline, then tap on the "Speed" button in the toolbar - the icon looks like a small circle inside a larger circle.
- Something to keep in mind when slowing down a clip is that it may affect the quality of your video, depending on the frame rate of your original clip. We suggest making sure that your video is 60fps or higher to ensure a high-quality final result.
-
2Use "Normal" speed editing. CapCut has two types of speed edits: "Normal" and "Curve." Tap on "Normal" to speed up or slow down the entire clip. You'll see a slider with speeds ranging from 0.1x to 100x. Simply drag the blue circle along this slider to whichever speed you want, then tap the bottom right check mark.
- Anything below 1.0x will slow it down, and anything above 1.0x will speed it up.
-
3Use "Curve" speed editing. Tap on "Curve" to vary the speed throughout different parts your clip. Tap on any of the pre-made templates CapCut provides, or create your own curve.
- To create a custom curve, tap on "Custom" and manipulate the yellow line by dragging each of the four dots up or down. Placing a dot higher (causing the curve to go up) will speed up that section of the clip, and placing it lower (guiding the curve down) will slow it down. Tap on the bottom right check mark when you're done.
-
4Reverse a clip. To put your video clip in reverse, tap on the clip and then select “Reverse” in the toolbar - the icon looks like a triangle inside a circle.[1]
-
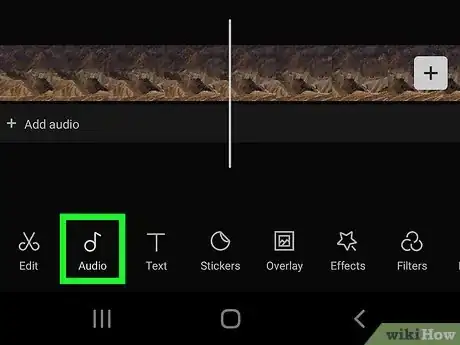
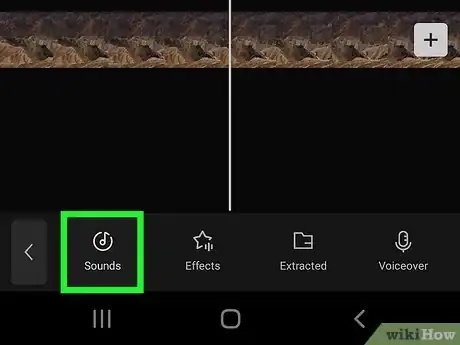
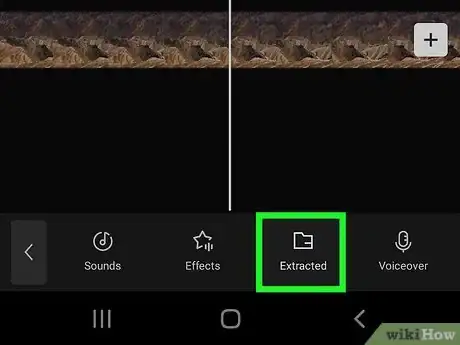
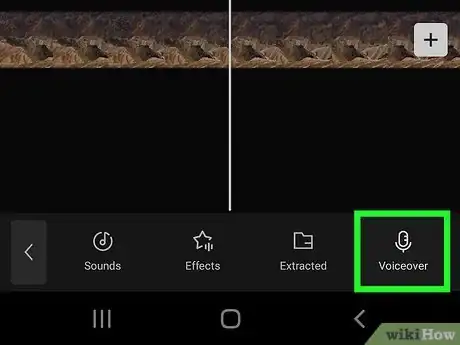
5Tap "Audio" in the toolbar to add some background audio. CapCut has four options for types of additional audio. Tap “Sounds" for music, "Effects" for sound effects, "Extracted" for the audio from any video in your camera roll, or "Voiceover" for a voiceover recording.
-
6Download sound effects or music. For "Effects" and "Sounds," browse through CapCut's different categories and tap on any sound effect or song to preview the audio. Once you find one you want to add, tap the download button next to the sound you pick. Proceed to tap on the plus sign button which will appear on screen once the download is complete.
- Don't be shy to test out lots of different options until you find the one that's just right!
-
7Add sound effects or music. For "Effects" and "Sounds," browse through CapCut's different categories and tap on any sound effect or song to preview the audio. Don't be shy to test out lots of different options until you find the one that's just right!
-
8Extract audio from a video in your camera roll. After tapping on "Extracted," you'll see a page of all your camera roll videos. Tap on a video that you want to take audio from, then tap on "Add" in the bottom right corner. The sound from that video will now appear as audio in your project.
-
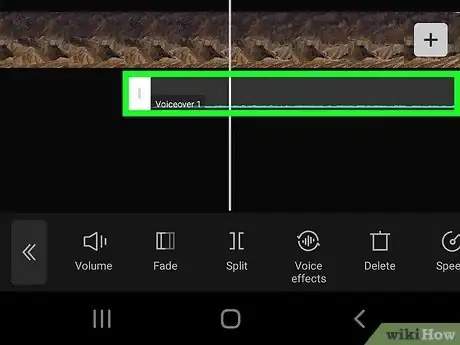
9Record a voiceover. First, drag the playhead to wherever you want the voiceover to start. Tap on "Voiceover," then tap and hold the blue circle icon with the microphone to start recording. simply release your finger to stop recording. Tap the bottom right check mark when you're done.
-
10Move around your audio. Any audio you add will appear below your clip(s) in the timeline. Tap, hold, and drag the audio to your desired location in the timeline. You can also trim the clip if you like as well. Refer to the “Trim your video clip” section of the article for more details!
-
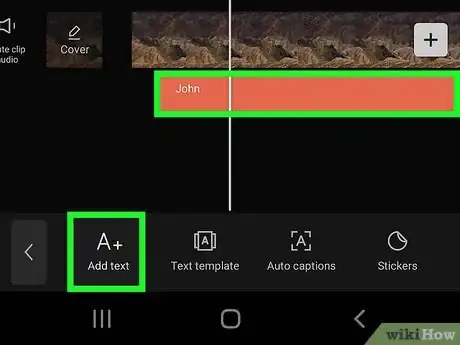
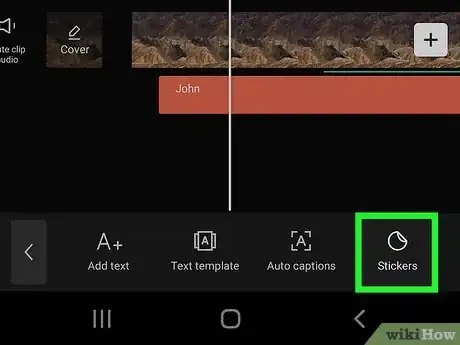
11Add a filter, text, or stickers for a final touch! Put your creative skills to the test and overlay different customizable items onto your video. In your toolbox, tap on icons including “Text,” “Stickers,” "Effects," and “Filters.”[2]
- CapCut lets you move these effects around in the timeline to change their duration and placement. Simply tap on it in the timeline and manipulate it as you would a clip.
-
12Type out text. Tap "Text," type something out, and then tap on the text in the preview screen. Now you can change its appearance by tapping on any of the icons in the toolbar. These include things such as "Style" (changing color, font, size, etc.), "Effects," "Bubble," and "Animation."
- To change the placement, tap on the text in the preview panel and drag it to your desired location.
-
13Browse the stickers. CapCut provides a wide array of stickers to place on top of your video. After tapping "Stickers," browse through the different categories by swiping left or right on the panel displaying all the stickers. To add one, tap on a sticker then tap the check mark on the right side of your screen.
- CapCut lets you change the placement and size of stickers. Tap on it in the preview panel, and then drag it around and/or pinch it with two fingers.
-
14Add different effects. CapCut's effects are separated by "Video effects" and "Body effects." "Video effects" overlay the effect on the entire video screen, while "Body effects" detect any bodies within your clip (adding effects specifically to those figures). Test these out and tap on the bottom right check mark to add them!
-
15Apply a filter. CapCut also gives you a plethora of filters to change the overall color appearance of the video. Select a category (including styles such as "Food," Movies," or "Retro"), then tap on any filter within that category. Again, tap on the bottom right check mark to apply it.
-
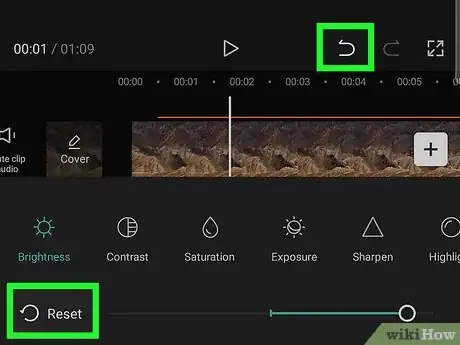
16Undo an edit. If you ever complete an edit that you don’t want to keep, you can easily undo it. Simply tap on the back arrow located directly above the timeline to reverse an action.
