X
wikiHow is a “wiki,” similar to Wikipedia, which means that many of our articles are co-written by multiple authors. To create this article, volunteer authors worked to edit and improve it over time.
This article has been viewed 151,248 times.
Learn more...
This tutorial will show you an easy way to create a circle in Adobe Illustrator.
Things You Should Know
- To create a circle in Adobe Photoshop, you'll use the Ellipse tool, which you'll find on the left toolbar.
- After creating a circle, you can specify its dimensions by clicking the Transform tab and entering your desired width and height.
- You can fill the circle with a solid color, gradient, or pattern, as well as change the color and thickness of its border.
Steps
-
1Create a new circle by using the Ellipse Tool. Type the size of the circle you want in the Options box.
-
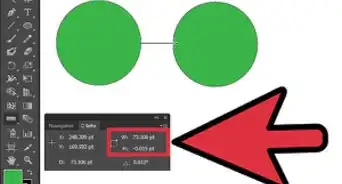
2You can change your circle size by go to Transform>change a size in Width and Height box.Advertisement
-
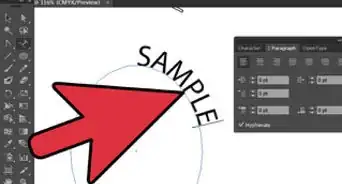
3If you don't mine about the dimensions, you can change a size by click at a circle and you'll see a transform guide, by this, hold the Shift key and adjust the size by use a transform guide
-
4This example shows you a circle with the fill set to “none” and color as “stroke.”
-
5This example shows you a circle with fill set to “color” and stroke set to “none.”
-
6This example shows you a circle with fill set to “color” and color set to “stroke.”
-
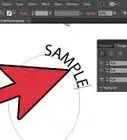
7This example shows you a circle with fill set to “none” and a gradient color stroke in Radial mode.
-
8Finished.


Advertisement


About This Article
Advertisement