This article was co-authored by Luigi Oppido. Luigi Oppido is the Owner and Operator of Pleasure Point Computers in Santa Cruz, California. Luigi has over 25 years of experience in general computer repair, data recovery, virus removal, and upgrades. He is also the host of the Computer Man Show! broadcasted on KSQD covering central California for over two years.
This article has been viewed 242,086 times.
A brochure can be an effective way to present information about your business, product, or service to prospective clients. You can produce your own 3- or 4-panel brochures in Microsoft Publisher, using either its selection of built-in templates or, with practice, you can make one from scratch, and you can customize it with such features as reply forms and an address section. Following are instructions in how to create brochures using Microsoft Publisher 2003, 2007, and 2010.
Steps
Choose a brochure design.
-
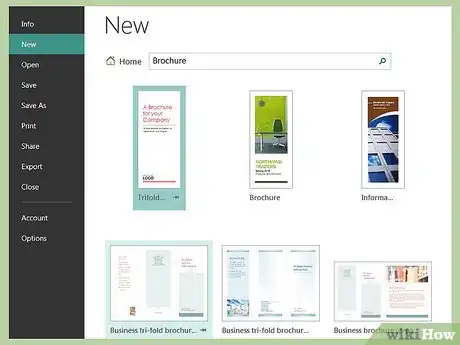
Microsoft Publisher organizes its designs and templates according to purpose. To choose a design:
- In Publisher 2003, select "New" from a design in the New Publication task pane, then select "Brochures" from Publications for Print and click the arrow to the left of "Brochures" to see a list of available brochure types. Select the design you want from the Preview Gallery at the right.
- In Publisher 2007, select "Brochures" from Popular Publication Types, then select one of the designs from Newer Designs, Classic Designs, or Blank Sizes. You can click on any design to see a larger version of it in the upper right of the Brochure Options task pane at the right of the screen.
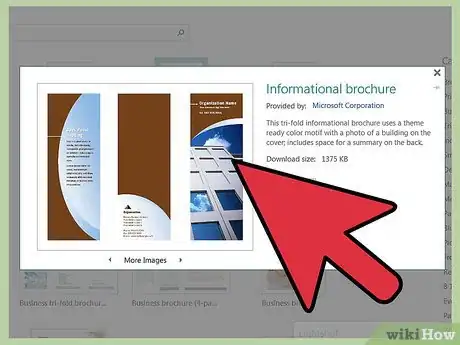
- In Publisher 2010, select "Brochures" from Available Templates, then select a design from the display of brochure templates. You can click on any design to see a larger version of it in the upper right of the Brochure Options task pane at the right of the screen.
- If you don't see the design you want and you have an Internet connection, you can download additional templates from Microsoft.
Choose a panel amount.
-
Decide whether you want to make a 3- or 4-panel brochure. Select "3-panel" or "4-panel" from the Page size section of the Options section of the task pane.
- Publisher lets you make a 3- or 4-panel brochure design on any of a number of paper sizes. Before deciding on whether to make a 3-panel or 4-panel brochure, you may want to fold a sheet of paper of the size you want to print your brochure on in thirds or quarters to help you decide which design you want to make. (A misprinted document is a good choice for this.)
- Page size options are not available if you choose to make your brochure from a blank size template.
Decide whether your brochure is to be handed out or mailed.
-
If you plan to mail your brochure to prospective customers, allow panel space for a mailing and return address. (You supply the mailing addresses from a mail merge from a Microsoft Excel spreadsheet or a Microsoft Access database.) If you plan to hand it out instead, you won't need to allow panel space for a mailing address, although you'll likely want to have your company name and address on the brochure.
- In Publisher 2003, select "Include" under Customer Address to include a mailing address or select "None" to exclude it.
- In Publisher 2007 and 2010, check the "Include customer address" box to include a mailing address and uncheck the box to leave it off.
- The option to include a customer address panel is not available if you choose to make your brochure from a blank template.
Include any necessary forms.
-
If you're using your brochure to solicit information or orders from your customers, include a form in your brochure to collect that information. The Forms dropdown list offers several options:
- None. Choose this option if your brochure is designed solely to present your business without collecting any information from your customer in return.
- Order form. Choose this option if your brochure is a sales brochure from which customers can order the products described in it.
- Response form. Choose this option if your brochure is intended to present your current products or services and solicit information from your customers about new products, changes to products, or improvements to services they'd like to see.
- Sign-up form. Choose this option if your brochure is a sales brochure selling a service for customers to register for.
- Form designs are not available if you choose to make your brochure from a blank template.
Choose a design scheme.
-
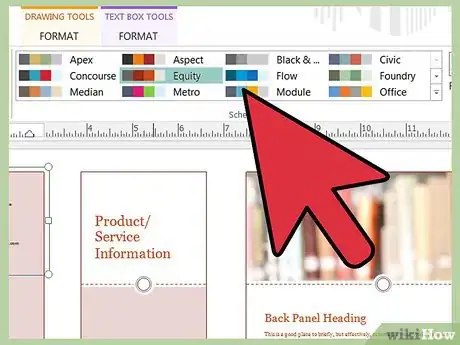
You can add custom colors and fonts to your brochure. Each template comes with a default color and font scheme, but if you wish to use a different color or font scheme, you can do so by selecting the appropriate new scheme. Choose a new color scheme from one of the named color schemes in the Color Scheme dropdown and a new font from the Font Scheme dropdown.
- You can also create your own custom color or font scheme by selecting the "Create new" option from either the Color Scheme or the Font Scheme dropdown.
- If you are producing other marketing materials in Publisher, such as flyers, gift certificates, or special stationery, you should choose the same color and font scheme for all these materials to present a consistent brand identity for your business.
Insert your company information.
-
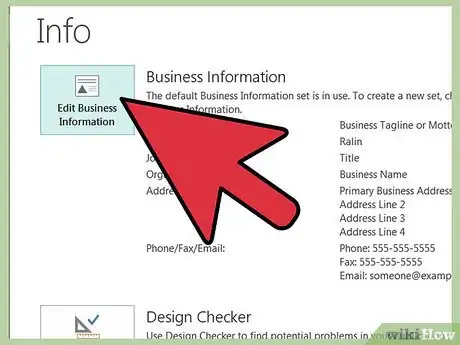
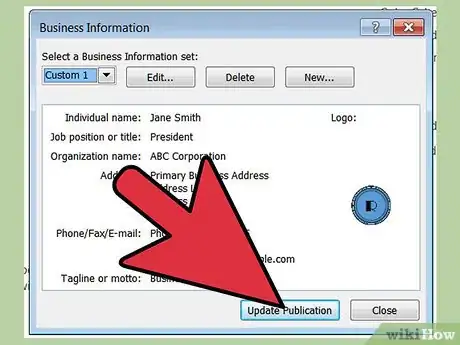
If you're using Publisher 2003, the program prompts you for this information the first time you use it. Afterwards, you select this information from Personal Information in the Edit menu to insert it in your brochure. In Publisher 2007 and 2010, you can select your company information set from the Business Information dropdown or select "Create new" to create a new information set. This information will be inserted into your brochure.
Create the brochure.
-
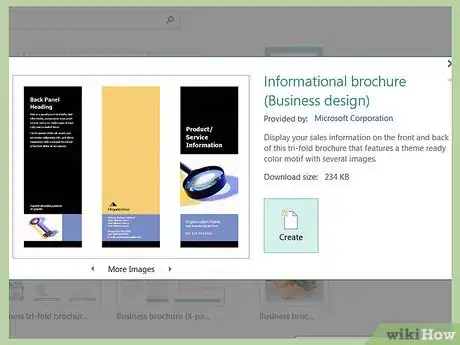
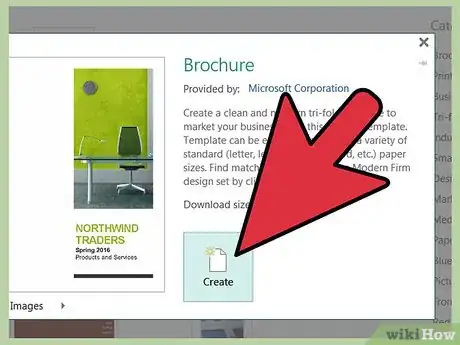
In Publisher 2007 and 2010, click the "Create" button at the bottom of the task pane to create your brochure. (Publisher 2003 automatically assumes at this point that you are creating a brochure and does not feature a Create button on its task pane.)
- You may want to print out the brochure at this point to see if the design is what you want. You can also create a PDF of it at this point to email to others for their input on the design.
Replace any placeholder text with your own text.
-
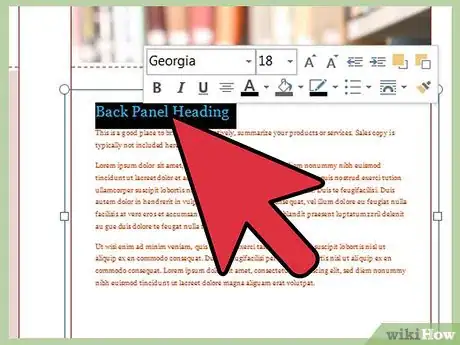
Click on the text you want to replace and type your new text in the text field. Text will automatically resize to fit the box in most cases.
- If you need to set the text to a certain size, either select "AutoFit Text" from the Format menu and then select "Do Not Autofit" (Publisher 2003 and 2007) or select "Text Fit" in the Text group of the Text Box Tools Format ribbon and then select "Do Not Autofit" (Publisher 2010). You can then manually select a new text size.
- Repeat this step for any other text you wish to replace, on both sides of the brochure.
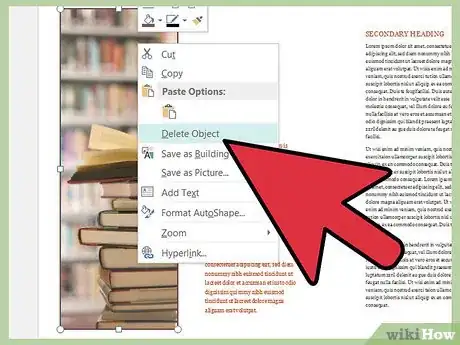
Replace any placeholder pictures with your own pictures.
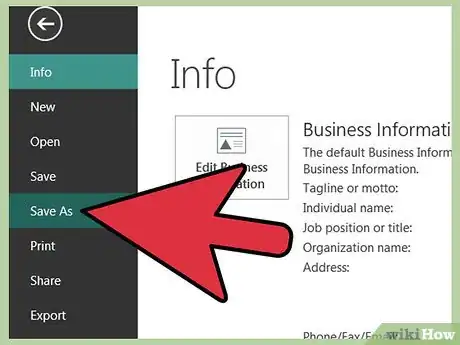
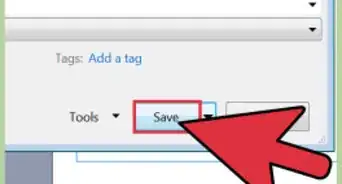
Save the brochure.
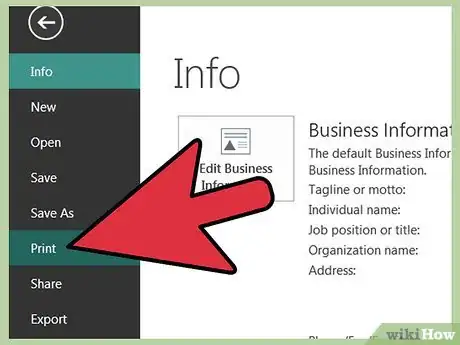
Print copies of your brochure as needed.
-
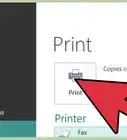
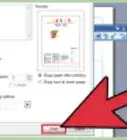
Now that you've saved a copy, you can print it at any time. Before printing your brochure the first time, make sure everything is how you want it before you print.
- If you plan to have your brochure printed professionally, you'll want to save or convert it to PDF format, as most printers prefer to receive documents in that format.
Community Q&A
-
QuestionHow do I get to the back panel of the brochure?
 Community AnswerThere's a tiny icon at the bottom below the scroll (left to right) bar. It shows page-like icons that say the numbers of each of the pages (title page is page 1, back page is page 2).
 -
QuestionWhat's the best size for the letter?
 Community AnswerThis depends on the document you're creating. Letter-sized paper is good for most brochures.
 -
QuestionHow can I change the format to A4?
 Community AnswerTo change the size of your page in MS Publisher go to the "Page Design" tab then click on "Size". Select your desired size from the drop down menu.
Warnings
- Never use block capitals for more than titles; they can be hard to read in a paragraph. Also, avoid using script and other decorative fonts in all uppercase.⧼thumbs_response⧽
- Don't use vertical lines to mark where the brochure may be folded; it may not always be possible to fold exactly on the lines.⧼thumbs_response⧽
- Use only a single space after a period. Two spaces after a period can produce large gaps when the text is formatted or reduced to a small point size.⧼thumbs_response⧽
You Might Also Like
References
- Rodney Ruff, Omaha, NE; Microsoft Publisher user
About This Article

