X
wikiHow is a “wiki,” similar to Wikipedia, which means that many of our articles are co-written by multiple authors. To create this article, volunteer authors worked to edit and improve it over time.
This article has been viewed 58,418 times.
Learn more...
Besides web hosting, GoDaddy also offers email services that can go along with your website. You can have your very own email address linked to your personal or business website, making it more integrated and easy to manage. If you have an Android phone, you can configure your GoDaddy email account to work on your smartphone or tablet so you can keep on receiving those important messages even when you’re away from your PC.
Steps
-
1Open your Android email app. Tap the envelope with an “at” (@) symbol from your smartphone or tablet’s home screen to launch your Android device’s own email application.
-
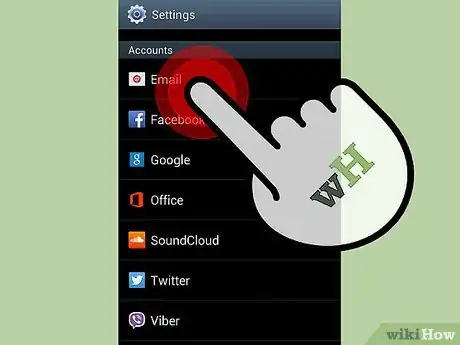
2Create a new account. Tap the Menu button of your device to open the email app’s settings and select “Accounts” from the list.
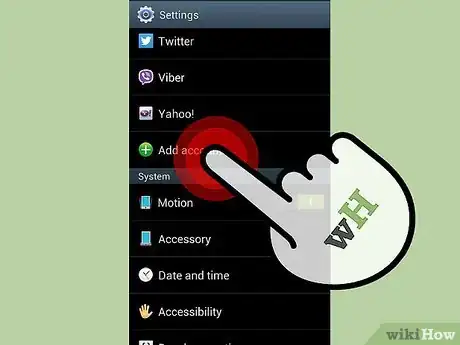
- Tap “Add Accounts” inside the Accounts section to start configuring your GoDaddy email on your Android smartphone or tablet.
Advertisement -
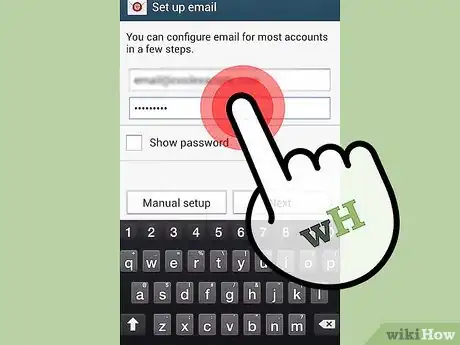
3Enter your GoDaddy email. Make sure that you type in the address and password correctly on the text fields provided, and press “Next” to continue to the next step.
-
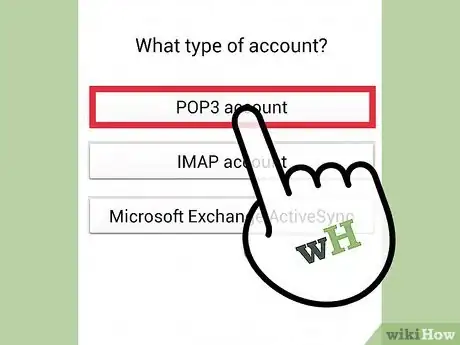
4Select your mail servers. If the GoDaddy email service you signed up for has “IMAP,” choose this setting from the list of choices of mail servers. But if you’re not sure what mail server your email address service is using, then simply pick “POP3.”
- After selecting your mail server, tap the “Manual Setup” button at the bottom of the application screen to continue.
-
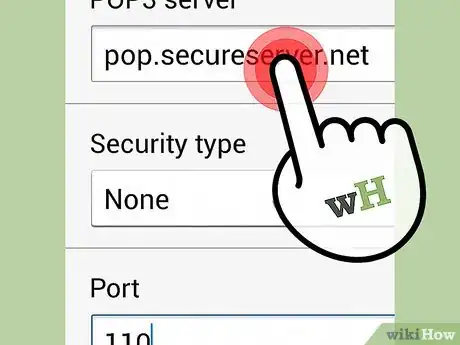
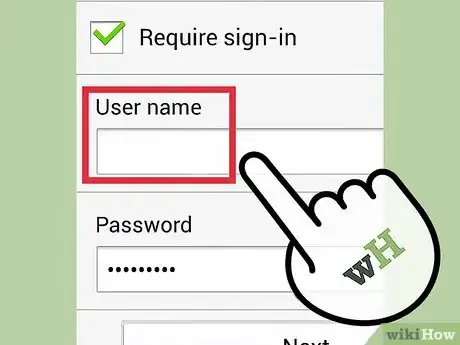
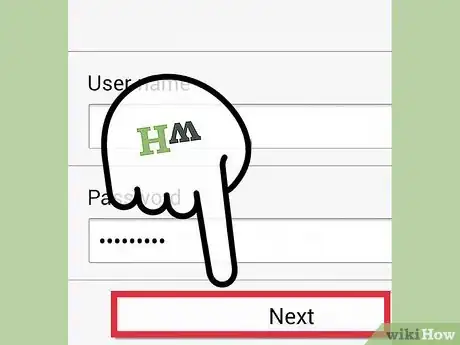
5Enter your incoming mail server settings. Enter the following values on the allocated text fields of your the Incoming Mail Server settings screen, and press the “Next” button to proceed afterwards.
- For POP3 mail server:
- Username: Type in your complete GoDaddy email address (e.g, email@yourwebsite.com)
- Password: Type in the password for your GoDaddy email address
- POP3 server: pop.secureserver.net
- Port: 110
- For IMAP mail server:
- Username: Type in your complete GoDaddy email address (e.g, email@yourwebsite.com)
- Password: Type in the password for your GoDaddy email address
- IMAP server: imap.secureserver.net
- Port: 143
- For POP3 mail server:
-
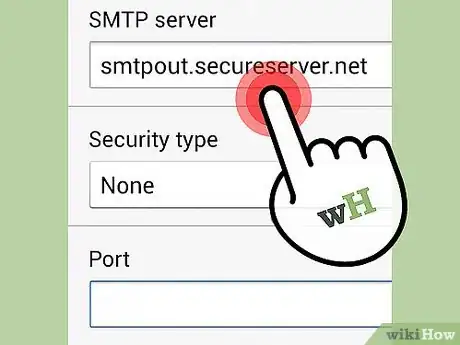
6Enter your outgoing mail server settings. Enter the following values on the allocated text fields of your the Outgoing Mail Server settings screen and tap “Next” to go to the next step.
- SMTP - Outgoing Mail Server
- SMTP server: smtpout.secureserver.net
- Port: 80
- Security type: None
- SMTP - Outgoing Mail Server
-
7Name your GoDaddy email account. On the next screen, type in the name you want to give to your GoDaddy account on your Android, and the name that you want to appear on every message you send through this email account on the text fields provided.
-
8Save the changes. Once you’ve entered all the required information, tap the “Done” button to save and create the new account. You can start receiving your GoDaddy email messages as soon as the account has been configured and saved on your Android device.
Advertisement
About This Article
Advertisement
