This article was co-authored by wikiHow Staff. Our trained team of editors and researchers validate articles for accuracy and comprehensiveness. wikiHow's Content Management Team carefully monitors the work from our editorial staff to ensure that each article is backed by trusted research and meets our high quality standards.
This article has been viewed 10,048 times.
Learn more...
This wikiHow teaches you how to edit an image from your computer on the Fotor Cliparts website with stickers, and save a copy of the edited image to your computer, using a desktop internet browser.
Steps
-
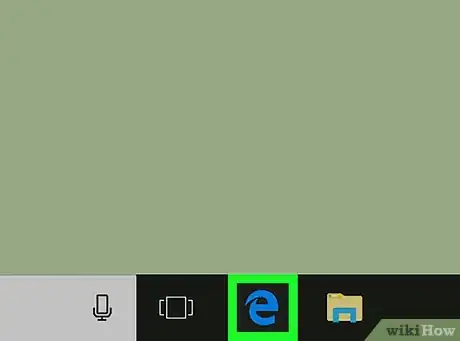
1Open an internet browser on your computer. You can use any browser, such as Firefox, Chrome, Safari or Opera.
-
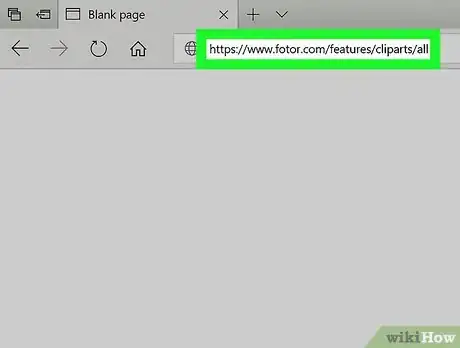
2Go to the Fotor Cliparts website in your browser. Type www.fotor.com/features/cliparts/all into the address bar, and hit ↵ Enter or ⏎ Return on your keyboard.Advertisement
-
3Click Get Started below the "ALL CLIP ART" heading. You can find it at the top of the page. This will open the image editing suite in your browser.
- If you're prompted to accept the privacy terms, click I ACCEPT to continue and use the image editing suite.
-
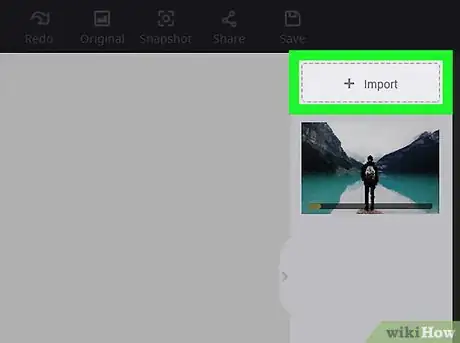
4Click the + Import button on the top-right. This will open a new pop-up window, and allow you to select the image you want to upload and edit.
-
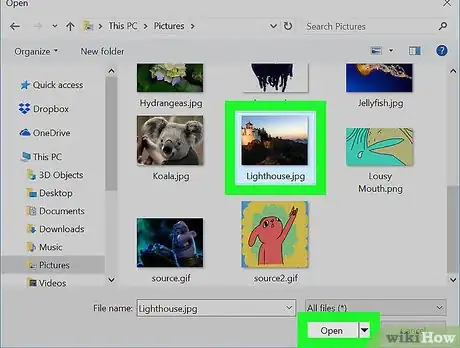
5Upload the image you want to edit. Select the image file you want to edit in the pop-up window, and click Open to upload it.
-
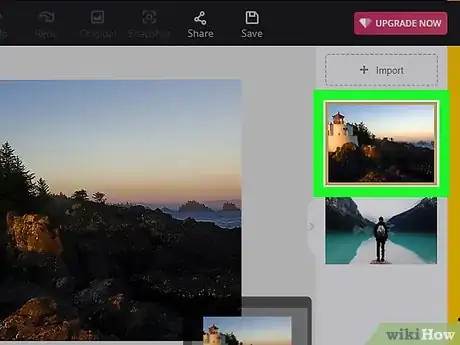
6Click your image on the right sidebar. You'll see a list of all the uploaded images on the right-hand side of the page. Click on the image to start editing it.
-
7Click the Sticker tab on the left sidebar. This option looks like a star in a circle on the left-hand side of the page. This will open the available sticker categories on a panel.
-
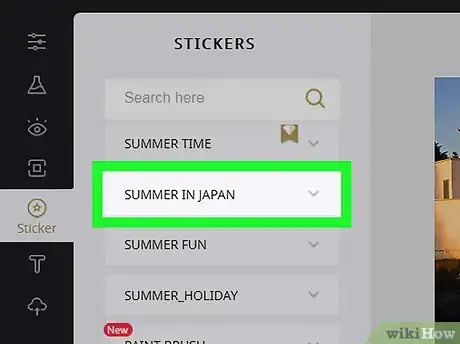
8Click a sticker category on the left panel. Clicking a category will expand a list of all the available stickers in this category.
-
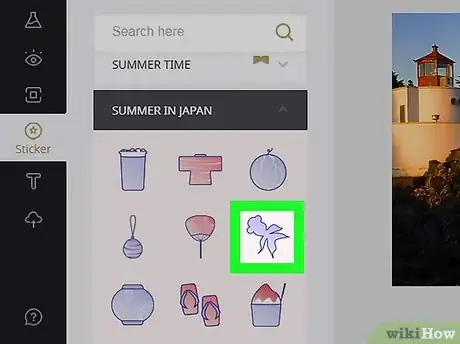
9Click a sticker to add it to your image. Clicking a sticker here will automatically add it to your image on the right-hand side.
-
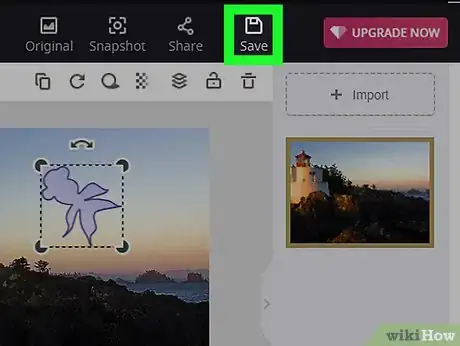
10Click and move the sticker around your image. You can hold down the sticker, and place it anywhere on your original image.
-
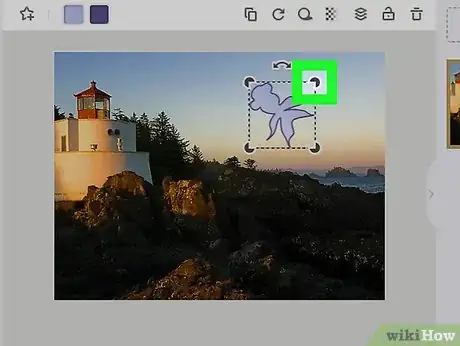
11Click and drag the sticker's corners to resize it. This way, you can make the sticker bigger or smaller on your image.
-
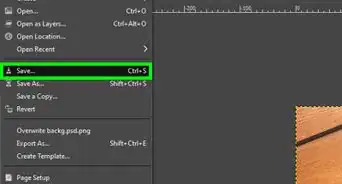
12Click the Save button on the top-right. This option looks like a floppy disk icon on a toolbar at the top of the page. It will open your saving options in a pop-up window.
-
13Click the Download button. This is a brown button in the lower-right corner of the saving pop-up. It will download and save a copy of your edited image to your computer.
- Optionally, you can change your image file's name, select a file format, and select an image quality in the saving pop-up.
- If you don't have a default folder set for your browser downloads, you'll be asked to select a saving location.
About This Article
1. Open Fotor Cliparts in your browser, and click Get Started.
2. Click + Import on the top-right, and upload an image.
3. Click Stickers on the left sidebar.
4. Select a category, and click a sticker.
5. Click and move the sticker around your image.
6. Click and move the sticker's corners to resize it.
7. Click Save on the top-right, and click Download.
