This article was co-authored by Vlad Horol and by wikiHow staff writer, Jessica Gibson. Vlad Horol is a Professional Photographer and the Co-Founder of Yofi Photography, his portrait photography studio based in Chicago, Illinois. He and his wife Rachel specialize in capturing maternity, newborn, and family photos. He has been practicing photography full-time for over five years. His work has been featured in VoyageChicago and Hello Dear Photographer.
This article has been viewed 181,323 times.
If you'd like to take more control over your digital camera's functions, adjust the ISO. The ISO (International Organization for Standardization) determines your camera's sensitivity to light. In addition to shutter speed and aperture, the ISO is responsible for the quality of images you take. By playing around with the ISO, you can greatly improve your photographs, whether you're shooting from a tripod or trying to make the most of unfavourable lighting conditions.
Steps
Choosing an ISO Setting
-
1Use the ISO setting to control light sensitivity. When you adjust your camera's ISO, you're determining how sensitive the imaging sensor is to light. This, along with aperture and shutter speed, will determine the quality of your images. Although ISO levels vary, a standard range is between 200 and 1600.[1]
- The lower the setting, such as 200, the more light the camera will need. The higher the setting, the faster shutter speed you can use.
-
2Determine the brightness of your shot. Once you're ready to adjust your own ISO, figure out your lighting needs. If you're photographing in low lighting, you need the sensor to be extra sensitive to the light, so choose a higher ISO, such as 800. If you're photographing in bright light, you can start with a lower ISO, such as 100 or 200.
- Take several test shots with different ISO levels so you can determine the best ISO for your image.
Advertisement -
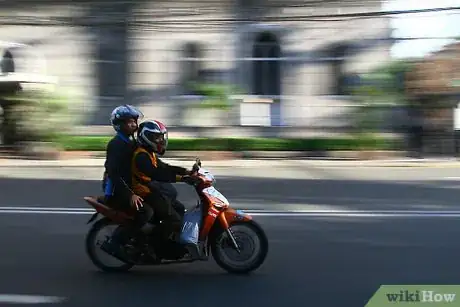
3Pick a high ISO to photograph action shots. If you're taking a picture of a fast-moving subject or a sports event, you're probably using a high shutter speed in order to freeze the action. For high shutter speed or high action shots, the camera sensor should be high so it's extra-sensitive to the brief amount of light it's exposed to.
- For example, you might choose an ISO of at least 1600 to photograph a race.
- If you'll be shooting indoors with artificial light or in a dark room, such as in an art gallery or at a concert, use the camera's flash to add extra light.
- To take a natural light portrait with minimal depth-of-field, increase the aperture so more light hits the camera sensor. Then adjust the ISO until you get the quality you're looking for.
-
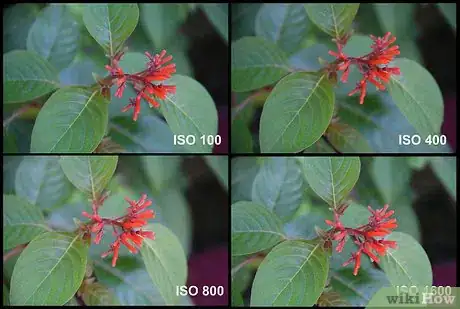
4Select a lower ISO to reduce image graininess. You'll notice that as you go higher with ISO levels, the graininess, also called noise, gets worse. Try to shoot at the lowest ISO you can for your image in order to get the best quality image. Keep in mind that digital single-lens reflex (DSLR) cameras are designed to reduce noise, so it's easier to shoot with a high ISO.[2]
- Grainy images aren't usually an issue if you're shooting in bright light with a low ISO, such as photographing in a bright room, using a flash, or taking outdoor daytime shots.
- If you're using a compact digital camera, try to use a lower ISO since it doesn't have the technology to reduce noise.
- If you're shooting a still life or using a tripod, you can use a low ISO setting. This will also allow you to get a higher quality image with more detail.
-
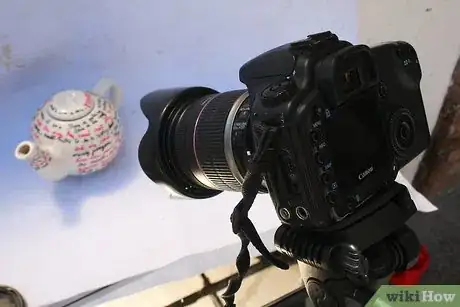
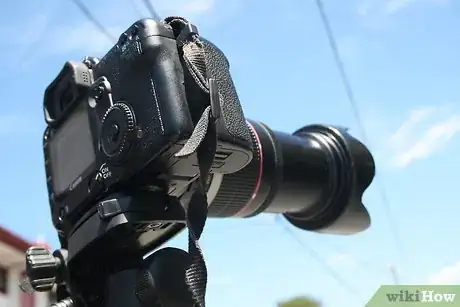
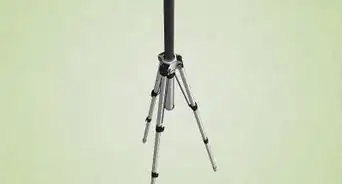
5Set up a tripod for low ISO settings. If you're photographing with low lighting and a low shutter speed, you're more likely to get blurry images. To prevent camera shake and get clearer images, set up a tripod and secure your camera to it.[3]
- Keep in mind that even though you're getting a higher quality image from a low ISO speed with the tripod, it won't be helpful if you're photographing movement.
Adjusting Your Camera's ISO
-
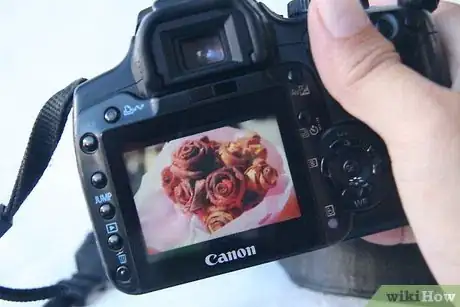
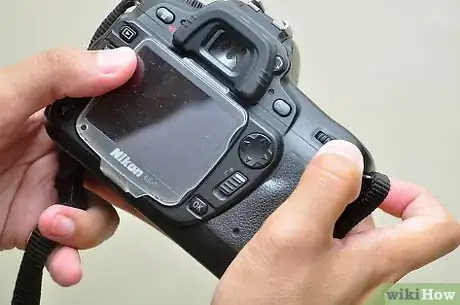
1Locate your camera's ISO control. If you have a DSLR, you can probably adjust the ISO on an LCD screen on top and on the back of the camera. If you're shooting with a compact digital camera, you can use the LCD screen on the back.[4]
- Depending on your camera, you may have a designated ISO control button located on the side or top of the camera. Check your manual to locate the control.
-
2Choose your camera's auto ISO setting to start. If you're unsure where to begin or just want to pay attention to the optimal ISO for your photographs, use your camera's automatic ISO setting. If you have this selected, you won't need to manually adjust the ISO for your images.[5]
- If you'd like some control, check to see if your camera will allow you to set limits on the ISO. For example, you might limit the ISO to 1600.
-
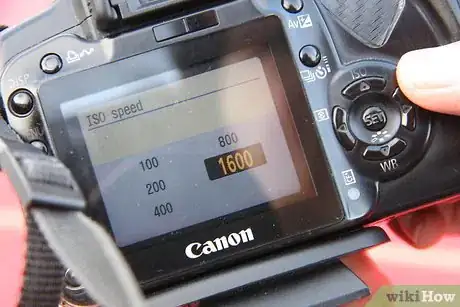
3Scroll through the ISO menu to choose an ISO setting. Once you've pressed the ISO button on the back or top of your camera, you should either see a menu pop up on the LCD screen or see a single number appear on your small LCD screen. Use the scrolling wheel or arrow buttons to scroll through the numbers until you reach the ISO setting you want. Then select the number.[6]
Tip: If your camera doesn't have a designated ISO button, press the Info or Menu button to access the ISO setting.
-
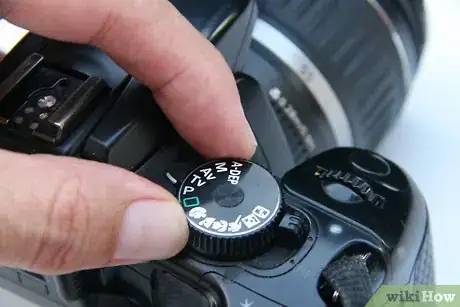
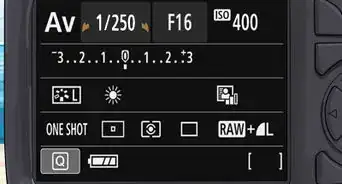
4Play around with the semi-automatic settings. If you want to control ISO and aperture or shutter speed, put your camera in AV (for aperture) or TV (for shutter) priority. These will also let you choose the ISO you'll be shooting at.[7]
- For even more control, push your camera's Manual or Program button. These will allow you to select the ISO, aperture, and shutter speed.
Expert Q&A
-
QuestionWhat should Camera ISO be set at?
 Vlad HorolVlad Horol is a Professional Photographer and the Co-Founder of Yofi Photography, his portrait photography studio based in Chicago, Illinois. He and his wife Rachel specialize in capturing maternity, newborn, and family photos. He has been practicing photography full-time for over five years. His work has been featured in VoyageChicago and Hello Dear Photographer.
Professional Photographer If I'm shooting outdoors, I'll always start my ISO between 100 and 400. Then, I'll move my shutter speed to adjust the light, but if I have to lower the shutter speed below 250, I'll bump the ISO up to 640 or 800. However, I won't go any higher than 1600 ISO on an outdoor session, because then the photographs get grainy.
 -
QuestionHow do I use the camera aperture?
 Community AnswerAperture is the opening of you camera's lens. The higher the number of aperture, the smaller the opening. If you want the picture to be brighter, use lower aperture.
 -
QuestionHow do I change the ISO on a camera?
 Community AnswerIt depends on the camera, but most cameras will have a menu. Canon T6 has a Q button, which you can press in TV and AV modes, and that will take you to your settings, where you will see a box that says ISO.
References
- ↑ https://www.digitaltrends.com/photography/what-is-iso/
- ↑ https://photographylife.com/how-to-avoid-and-reduce-noise
- ↑ https://www.digitaltrends.com/photography/what-is-iso/
- ↑ https://youtu.be/ki6Zs8qstVM?t=109
- ↑ https://chrisbrayphotography.com/tips/auto_iso.php
- ↑ https://youtu.be/dKsfTyAtPf4?t=51
- ↑ http://www.easybasicphotography.com/camera-exposure-basics.html
