wikiHow is a “wiki,” similar to Wikipedia, which means that many of our articles are co-written by multiple authors. To create this article, volunteer authors worked to edit and improve it over time.
The wikiHow Tech Team also followed the article's instructions and verified that they work.
This article has been viewed 58,822 times.
Learn more...
Norton is an antivirus program that is designed to protect your computer against virus infections and other malware. Norton can cause problems when you're trying to install other programs, and it can sometimes cause your computer to slow down. In cases like these, turning Norton off can be useful. If Norton is causing consistent problems, uninstalling Norton may be the best solution.
Steps
Disabling Norton Antivirus (Windows)
-
1Locate the Norton icon in your System Tray. This is a collection of icons located in the bottom-right corner of your Windows desktop, next to the clock. These icons represent programs that are currently running. If you don't see the Norton icon, click the "▴" button to show all the hidden icons.
-
2Right-click on the icon. This will open a small menu of options. Select "Disable Antivirus Auto-Protect". This is the active part of Norton Antivirus. Disabling it will turn off active virus protection.Advertisement
-
3Select the duration. You can choose to disable your antivirus protection for a specific amount of time, until your computer restarts, or permanently. It is not recommended that you browse the internet without active protection enabled.
-
4Reenable protection. If you're finished performing the task that requires antivirus protection to be disabled, you can right-click on the Norton icon again and select "Enable Antivirus Auto-Protect".


Uninstalling Norton Antivirus (Windows)
-
1Open the Windows program manager. You can access this from the Control Panel, which can be found in your Start menu. Select "Programs and Features" or "Add or Remove Programs".
- Windows 8 users can press ⊞ Win+X and select "Programs and Features".
-
2Find the "Norton Antivirus" entry. There may be several Norton entries, but focus on the Antivirus one first. Select it and then click Uninstall or Change/Remove.
-
3Choose whether or not to keep your preferences. You will be asked if you want to keep your preferences (in case you want to reinstall) or remove all your data. If you're getting rid of Norton, choose to delete all the settings, preferences, and files.
-
4Choose whether or not to keep Norton Identity Safe. This is a password manager, which Norton would prefer you keep using. If you don't want to keep it, click "No, thanks".
-
5Wait for uninstallation to complete. The uninstallation process may take a few minutes.
-
6Restart your computer. You will need to reset your computer in order for the uninstallation to take effect. After rebooting your computer, Windows will inform you that you no longer have an antivirus installed.
-
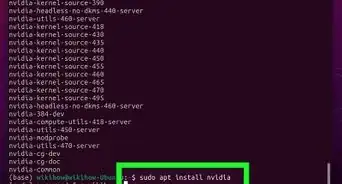
7Download the Norton Removal Tool. This is a program released by Symantec (Norton's developers) that will remove all traces of Norton software from your system. This is especially useful if Norton is not uninstalling correctly.
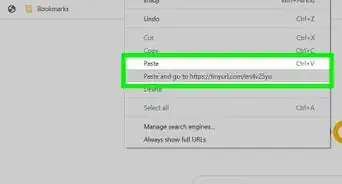
- Download the Norton Removal Tool by searching for "Norton Removal Tool" in your favorite search engine. It should be the first result.
- Run the removal tool. You will need to accept the license agreement and enter the Captcha to prove you're human.
- Reboot your computer after the removal tool has finished.


Uninstalling Norton Internet Security (OS X)
-
1Open Norton Internet Security. You can find this in the Applications folder.
-
2Start the uninstaller. Click Norton Internet Security → Uninstall Norton Internet Security. Click Uninstall to confirm.
-
3Enter your administrator information. You will need to provide this in order to delete the program.
-
4Restart your computer. You will need to restart your Mac for the uninstallation to complete.
-
5Download the RemoveSymantecMacFiles utility. This is a program provided by Symantec (Norton's developer) that removes all traces of Norton software from your Mac. This is important, because Norton tends to leave a lot of things behind after it is uninstalled.
- Download the RemoveSymantecMacFiles utility by searching for "RemoveSymantecMacFiles" in your favorite search engine. It should be the first result.
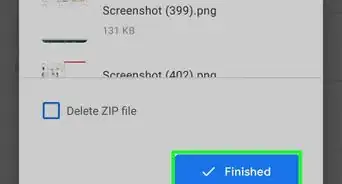
- Extract the ZIP file that is downloaded.
- Run the RemoveSymantecMacFiles.command file. Click Open to confirm.
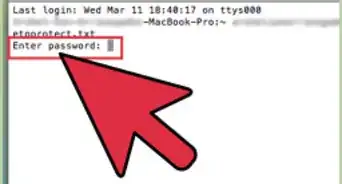
- Enter your administrator password. No characters will appear as you type. You must have an administrator password; a blank administrator password will not work and is a bad security practice anyway.
- Press 1 and then ⏎ Return to remove all Symantec files. Press 2 to exit.
- Reboot your computer by pressing Y and then ⏎ Return


Community Q&A
-
QuestionHow can I take something out of trash in Mac?
 Jarod SmithCommunity AnswerGo to your Trash folder and remove things like you would with the recycling bin in Windows.