This article was co-authored by wikiHow staff writer, Jack Lloyd. Jack Lloyd is a Technology Writer and Editor for wikiHow. He has over two years of experience writing and editing technology-related articles. He is technology enthusiast and an English teacher.
The wikiHow Tech Team also followed the article's instructions and verified that they work.
This article has been viewed 1,718,757 times.
Learn more...
This wikiHow teaches you how to fix common errors in the Google Chrome desktop browser, as well as how to uninstall and reinstall the Chrome browser on both desktop and iPhone. Most common errors in Google Chrome stem from using an unsupported version of Chrome or having too many programs or data inside of Chrome.
Steps
Basic Fixes
-
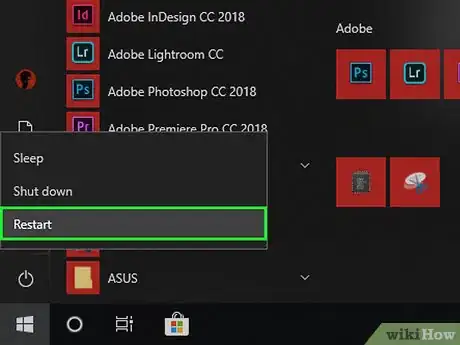
1Restart your computer. Especially if you haven't powered down your computer in a few days, restarting your computer will help Chrome run faster with fewer crashes.
-
2Check your Internet connection. If your router isn't working properly or your computer isn't connecting to the network correctly, you'll notice slow load times and error pages. You can generally solve Wi-Fi problems by moving closer to the router and closing background apps that take up large amounts of bandwidth (e.g., Netflix).Advertisement
-
3Make sure that your computer supports Google Chrome. Google Chrome requires the following specifications:
- Windows - Windows 7 or later.
- Mac - Mac OS X 10.9 or later.
-
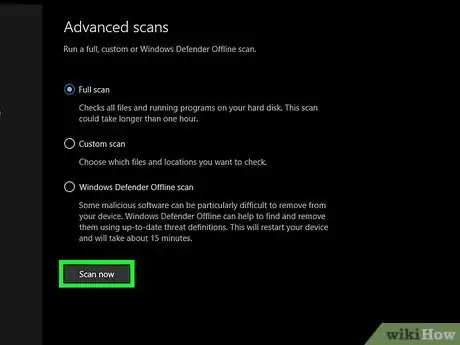
4Run a malware check on your computer. If Chrome is loading weird pages or your home page recently changed without any input, you may have a virus on your computer. Running a virus check should eliminate the virus.
Updating Chrome
-
1
-
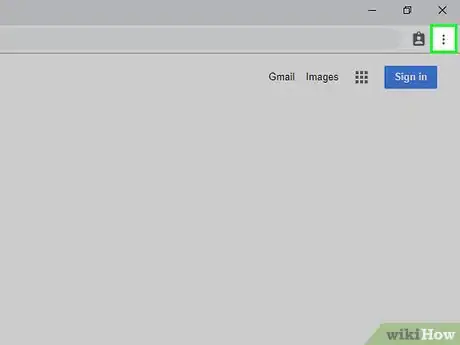
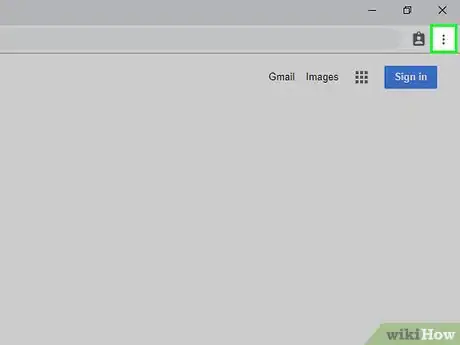
2Click ⋮. It's in the top-right corner of the Chrome window. A drop-down menu will appear.
-
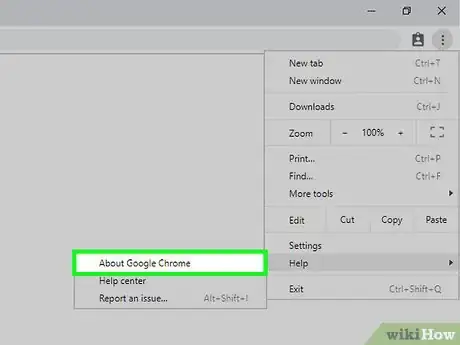
3Select Help. You'll find this option near the bottom of the drop-down menu. A pop-out menu will appear next to the drop-down menu.
-
4Click About Google Chrome. It's in the pop-out window. Doing so will take you to the update page; if there is an update available for Google Chrome, it will automatically install.
- You will be prompted restart Chrome by clicking Restart Chrome after updating.
Quitting Unresponsive Tabs
-
1Click ⋮. It's in the top-right corner of the window. A drop-down menu will appear.
-
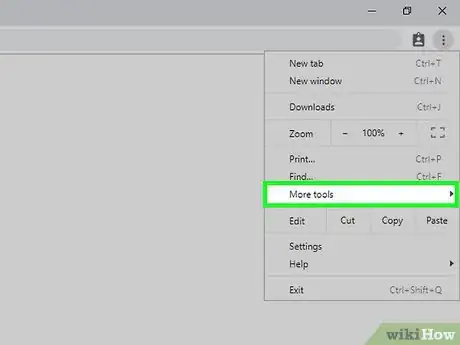
2Select More tools. This option is near the bottom of the drop-down menu. Selecting it prompts a pop-out window next to the drop-down menu.
-
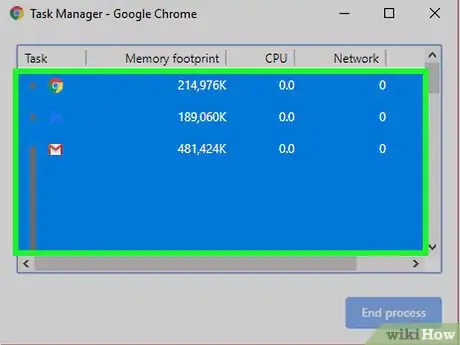
3Click Task manager. It's in the pop-out window. You'll see a Task Manager window open.
-
4Select tabs to close. Click one tab to select it, or hold down Ctrl (Windows) or ⌘ Command (Mac) while clicking individual tab names to select them independently.
-
5Click End process. It's a blue button in the bottom-right corner of the window. Doing so will immediately close the tab(s).
Disabling Extensions
-
1Click ⋮. This option is in the top-right corner of the window. A drop-down menu will appear.
-
2Select More tools. You'll find it near the bottom of the drop-down menu.
-
3Click Extensions. This is in the More tools pop-out menu. Clicking it opens a new tab with a list of your currently installed Chrome extensions.
-
4Find an extension to disable. Usually, sudden Chrome issues stem from recently installed extensions, so look for an extension that you installed within the last few days.
- Chrome can also become unstable if you install too many extensions at once, so consider disabling nonessential extensions as well.
-
5Uncheck the "Enabled" box next to the extension. This will prevent the extension from running. You'll need to repeat this process for each extension that you want to uninstall.
- You can also delete the extension by clicking the trash can icon across from it and then clicking Remove when prompted.
Clearing Cookies and History
-
1Click ⋮. It's in the top-right corner of the Chrome window. Clicking it prompts a drop-down menu.
-
2Click Settings. This option is near the bottom of the drop-down menu. The Settings page will open.
-
3Scroll down and click Advanced. It's at the very bottom of the page. More options will appear below the Advanced option.
-
4Click Clear browsing data. You'll find this option near the bottom of the "Privacy and security" group of options.
-
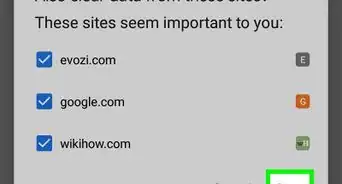
5Make sure every box in the window is checked. Click each unchecked box on this window to ensure that all options are checked.
-
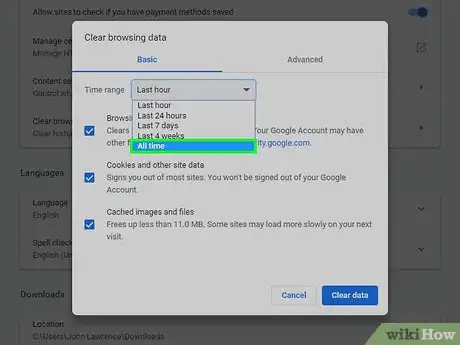
6Click the "Clear the following items from" box. It's at the top of the window.
-
7Click the beginning of time. This option erases all of your data, not just the data from the last week, day, or so on.
-
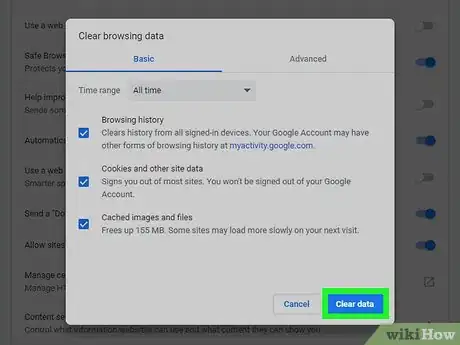
8Click CLEAR BROWSING DATA. It's a blue button at the bottom of the window. Doing so will clear your Chrome browser's history, cookies, passwords, and other data.
Resetting Chrome
-
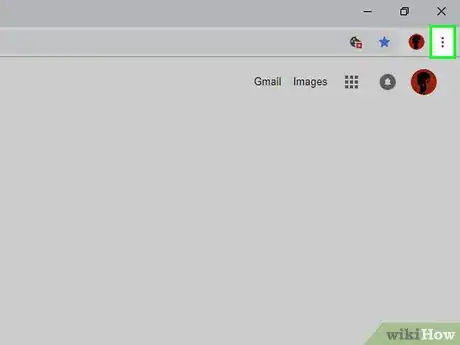
1Click ⋮. It's in the top-right corner of the window. A drop-down menu will appear.
-
2Click Settings. You'll find this at the bottom of the drop-down menu.
-
3Scroll down and click Advanced. It's at the very bottom of the page. More options will appear below this point.
-
4Scroll down and click Reset. This option is at the bottom of the page.
-
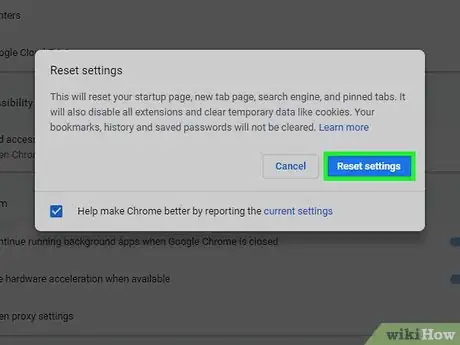
5Click RESET when prompted. Doing so will reset Chrome to fresh install settings. Your saved data, bookmarks, extensions, and settings will all be removed or restored to default.
- If this doesn't fix Google Chrome on your computer, you'll need to uninstall and reinstall Chrome entirely.
Uninstalling and Reinstalling Chrome on Windows
-
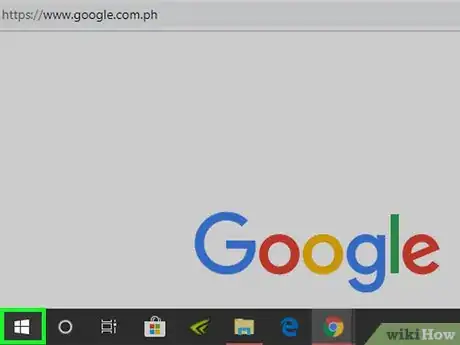
1
-
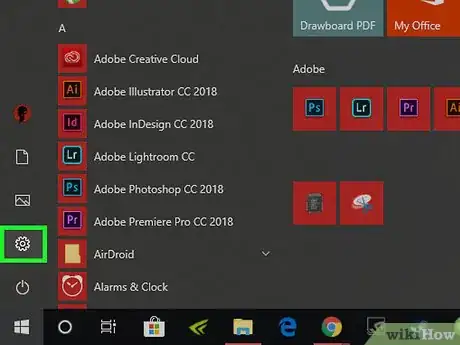
2
-
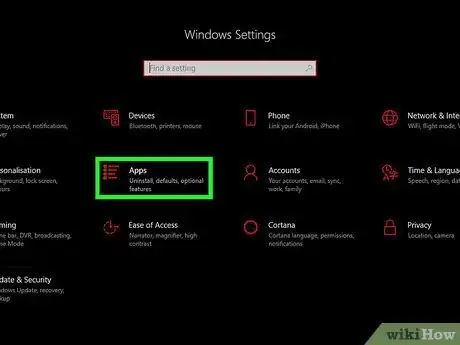
3Click Apps. This option is on the Settings page.
-
4Click Apps & features. It's a tab on the left side of the page.
-
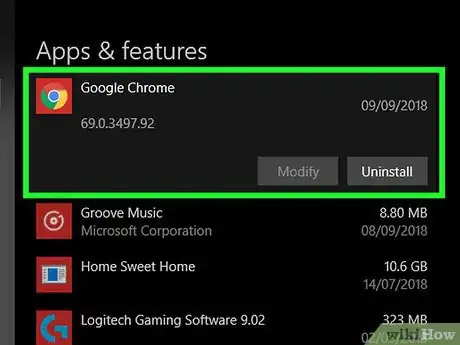
5Scroll down and click Chrome. You'll find Google Chrome in the "G" section of apps. Clicking it will expand a menu below the Chrome icon.
-
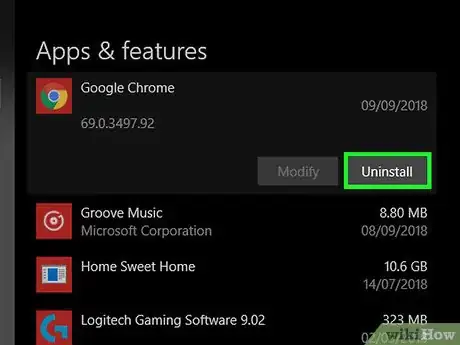
6Click Uninstall. It's below Google Chrome.
-
7Click Uninstall when prompted. Doing so will remove Google Chrome from your computer.
-
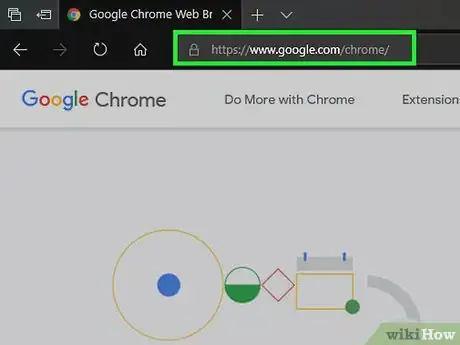
8Go to the Google Chrome download page. You'll need to do this in a different browser, such as Microsoft Edge or Firefox.
-
9Click DOWNLOAD CHROME. It's a blue button in the middle of the page.
-
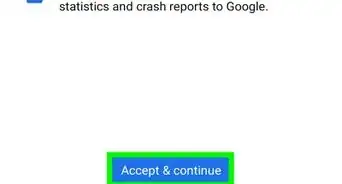
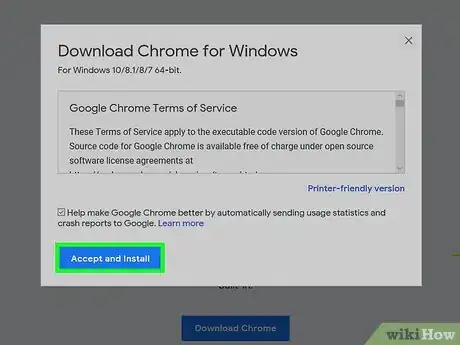
10Click ACCEPT AND INSTALL. This button is at the bottom of the pop-up window. Chrome will begin downloading.
-
11Double-click the Chrome setup file. You'll find it in your selected browser's default downloads folder (e.g., the Downloads folder or the Desktop).
-
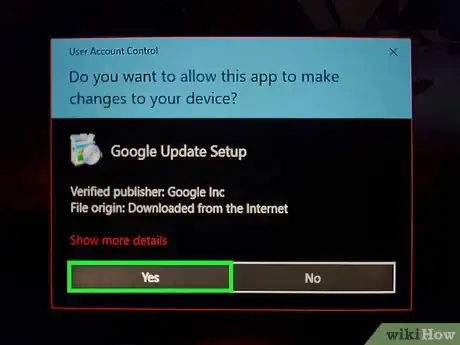
12Click Yes when prompted. Doing so will allow Chrome to begin installing.
-
13Wait for Chrome to install. This will only take a minute or so. Once Chrome finishes installing, a new Chrome window will open.
Uninstalling and Reinstalling Chrome on Mac
-
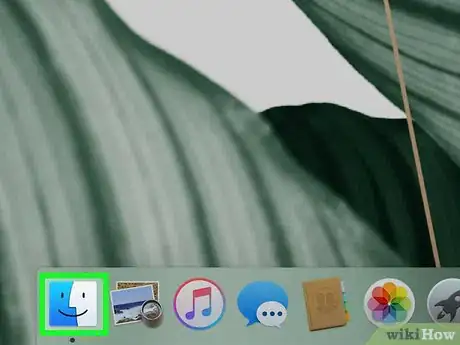
1Open Finder. Click the blue, face-shaped icon in your Mac's Dock.
-
2Click Go. This menu item is at the top of the screen. A drop-down menu will appear.
-
3Click Applications. It's near the bottom of the Go drop-down menu.
-
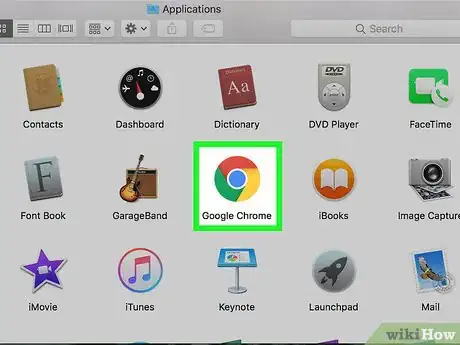
4Find Chrome and select it. You'll find a Google Chrome icon in this folder; once you do, click it to select it.
-
5Click Edit. This menu item is in the top-left corner of the screen. Clicking it prompts a drop-down menu.
-
6Click Delete. It's near the middle of the drop-down menu.
-
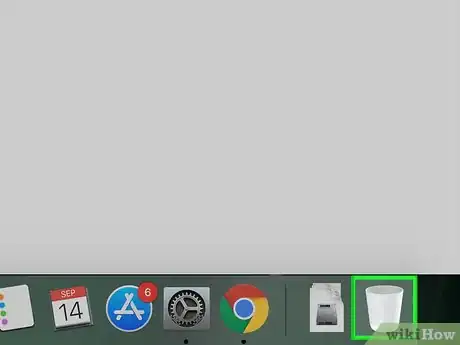
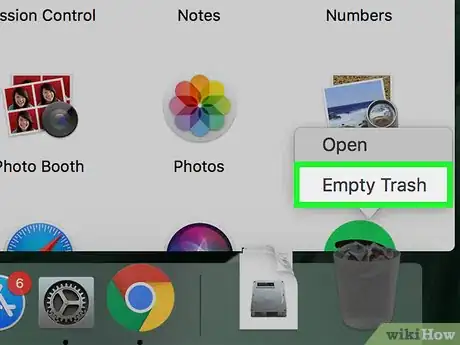
7Click and hold the Trash Can icon. You'll find the Trash Can in your Mac's Dock. Clicking and holding it will bring up a pop-up menu.
-
8Click Empty Trash. It's in the pop-up menu.
-
9Click Empty Trash when prompted. Doing so will permanently delete all of the Trash Can's contents, including Google Chrome.
-
10Go to the Google Chrome download page. You'll need to do this in a different browser like Safari or Firefox.
-
11Click DOWNLOAD CHROME. It's a blue button in the middle of the window.
-
12Click ACCEPT AND INSTALL. This option is at the bottom of the pop-up window. Chrome will begin downloading.
-
13Double-click the Chrome DMG file. It will be in your Mac's default downloads location (e.g., the Downloads folder).
-
14Click and drag the Chrome icon onto the Applications folder icon. This will install Chrome on your Mac.
- If prompted, you'll have to enter your Mac's password before continuing.
Uninstalling and Reinstalling Chrome on iPhone
-
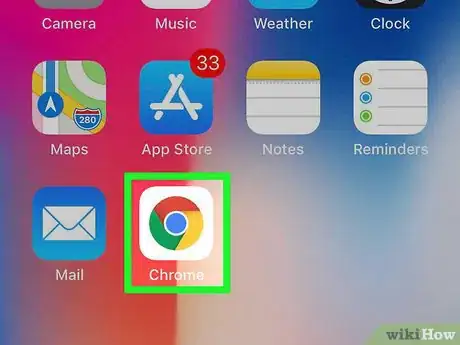
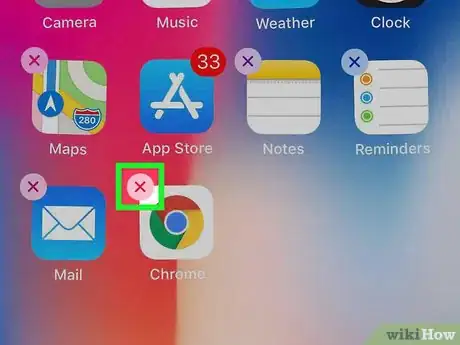
1Tap and hold the Chrome app. It's the red, green, yellow, and blue sphere on a white background. You should see the app begin to shake.
-
2Tap X. It's in the top-left corner of the app icon.
-
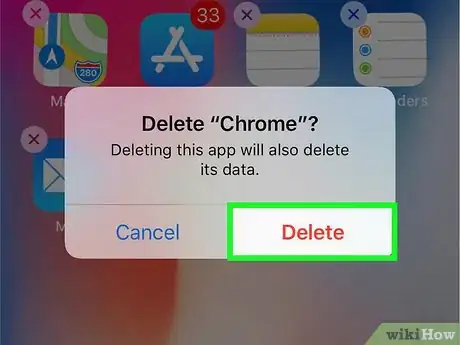
3Tap Delete when prompted. This will remove Chrome from your iPhone.
-
4
-
5Tap Search. This tab is in the bottom-right corner of the screen.
-
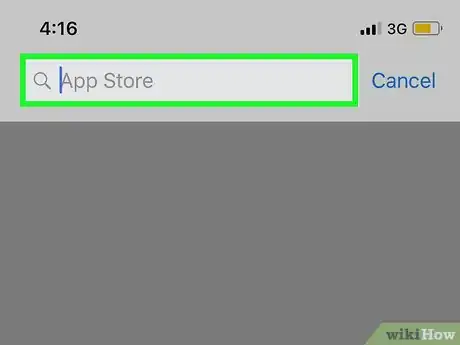
6Tap the search bar. It's the grey bar near the top of the screen that has "App Store" in it.
-
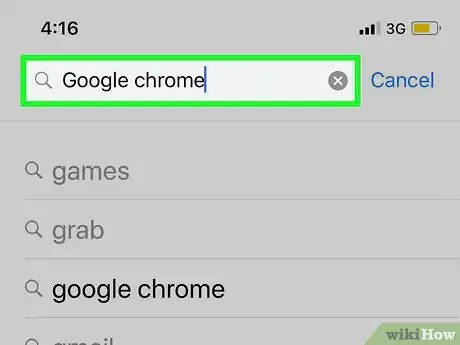
7Type in google chrome.
-
8Tap Search. It's a blue button in the bottom-right corner of the screen. Doing so will search for the Chrome app.
-
9Tap GET. This button is to the right of the Chrome app icon.
-
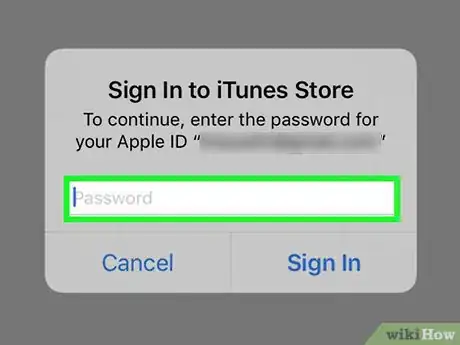
10Enter your password if prompted. You can also scan your fingerprint if your iPhone has a Touch ID sensor.
-
11Wait for Chrome to finish downloading. Once it does, you'll be able to open it and use it like usual.
Community Q&A
-
QuestionHow do I access my extensions on Google Chrome?
 Community AnswerGo to the upper right hand corner. Click the symbol that has 3 horizontal lines. It should open a menu. Hover your mouse over "More tools" and click "Extensions."
 -
QuestionWhat do I do if Chrome is not closing properly?
 Community AnswerOpen up Task Manager by pressing Ctrl-Alt-Delete. End the process.
 -
QuestionHow can I remove a virus from Chrome when the Chrome Cleanup tool crashes the computer?
 Community AnswerRunning an antivirus, such as Malwarebytes or McAfee, should solve the problem. If not, try uninstalling Chrome, scanning your computer with an antivirus, and then reinstalling Chrome.
Warnings
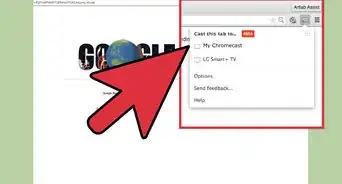
- You should never have to contact Google support or give out your account information to repair Google Chrome.⧼thumbs_response⧽































-Step-7.webp)
