This article was co-authored by wikiHow Staff. Our trained team of editors and researchers validate articles for accuracy and comprehensiveness. wikiHow's Content Management Team carefully monitors the work from our editorial staff to ensure that each article is backed by trusted research and meets our high quality standards.
This article has been viewed 21,989 times.
Learn more...
This wikiHow shows you how to open DICOM files on your Windows PC or macOS. DICOM files are images that come digitally from medical scans, such as MRIs and ultrasounds. You can view these files with a free online viewer called Jack Image viewer on any computer. If you'd prefer an app, you can download MicroDicom (PC only) or open the files in Adobe Photoshop (PC and Mac).
Steps
Using Jack Imaging for Windows or macOS
-
1Go to https://beta.jackimaging.com. This viewer is available in your browser so it will work on both PC and Mac.
-
2Click Try Our Viewer Now. This will redirect you to another page.Advertisement
-
3Drag your DICOM files to the "Drag and Drop Files Here" box. The files will then appear in a list on the right side.
- If you have an ad-blocker on, the website will ask you to log or create an account. Click Cancel to ignore the message. If you can't get past the message, consider making an account or whitelisting them on your ad-blocker.
-
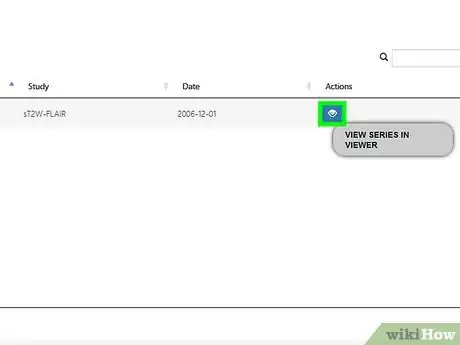
4Click View to view the images. You can click and drag the image around to pan or click the magnifying glass to zoom in and out.
Using Photoshop for Windows or macOS
-
1Download and install Adobe Photoshop. You can download a trial version of Adobe Photoshop or you can purchase Photoshop for your PC or Mac.
-
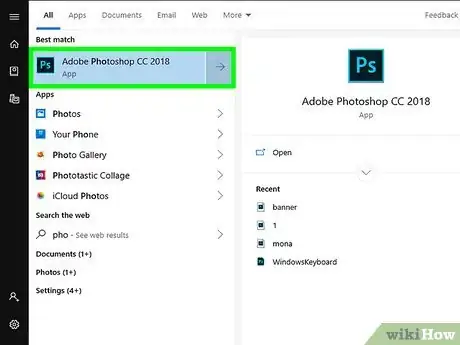
2Open Photoshop. The icon is blue with “PS” in it. It will be pinned to the Start menu on Windows and in the Applications folder on a macOS.
-
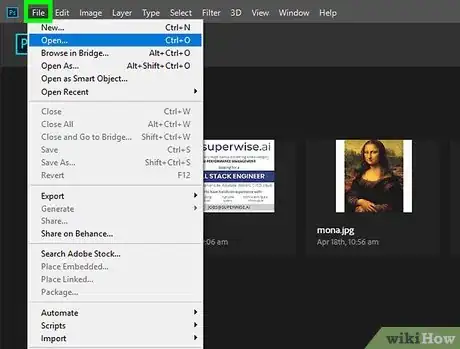
3Click File. It’s located at the top-left corner.
-
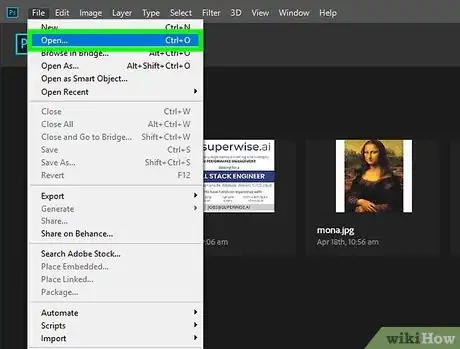
4Select Open from the drop-down menu. This will open another window.
-
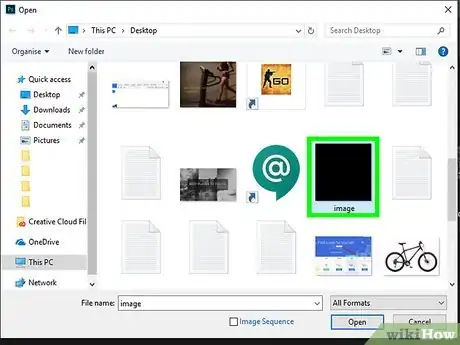
5Select your DICOM file and click Open again. This will display all the frames inside of your DICOM file.
-
6Select the frames you want to view. You can select multiple frames by holding ⌘ Command (Mac) or Ctrl (PC) as you click each frame.[1]
- If you want to open all of the frames, right-click the area and click Select All.
-
7Select Frame Import and click Open. This opens the selected frames on different layers.
- Frame Import inserts your DICOM frames on different layers.
Using MicroDicom for Windows
-
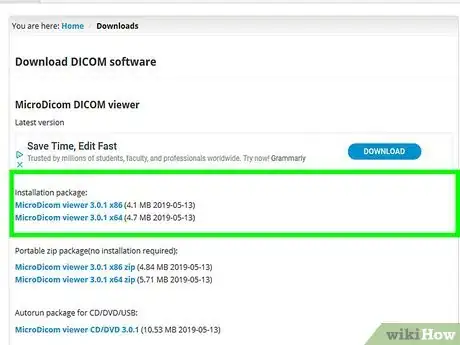
1Go to http://www.microdicom.com/downloads.html in a web browser.
-
2Click one of the download links under "Installation package." If you need the 64-bit version, click MicroDicom viewer 2.9.2 x 64 to start the download. For the 32-bit version, click MicroDicom viewer 2.9.2 x 86.
- You may have to click Save to start the download if it doesn't begin automatically.
-
3Double-click the EXE file to run the installation wizard. Follow the on-screen instructions to finish setting up MicroDicom.
-
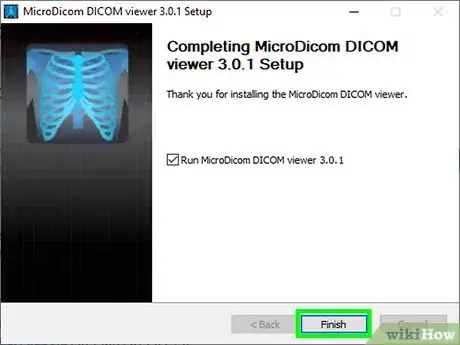
4Click Launch at the end of the installation. This will open MicroDicom.
-
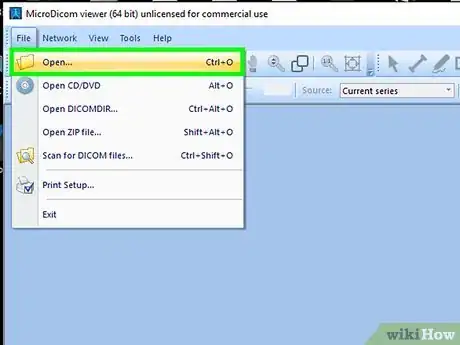
5Click File on the menu. It is located at the top-left corner.
-
6Select Open from the drop-down menu. Another window will open showing you files on your computer.
-
7Select your Dicom file. This will open a series of images.
-
8Press Ctrl+A highlight all the images. Alternatively, you can also hold and drag your mouse across them all to highlight them.
-
9Click Open to view the images.
About This Article
1. Open Adobe Photoshop.
2. Click File and select your DICOM file.
3. Command-click your files and choose Select All.
4. Select Frame Import.
5. Click Open to view your DICOM file.


