X
This article was co-authored by wikiHow Staff. Our trained team of editors and researchers validate articles for accuracy and comprehensiveness. wikiHow's Content Management Team carefully monitors the work from our editorial staff to ensure that each article is backed by trusted research and meets our high quality standards.
This article has been viewed 28,982 times.
Learn more...
This wikiHow teaches you how to take photos from one Facebook album and place them into another.
Steps
-
1Go to www.facebook.com. Log into your account if prompted.
- As of February 2017, you can only move photos using the desktop site.[1]
-
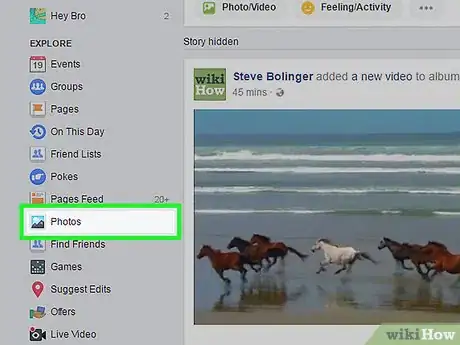
2Click Photos. It's located along the left side of your home screen under the "EXPLORE" section.
- If you can't see the Photos button, click on More beneath the "EXPLORE" section.
Advertisement -
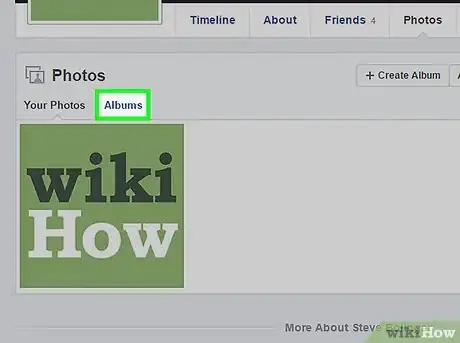
3Click Albums. It's the last option under the "Photos" heading.
-
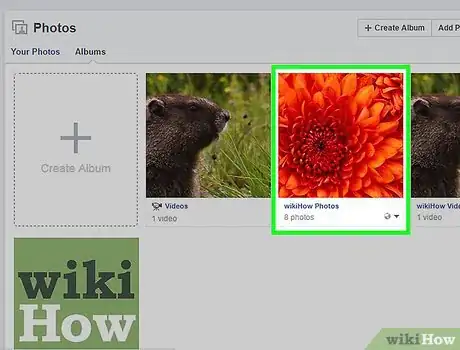
4Click on an album.
- You cannot move photos from either the "Profile Pictures" or "Cover Photos" albums.
-
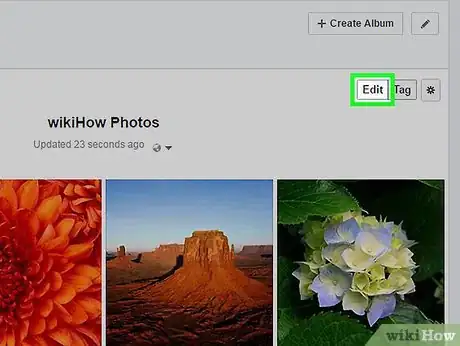
5Click Edit. It's located in the top right corner of the album.
-
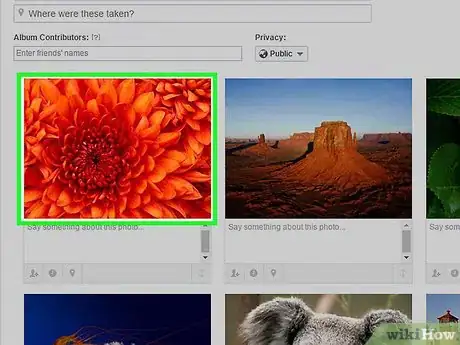
6Hover over the image you want to move.
-
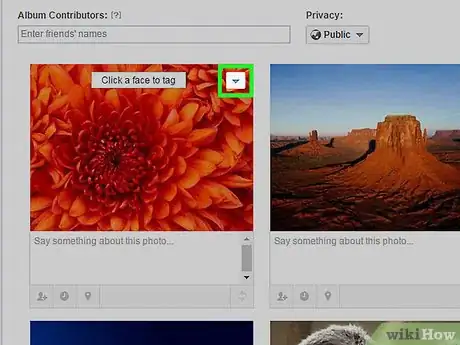
7Click the pencil icon. It appears in the top right corner of the image when you hover over it.
-
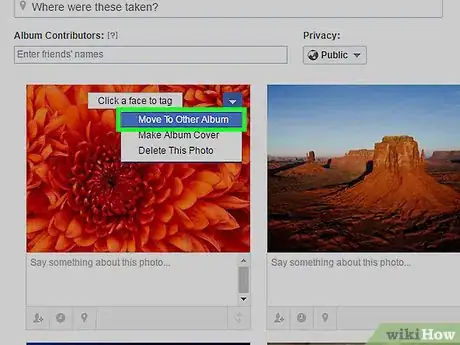
8Click Move To Other Album. It's towards the bottom of the list of menu options.
-
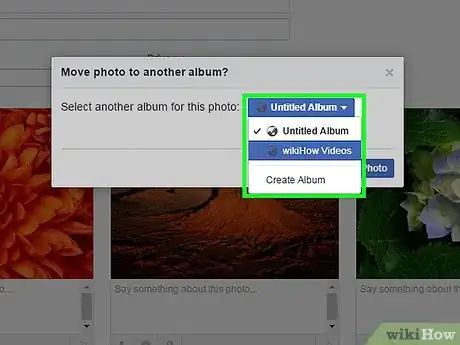
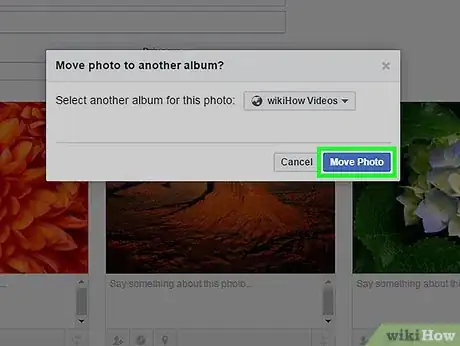
9Click on the drop-down box to select another album.
- If you move a photo that was included as part of a post, it will be removed from its original post. For example, if you upload three photos from your phone while out with friends, and you later choose to move one photo to another album, that photo will no longer appear in the original post on your timeline.
-
10Click Move Photo. The photo will now appear in the album you chose from the drop-down box.
Advertisement
References
About This Article
Advertisement

