X
wikiHow is a “wiki,” similar to Wikipedia, which means that many of our articles are co-written by multiple authors. To create this article, volunteer authors worked to edit and improve it over time.
This article has been viewed 14,057 times.
Learn more...
Google plus (Google+) is a social networking website that helps fans, friends, and colleagues to connect online. Like other social networking websites, Google+ offers business organizations an opportunity to connect with their customers by creating a Google+ page for the business. It is pretty simple to create a business page for your organization on Google+. You just need to have an active Gmail account before you begin the process.

Steps
Part 1
Part 1 of 2:
Creating a Personal Google+ Profile
-
1Visit the Google+ page. Open a new web browser tab or window and go to the Google+ website.
-
2Sign into your Google account. Provide your Gmail address and password, and click “Sign in” to access your account. If you are already logged into your Gmail account (perhaps through another Google service on your browser), you will not be asked to log in; instead, you will be directed to the Google+ page.Advertisement
-
3Create Google+ profile. Fill in your full name, birthday, and gender in the form presented to you after logging in. This form has three fields. The first field is for your name, the second field is for your birthday, and the third field is for gender.
-
4Click the “Upgrade” button to save these details. The “Upgrade” button is found at the bottom of the page.
- You can choose to add friends at this point, but for now it’s not necessary. Just keep clicking “Continue” to complete the process of setting up your profile.


Advertisement
Part 2
Part 2 of 2:
Creating a Business Page
-
1Take your cursor and point it to the home icon on your page. The home icon is found at the top left of the page. A drop-down list of options will pop up.
-
2Select the “Pages” option. You will be directed to a screen for managing your business pages. It is also the point where you create the page for your organization.
-
3Click the “Get my page” button. This will start the process of creating your business page. When you click on this button, you are directed to the screen for selecting the business type.
-
4Select a business category type. You will see three boxes representing three broad categories, which include: Shop front, Service Area, and Brand. Below each category, possible business types falling under them are indicated. Click on one.
-
5Add your business to Google. Once you select a category, you will be taken to the page for finding your business. On this page, you will see a search box, search button, and a Google map. The search box is at the top left of the page. In front of it is a blue search button. The map takes the rest of the page.
- Type the name of your business in the search box and click the search button. A list of businesses will be returned that have names close to the keywords you typed. Your business will not be here because you have not added it to Google.
- Scroll to the bottom part of these results and click the “Add your business” link to add your business to Google.
-
6Fill in the business details in the form presented to you. Provide the full name of your business, the country, street address, city, and its phone number. On the right side of the page is a map. The street address entered in the third field of the form helps Google to narrow the map to where your business is located. If the marker pin on the map does not display the location where the business is, hold and drag it to the exact point of your business before dropping it there.
-
7Click “Continue” when you are done. A pop up will appear requesting you to confirm that you are authorized to manage this page.
-
8Confirm that you are authorized to manage the page. Tick the box on the pop-up page where you are asked “I am authorized to manage this page and agree to the terms of service.” It is the only box in this pop up window, and below it are two buttons: Back and Continue. The “Back” button takes you to the previous page, if you need to make adjustments to the information, and “Continue” takes you to the next page. Click “Continue” to proceed to the Verification page.
-
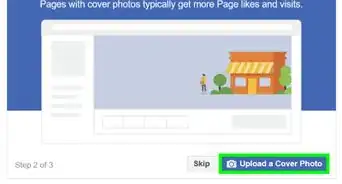
9Click “Send me my code” in the Verification page. This allows Google to take your details and then send you a code via mail (to the business address provided) that you will use to verify your page. It will take 1–2 weeks for this code to arrive. This will not, however, prevent you from continuing with the process of creating the page.
- When you click “Send me my code,” Google will ask for your name in the next page. Enter it in the field provided, and click “OK” to go back to your dashboard. Google will use the name you entered to address you in the verification mail they will send.
-
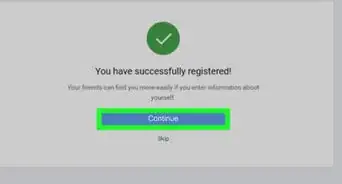
10Edit the business introduction of the page. Click on the “Edit” button at the top right of your page to access the editing page. Scroll to the area indicated as “Business introduction” and click on it. A pop-up box will come up. Type the business description on the text area in the pop-up box then click “Save” and then “Finished editing” to update the details.
-
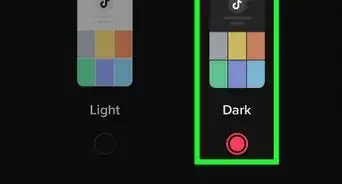
11Upload a profile picture for your business. On the top left of your page, you will see a circular icon. Click it, and then click “Select a picture from your computer” from the pop-up that appears.
- Browse your computer for a profile picture that you want to use for the business page. You can use your business logo if you want. Once you’ve selected an image, click it and then click “Open” to upload the picture.
- Once the upload is complete, click “Set as profile picture.”
- Images must be at least 250 by 250 pixels.
-
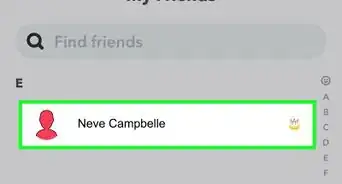
12Share your new business page to your fans and customers. Scroll down your page, and you will see a “Share what’s new” textbox. Type a brief post of what your business has been up to in the textbox. For instance, you can inform fans and customers that “We are now on Google+!”
- Once you’ve entered your message, click the “Share update” button next to the text field. This will share your post to friends and customers who are following your business page.


Advertisement


-Step-5.webp)


About This Article
Advertisement


-Step-5.webp)


