This article was co-authored by wikiHow Staff. Our trained team of editors and researchers validate articles for accuracy and comprehensiveness. wikiHow's Content Management Team carefully monitors the work from our editorial staff to ensure that each article is backed by trusted research and meets our high quality standards.
This article has been viewed 343,449 times.
Learn more...
If you are running out of storage space on your Android phone, you can generate more internal memory through several different methods. To substantially increase your phone's memory, you can transfer data to an Secure Digital (SD) card. Other quick options include removing cached data and large downloads, temporarily disabling apps, and removing photos and videos.
Steps
Removing Unwanted Downloads
-
1Tap the “Downloads” app. The “Downloads” app is located in the app drawer of your Android.
-
2Tap the Menu icon. The Menu icon appears in the upper right hand corner of the screen.Advertisement
-
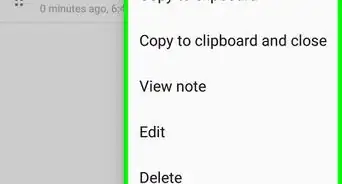
3Tap and hold a download. Select unwanted downloads by tapping and holding for a few seconds.
-
4Repeat the process as needed.
-
5Tap the Trash icon to delete. Unwanted downloads will be permanently removed and you'll have more internal memory.


Disabling Bloatware
-
1Tap the “Settings” icon. The Settings icon is located in your app drawer.
-
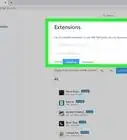
2Swipe the “All” tab. Swipe over the “All” tab listed in the top center of the screen for a complete list of all the applications on your Android.
-
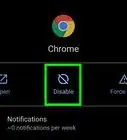
3Tap the app to disable.
-
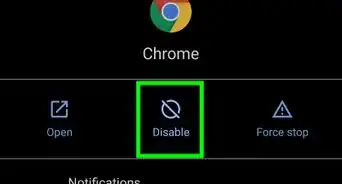
4Tap the “Disable” tab. A prompt will appear stating that other applications may be affected, however this is okay since you are not completely removing the app.
-
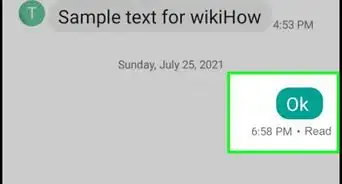
5Tap “Ok”.
-
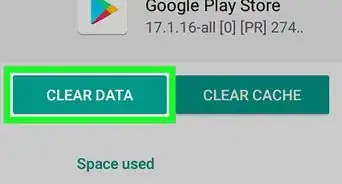
6Tap the “Clear Data” tab. This is located in the App Info section.
-
7Tap the “Clear Cache” tab. This is located in the App info section. Now you have removed unnecessary software, freed up some space and increased your internal memory.


Removing Cached Data for Android Apps


Deleting Photos and Videos
-
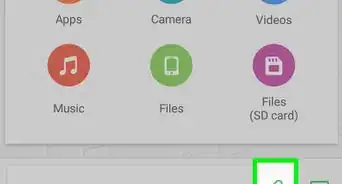
1Tap the Google Photos app. The app is located in the app drawer on your Android.
-
2Tap the Menu.
-
3Tap the “Settings” tab.
-
4Tap “Back up & Sync”.
- Photos that are not backed up will appear with an icon of a cloud with a strike through it.
-
5Tap the return arrow. Tap the arrow at the upper left hand of the screen to return to the main screen.
-
6Tap the Photo icon. The Photo icon is found at the bottom of the screen.
-
7Touch and hold a photo. Touch and hold down all the videos or photos you wish to remove. A check mark will appear once the photo has been selected.
-
8Repeat the process as needed.
-
9Tap the “Trash” icon. The Trash icon is found at the upper right hand side of the screen.
-
10Tap “Delete”. A prompt will appear asking you to confirm you want to delete your selected photos. Tap “Delete” to permanently remove photos or videos from your Google Photos app.


Install and run GOM Saver
GOM Saver- Compressed your photos and videos
-
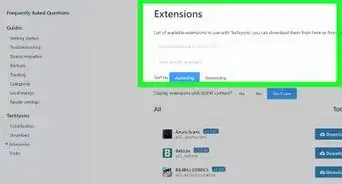
1Download the GOM Saver app from the Google Play Store.
-
2Launch GOM Saver, default mode will be set.
-
3You can see how much memory you can save by running the video or image compression.
-
4You can delete the original file or cloud back it up.
-
5The compressed image or video will be left on your phone.
-
6Average saving is about 50% of the original file amount. (Example: 5 gigs of photos will be 2.5 gig)
Transferring Data to a SD Card
-
1Download the Link2SD app. Download the app from the Google Play Store.
-
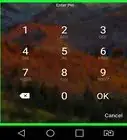
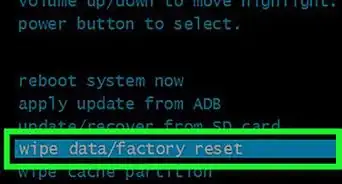
2Turn off your phone.
- You must use volume keys to navigate and the power/home button to select, as touch does not work in recovery mode.
-
3Tap the Link2SD app. The application is located in your app drawer.
-
4Tap the “Advanced” option. This appears in the drop down list of options.
-
5Tap the “Partition sdcard" option. This appears in the Advanced menu’s drop down list of options.
-
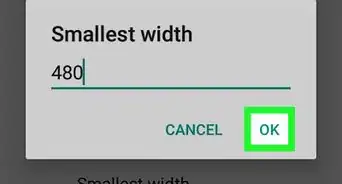
6Tap the ext size. This size should be smaller than your memory card size.
-
7Tap the swap size. The swap size should be zero.
-
8Wait a few moments.
-
9Select "+++++go back+++++".
-
10Select “reboot system now”.
-
11Start phone.
-
12Install the Link2SD app. This is located in the app drawer of your phone
-
13Tap the Link2SD app.
-
14Click “Allow” Superuser permissions.
-
15Select "Ext2". This option will appear in a pop-up.
-
16Select “Ok” to reboot.
-
17Tap the Link2SD app.
-
18Tap the “Filter” icon. This appears at the top of the screen.
-
19Tap the “On Internal” option.
-
20Tap the “Option” icon.
-
21Tap the “Multi-select” option.
-
22Tap the “Option” icon.
-
23Tap the “Create link” option
-
24Tap “Link application file”.
-
25Tap “Link dalvik cache file”.
-
26Tap “Link library files”.
-
27Tap “Ok”.
-
28Wait a few moments.
-
29Tap “Ok”. You have successfully moved your apps and other data to your SD card.
Community Q&A
Did you know you can get answers researched by wikiHow Staff?
Unlock staff-researched answers by supporting wikiHow
-
QuestionHow can I use my SD card as internal memory in Android?
 wikiHow Staff EditorThis answer was written by one of our trained team of researchers who validated it for accuracy and comprehensiveness.
Staff AnswerwikiHow Staff EditorStaff AnswerA feature in Android version Marshmallow (6.0) and later that allows you to do this. However, not many phone models actually support it, so look up your model before going any further. There are also good reasons to avoid using an SD card as internal memory. If you do, you cannot ever remove the card, or your phone will start getting a lot of error messages and prompt you to reinsert it. Also, using an SD card for internal memory could cause the card to wear out faster and cause errors or slow down your phone.
Support wikiHow by unlocking this staff-researched answer.
-
QuestionWhat do I do if my device storage is counting the space of the SD card and, when I remove the card, the space is freed up?
 Community AnswerYou need not remove the card. You can share files that are taking up too much space on your phone to another card or phone so that space is freed up.
 -
QuestionWhat can I do if I don't have any extra apps, but my phone says that the storage is full?
 Community AnswerIt might be glitched. Try reloading it or exiting out of the app and rejoin it and try again. Also check to make sure that your storage is not taken up by videos and music.
About This Article