This article was co-authored by wikiHow Staff. Our trained team of editors and researchers validate articles for accuracy and comprehensiveness. wikiHow's Content Management Team carefully monitors the work from our editorial staff to ensure that each article is backed by trusted research and meets our high quality standards.
The wikiHow Tech Team also followed the article's instructions and verified that they work.
This article has been viewed 20,203 times.
Learn more...
This wikiHow teaches you how to hide a tagged photo from your Instagram profile. This will not remove your tag from the photo, but the photo will no longer appear on your profile.
Steps
-
1Open Instagram. This is a multicolored icon with the outline of a camera.
-
2Tap the “Profile” icon. This icon is in the bottom right corner of the screen, and looks like a person.
- If you manage multiple accounts through the app, this icon will appear as your account’s profile photo.
Advertisement -
3Tap the “Photos of You” icon. This is the third of four options below your profile information on this screen. It appears as an upside-down chat bubble with a small person inside it.
-
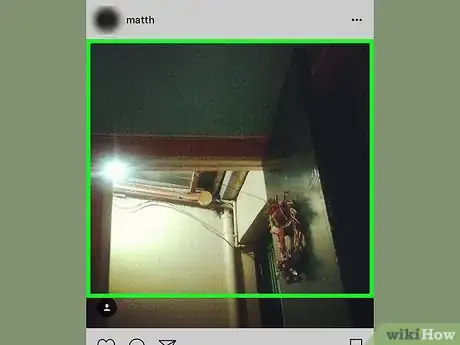
4Tap the photo you wish to hide. This will open the photo.
-
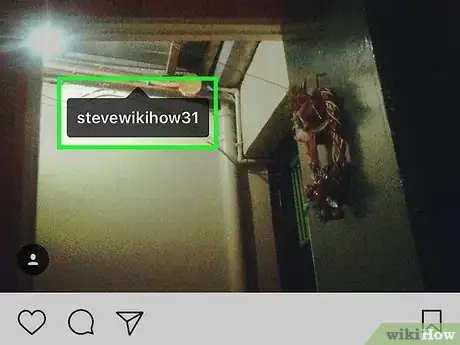
5Tap the photo again. Your Instagram username will appear on the photo where you have been tagged.
-
6Tap your username in the photo.
-
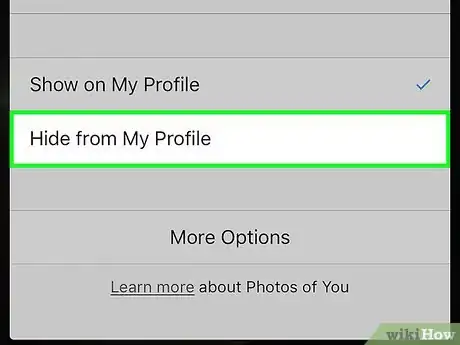
7Select “Hide from My Profile”.
-
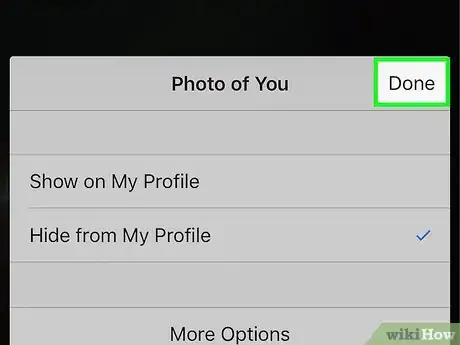
8Tap “Done”. This will return you to the photo. This photo will no longer appear on your profile. However, you will still be tagged in this photo.
- If you wish to automatically hide new tagged photos from your profile, check out how to Require Approval to Be Tagged on Instagram Photos. This will require you to manually allow for a tagged photo to appear on your profile.
About This Article
1. Open Instagram.
2. Tap the Profile icon.
3. Tap the upside-down chat bubble with the outline of a person inside it.
4. Tap the photo you wish to hide.
5. Tap the photo.
6. Tap your username.
7. Select Hide from My Profile.
8. Tap Done.
