This article was co-authored by wikiHow staff writer, Darlene Antonelli, MA. Darlene Antonelli is a Technology Writer and Editor for wikiHow. Darlene has experience teaching college courses, writing technology-related articles, and working hands-on in the technology field. She earned an MA in Writing from Rowan University in 2012 and wrote her thesis on online communities and the personalities curated in such communities.
This article has been viewed 42,798 times.
Learn more...
This wikiHow teaches you how to see profile visits on Instagram by switching to a business or creator account. Since only business accounts are able to see these stats, you'll need to switch to a business or creator profile first. Luckily, you don't actually need a business to accomplish this, but note that your profile will become public when you switch. You'll also need a Facebook page for your business if you want to access all the insight stats available. Once you've switched to a business or creator account, you'll start seeing a count of profile visits in the last 7 days at the top of your profile.
Steps
-
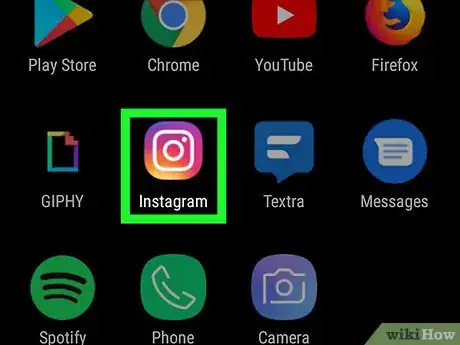
1Open Instagram. The app icon is a camera inside a square that’s a gradient from yellow to purple. You can find this on your home screen, in the app drawer, or by searching.
-
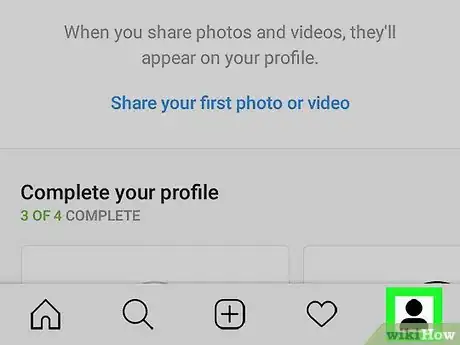
2Tap your account icon. You'll see this in the lower right corner of the screen on mobile devices. Your profile page will load.Advertisement
-
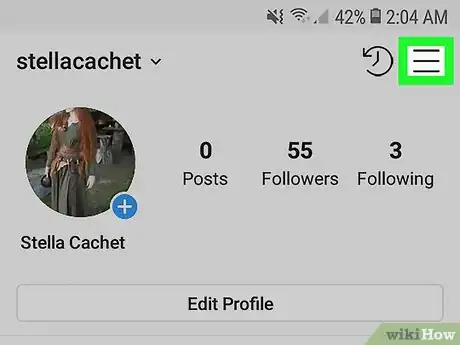
3Tap ☰. You'll see this in the top right corner of your screen.
-
4Tap Settings. You'll see this at the bottom of the menu.
-
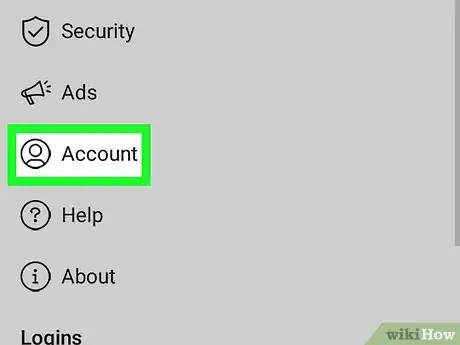
5Tap Account. This is above "Help" and below "Payments."[1]
-
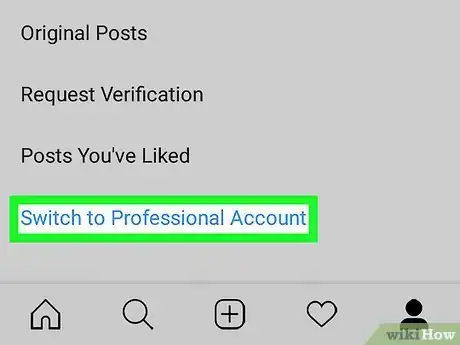
6Tap Switch to Business Account. You might see Switch to Professional Account instead.
-
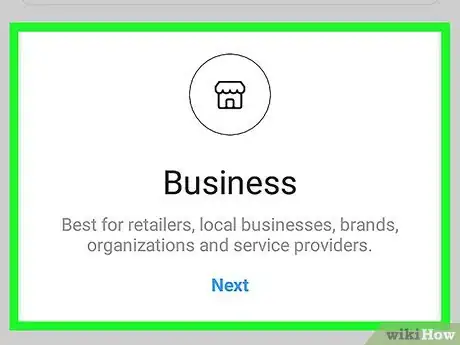
7Tap Creator or Business (optional). If you had the option to Switch to a Professional Account in the previous step, you will get this option. But if you had a link that said Switch to Business Account, you won't see this.
- Which option you pick is up to you, according to which account type is best suited to your needs. A business account is more suited for retailers, local businesses, brands, organizations, and service providers. A creator account is more suited for public figures, content producers, artists, and influencers.[2]
- After you tap either Creator or Business, you'll need to tap Next to continue.
-
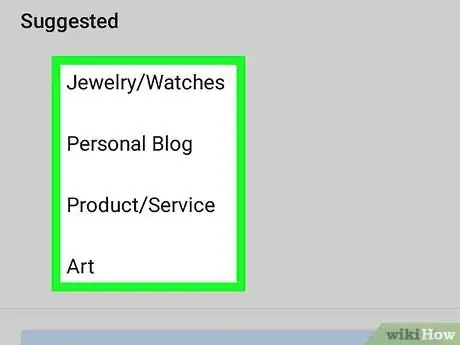
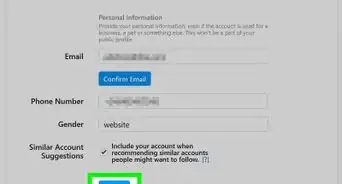
8Set up your business or creator account. You'll need to add information such as what sort of service you provide, which category it fits in, and your business email address.
-
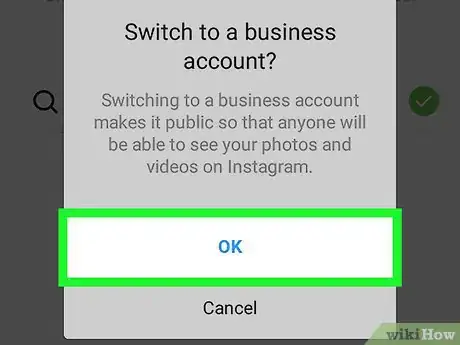
9Tap Make Profile Public. Your profile must be public to be a business or creator account.
-
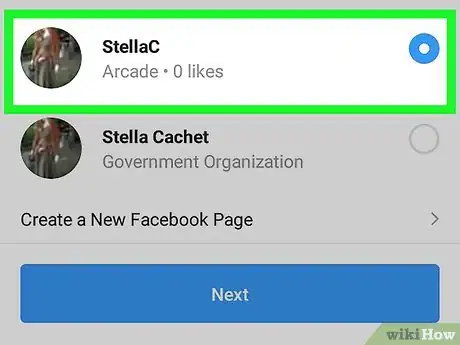
10Tap Choose a Page. You'll want to connect a Facebook page to access all the tools available.
- A list of all your Facebook pages appears. If you want to create a Facebook page, tap Create a New Facebook Page. Follow the on-screen prompts to create a new Facebook page.
- Tap Next to continue.
-
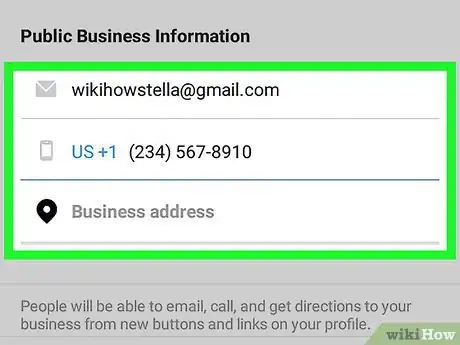
11Review your contact info. You'll see your phone number and email address listed. Edit them if you need to.
- Tap Next to continue.
-
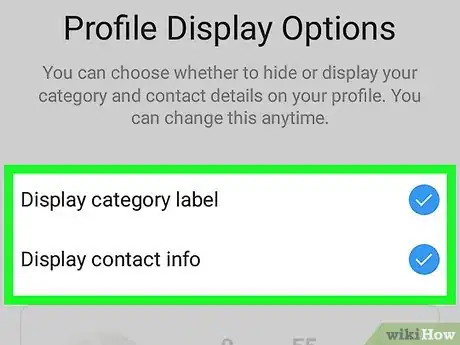
12Choose your profile display options. By tapping on either "Display category label" and "Display contact info," you can choose if you want those to appear on your profile page. A preview of your profile page appears below.
- Tap Done to continue. You'll be redirected to the home feed with a pop-up telling you that your business or creator account is ready.
- You will start seeing how many visits to your profile you've had in the last 7 days at the top of your profile.
References
About This Article
1. Open Instagram and tap the account icon to go to the profile page.
2. Tap the three-line menu.
3. Tap Settings and Account.
4. Tap Swich to Business (or Professional) Account.
5. Follow the on-screen prompts to create your business or professional account.
