This article was co-authored by wikiHow staff writer, Nicole Levine, MFA. Nicole Levine is a Technology Writer and Editor for wikiHow. She has more than 20 years of experience creating technical documentation and leading support teams at major web hosting and software companies. Nicole also holds an MFA in Creative Writing from Portland State University and teaches composition, fiction-writing, and zine-making at various institutions.
The wikiHow Tech Team also followed the article's instructions and verified that they work.
This article has been viewed 17,929 times.
Learn more...
Long exposure photography is perfect for capturing the effects of passing time on a moving subject. When you take a long exposure photo, moving water appears soft and silky, clouds and fog are blurred and dreamy, and lights on the night sky look like shining trails. While your iPhone's camera doesn't have a long exposure capture feature, you can easily recreate a long exposure look by capturing a Live Photo and applying the Long Exposure effect. This wikiHow article will teach you how you can take amazing long exposure photos with your iPhone or iPad.
Steps
Converting a Live Photo to Long Exposure
-
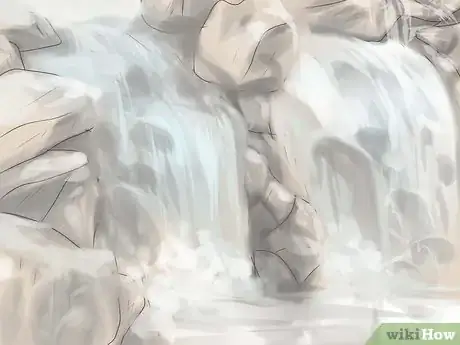
1Choose the right subject. Long exposure photography works best with moving subjects on a still background. If you're not sure where to begin, here are a few ideas to get you started:
- Moving lights at night—a busy road, lit-up Ferris wheel, dramatic lightning, or a person "writing" in the air with a flashlight or glowstick.
- Running water—capture raging rivers and cascading waterfalls to give moving water a soft, blurry look.
- Well-illuminated dancers on a darkened stage.
- Nature scenes with lots of contrast, like waves crashing against a rocky coastline at golden hour, or a lighthouse at night blanketed in moving clouds and fog.
- A vibrant fireworks display.
-
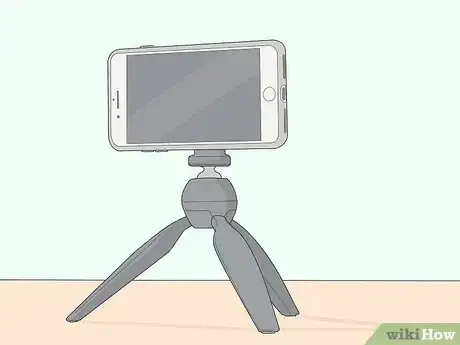
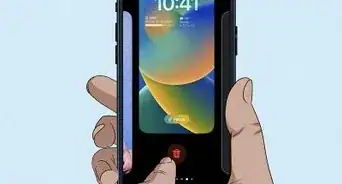
2Place your iPhone in a tripod. Because it takes 3 seconds (1.5 seconds before you press the shutter button, and 1.5 seconds after) to capture a Live Photo, using a tripod ensures your iPhone stays still during the process.[1]
- If you don't have a tripod (or you're using an iPad and it's too large for your tripod), that's okay too—you can make a tripod using common household items, or just be sure to keep your hand as steady as possible while capturing the scene.
Advertisement -
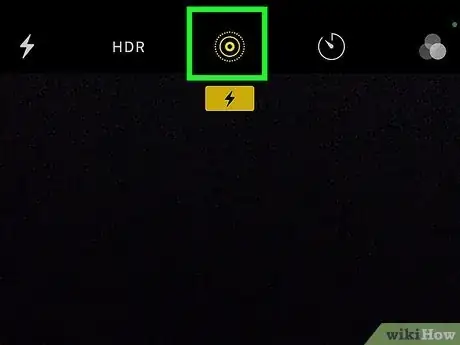
3Open the Camera app and Enable Live Photo (if it's disabled). Live Photo is enabled by default, but if you've changed your camera options, you may have disabled the feature.
- If Live Photo is enabled, you'll see an icon of a circle containing smaller circles at the top-right corner of the camera screen. If Live Photo is disabled, you'll see a line through the circles.
- If there's a line through the Live Photo icon, tap the icon to enable Live Photo. The word "Live" will flash across the top of the viewfinder.
- Live Photos are available on all iPhones beginning with iPhone 6s. You can also capture Live Photos on your iPad (5th generation and later), iPad Air (3rd generation and later), iPad Mini (5th generation), and iPad Pro (2016 and later).
-
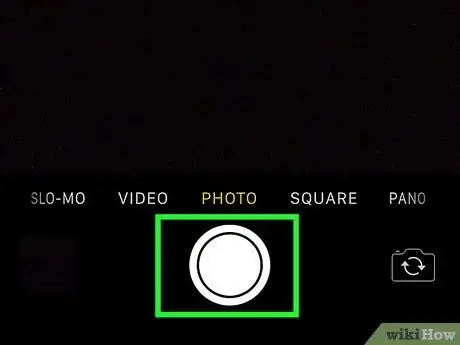
4Take your photo. Once you've lined up your shot, tap the shutter button to capture your photo. This creates a 3 second long Live Photo and saves it to the Photos app.
- Wait until your iPhone is completely still before you capture the shot—Live Photos record the 1.5 seconds before you tap the shutter button, and you don't want to waste those 1.5 seconds fumbling with your phone.
-
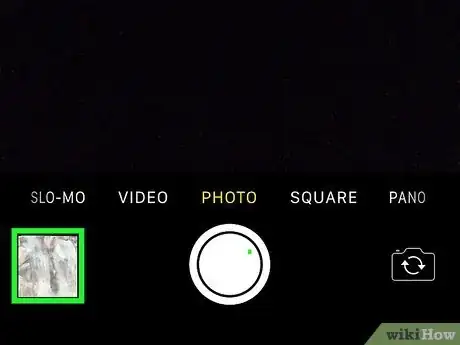
5Open your Live Photo for editing. You can tap the preview at the bottom-left corner to open it instantly, or open the Photos app to browse for and open the photo.
-
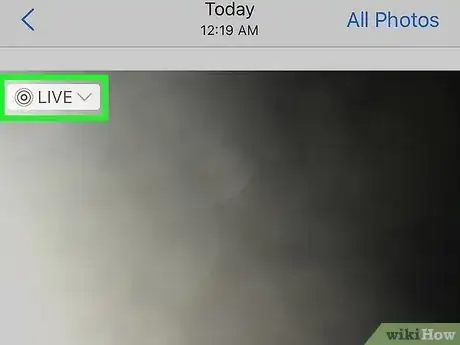
6Tap LIVE. You'll see this at the top-left corner of the photo. A menu will expand.
- If you're using iOS 14 or earlier, swipe up on the Live Photo to bring up the Effects carousel at the bottom, then swipe over to the Long Exposure effect.
-
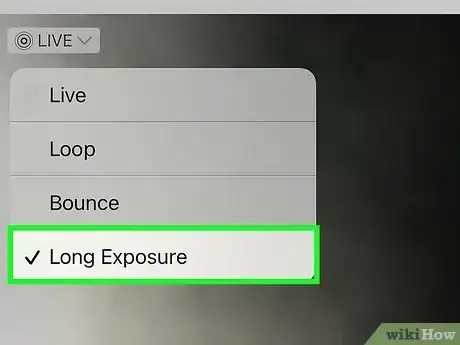
7Select LONG EXPOSURE on the menu. After a few seconds, your Live Photo will convert to a Long Exposure photo, which beautifully blurs and extends the motion of any moving objects.[2]
- Your changes save automatically. If you decide you don't like the new effect, just tap LONG EXPOSURE at the photo's top-left corner and choose LIVE PHOTO.
- Try the BOUNCE effect to create a Boomerang-like video that rewinds the action backward and forward.
Other Options
-
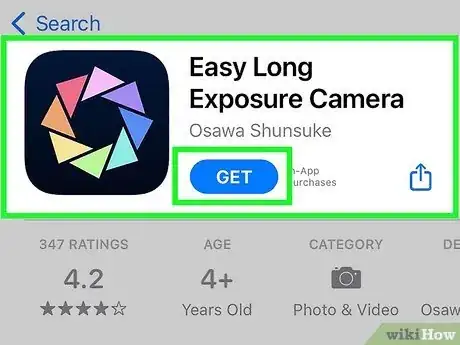
1Try the Easy Long Exposure Camera app for taking photos in the dark. This free app lets you capture long exposure photos from 1 to 60 seconds. You won't be able to use this app for photos in bright locations. You can download Easy Long Exposure from the App Store.
-
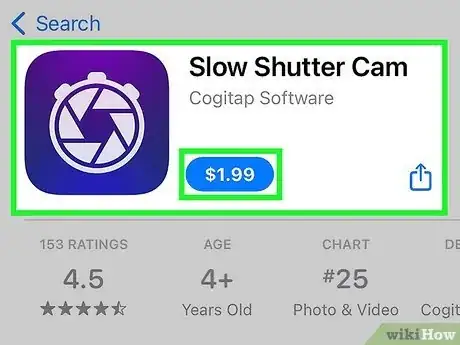
2Slow Shutter Cam is a premium app that can capture long exposure photos in any lighting. This app is very popular, appearing in the top 5 photo apps available from the App Store. Slow Shutter has great reviews, but it does cost money to install. You can download Slow Shutter from the App Store
-
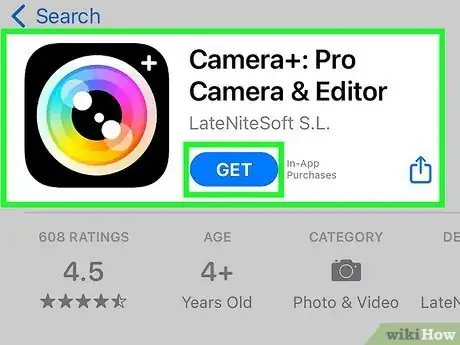
3Camera+ is a premium app designed to replace your iPhone's built-in camera. This app has many features, including a long exposure setting and editing tools. Camera+ isn't free, but it's worth a try if you want to improve your long exposure photography. You can download Camera+ from the App Store.
-
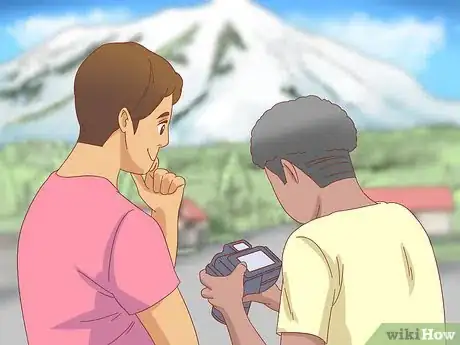
4Opt for a standalone digital camera. If you're serious about long exposure photography, consider purchasing a DSLR camera. Shooting with a DSLR allows you to tweak tons of settings that aren't available on your iPhone, including the shutter speed (which you'll need to do to capture long exposure photos), aperture, and ISO, to create stunning photos. There are plenty of camera options available at various price points.
