X
wikiHow is a “wiki,” similar to Wikipedia, which means that many of our articles are co-written by multiple authors. To create this article, volunteer authors worked to edit and improve it over time.
This article has been viewed 32,486 times.
Learn more...
You can remove a mounted volume, also known as dismounting a volume when you no longer want separate drives, or partitions on your computer for extra storage purposes. You can dismount a volume on Windows computers using the Control Panel, and on Mac OS X using the Terminal application.
Steps
Method 1
Method 1 of 2:
Dismounting a Volume in Windows
-
1Click on “Start” and select “Control Panel.” The Control Panel window will display on-screen.
-
2Click on “System and Security,” then on “Administrative Tools.”Advertisement
-
3Click on “Computer Management,” then enter the administrator password. Dismounting a volume can only be done by the administrator.
-
4Click on “Disk Management” under “Storage” in the left pane.
-
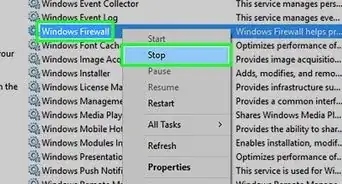
5Right-click on the volume you want dismounted and select “Change Drive Letter and Paths.”
-
6Click on “Remove,” then select “Yes” when asked to confirm that you want to dismount the volume. The volume you selected will now be dismounted.[1]


Advertisement
Method 2
Method 2 of 2:
Dismounting a Volume on Mac OS X
-
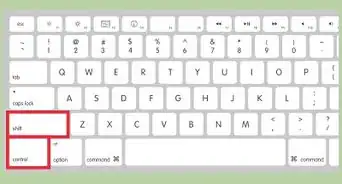
1Open the Applications folder and click on “Utilities.”
-
2Click on “Terminal.” The Terminal application will launch and display on-screen.
-
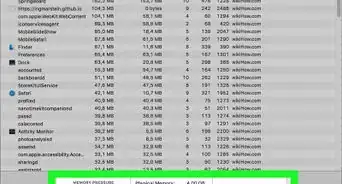
3Type “diskutil list” into Terminal and hit “Return.” This command will provide you with a list of all drives connected to your Mac computer so you can grab the “drive identifier” of the volume you want dismounted.
-
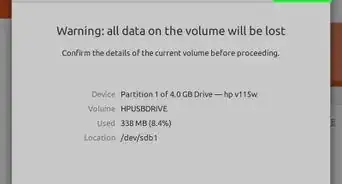
4Locate the name of the volume you want dismounted in the list of results. For example, if you want to dismount a flash drive you had named “wikiHow data,” find the volume for “wikiHow data” in the list of results.
-
5Locate the drive identifier of that particular volume. The drive identifier will be named “disk” followed by a combination of different numbers and characters, and is located at the end of the line for each volume listed. For example, the drive identifier may read as “disk0s2” or “disk1s2.”
-
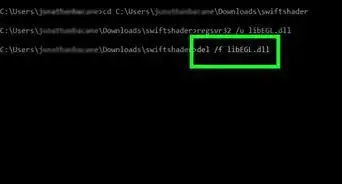
6Type the following command into Terminal: “diskutil unmount /dev/disk1s2,” while making sure that the appropriate drive identifier for the volume you want dismounted is used in place of “disk1s2” in this command. The volume will be officially dismounted when the following command is displayed in Terminal: “$ diskutil unmount /dev/disk1s2 Volume wikiHow data on disk1s2 unmounted”[2]


Advertisement
Community Q&A
-
QuestionWhat does it mean to "dismount a volume"?
 Community AnswerIt means that you are removing the storage area that was created on your physical hard drive from the operating system temporarily. You can add it back later if you would like. You can imagine it like removing a flash drive. The same thing happens, but the volume stays plugged in otherwise.
Advertisement


References
About This Article
Advertisement