This article was co-authored by wikiHow staff writer, Jack Lloyd. Jack Lloyd is a Technology Writer and Editor for wikiHow. He has over two years of experience writing and editing technology-related articles. He is technology enthusiast and an English teacher.
The wikiHow Tech Team also followed the article's instructions and verified that they work.
This article has been viewed 457,302 times.
Learn more...
This wikiHow teaches you how to remove photos from your Facebook account. Unfortunately, while you can delete photos on both desktop and mobile versions of Facebook, you cannot mass-delete photos; you'll have to either delete them one at a time or delete entire albums. Similarly, you cannot delete photos that you didn't upload, such as photos in which you're tagged.
Steps
On Desktop
-
1Open Facebook. Go to https://www.facebook.com/ in your computer's web browser. This will open your News Feed if you're logged in.
- If you aren't logged in, enter your email address and password before proceeding.
Unfortunately, while you can delete photos on both desktop and mobile versions of Facebook, you cannot mass-delete photos; you'll have to either delete them one at a time or delete entire albums.
-
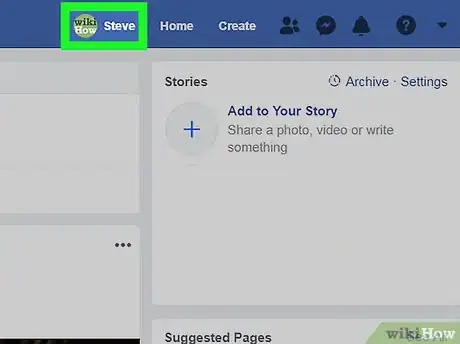
2Click your name. It's a tab in the upper-right corner. Doing so takes you to your profile page.Advertisement
-
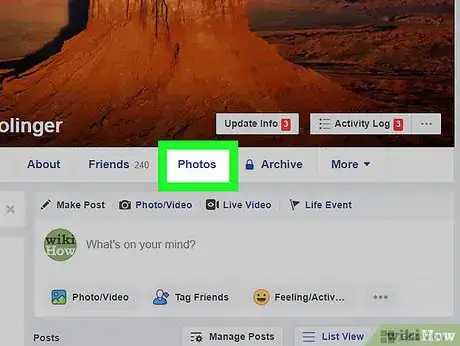
3Click the Photos tab. You'll find this below the cover photo near the top of your profile page.
-
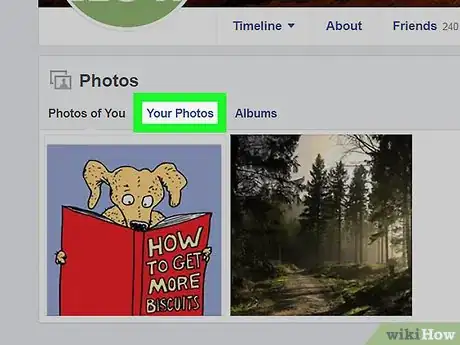
4Click Your Photos. It's near the top of the page. Doing this opens a list of the photos you've uploaded.
- You cannot delete photos of you that other people uploaded.
-
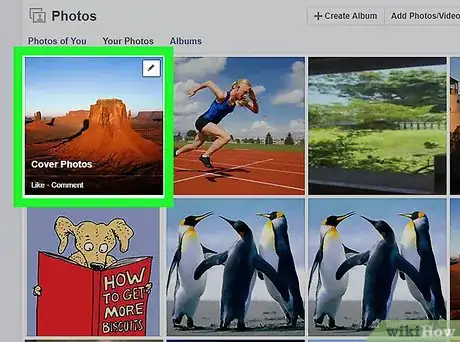
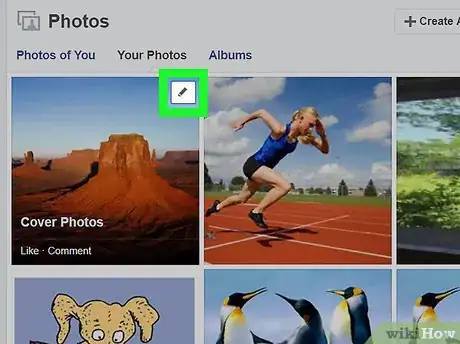
5Hover your mouse over a photo. This should be a photo you want to delete. A pencil icon will appear in the upper-right corner of the photo's preview.
-
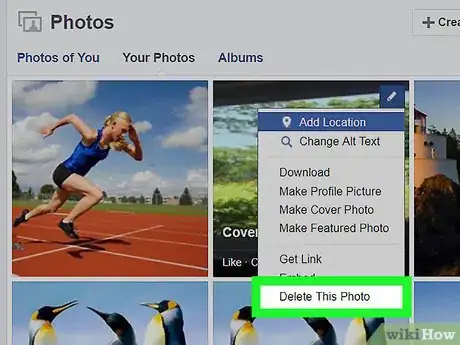
6
-
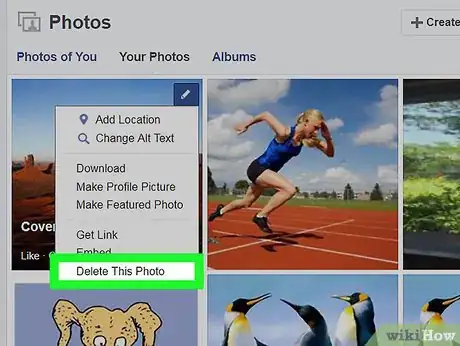
7Click Delete This Photo. You'll find this in the drop-down menu.
-
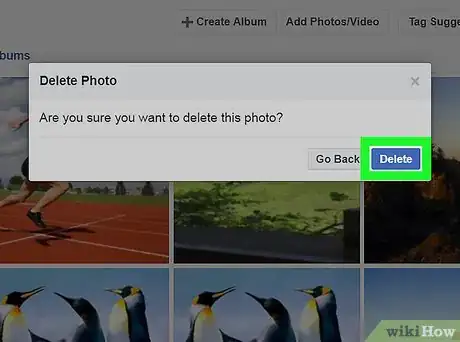
8Click Delete when prompted. This deletes the photo from your Photos collection.
-
9Repeat this process for other photos. Since you can't delete more than one photo at a time without deleting a whole album, you'll need to remove each photo you want to delete one at a time.
-
10Delete an album. If you want to remove a whole album from your profile, do the following, though keep in mind that you can't delete albums that Facebook has created (e.g., the "Videos" album):
- Click the Albums tab at the top of the Photos page.
- Find an album you or a third-party app (e.g., Instagram) created.
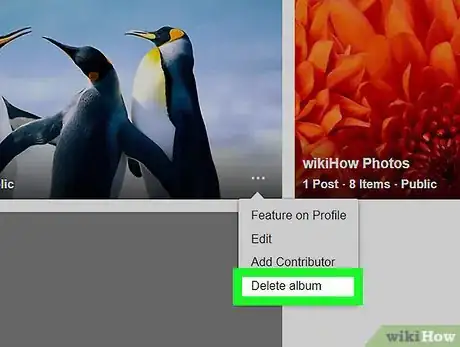
- Click ⋯ in the bottom-right corner of the album.
- Click Delete album.
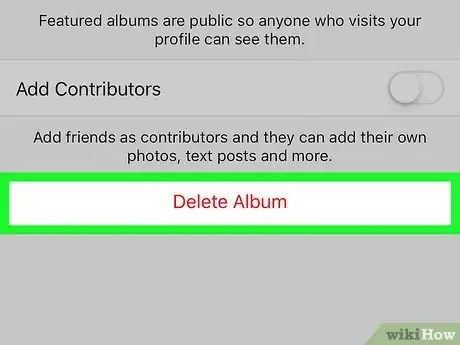
- Click Delete Album when prompted.
On Mobile
-
1Open Facebook. Tap the Facebook app icon, which resembles a white "f" on a dark-blue background. The News Feed will open if you're logged in.
- If you aren't logged in, enter your email address and password before proceeding.
-
2Tap the "Profile" icon. It's a person-shaped icon at the bottom of the screen (iPhone) or the top of the screen (Android).
- If you don't see this icon, you can instead tap ☰ at the bottom or top of the screen and then tap your profile picture.
-
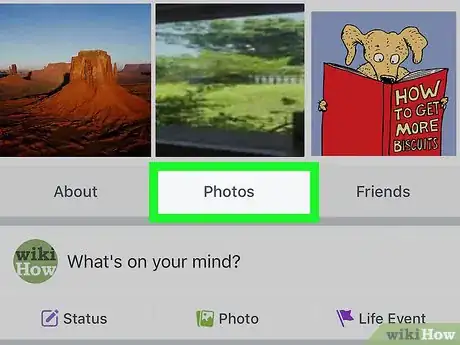
3Scroll down and tap Photos. You'll find this tab just above the "What's on your mind?" text box.
- On Android, Photos is just below your cover photo.
-
4Tap Uploads. It's near the top of the screen.
-
5Select a photo. Tap the photo you want to delete. The photo will open.
-
6Tap ⋯. It's in the top-right corner of the screen. A drop-down menu will appear.
- You may first have to tap once the photo to prompt this icon to appear.
- On Android, you'll tap ⋮ here instead.
-
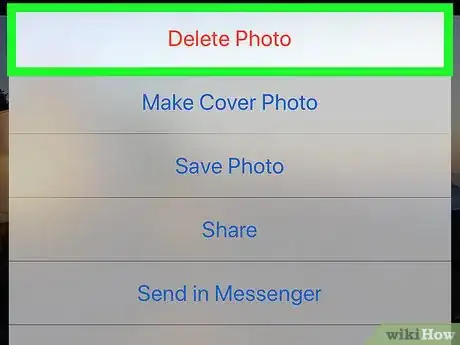
7Tap Delete Photo. This is in the drop-down menu.
-
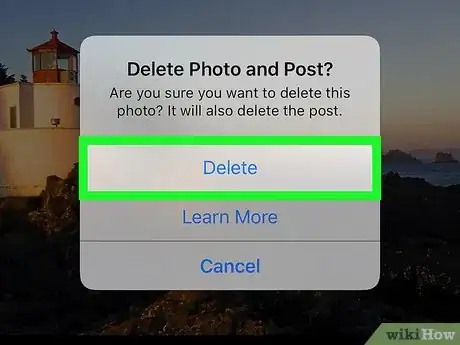
8Tap Delete when prompted. Doing so deletes the photo from your list of uploaded Facebook photos.
-
9Repeat this process for other photos. Since you can't delete more than one photo at a time without deleting a whole album, you'll need to remove each photo you want to delete one at a time.
-
10Delete an album. If you want to remove a whole album from your profile, do the following, though keep in mind that you can't delete albums that Facebook has created (e.g., the "Videos" album):
- Tap the Albums tab in the top-right corner of the Photos page.
- Tap Edit in the top-right corner of the screen (on Android, tap the album you want to delete).
- Tap X in the top-left corner of an album you want to delete (on Android, tap ⋯ in the top-right corner of the screen).
- Tap Delete when prompted (on Android, tap Delete in the menu that appears, then tap DELETE when prompted).
Community Q&A
-
QuestionIs there no way to remove multiple pictures at once instead of one by one?
 AhdomCommunity AnswerIt depends on if you have a group of photos, or just ones you've posted over your time as a Facebook user. If you're dealing with tons of selfies/photos taken and posted together, just press the three dots and then delete. I'm pretty sure you'd just have to delete the photos one by one if you're dealing with them over the weeks/months/years.
 -
QuestionI posted a photo on someone else's timeline. It does not appear under 'Your Photos', on my own page. How do I delete it?
 Community AnswerYou need to go to their timeline. Find the post you posted, then delete it.
Warnings
- Do not install third-party extensions or applications which claim to mass-delete photos for you. In all likelihood, such applications will steal your login information.⧼thumbs_response⧽
About This Article
To delete multiple photos on Facebook using a desktop computer, start by clicking your name in the upper-right corner and selecting the “Photos” tab in your profile. On the “Photos” page, click “My Photos” to view a list of photos you’ve uploaded. From this list, hover your mouse over a photo, click the pencil icon that appears, and choose “Delete This Photo” from the drop-down menu. Since you can’t delete more than one photo at a time, you’ll need to repeat this process for each photo you want to remove. If you want to delete a whole album of photos, click the “Albums” tab at the top of the Photos page and find the album you want to remove. In the bottom-right corner of the album, hit the three horizontal dots and choose “Delete album.” To learn more, including how to delete photos from Facebook using a mobile device, read on!
