This article was co-authored by wikiHow staff writer, Jack Lloyd. Jack Lloyd is a Technology Writer and Editor for wikiHow. He has over two years of experience writing and editing technology-related articles. He is technology enthusiast and an English teacher.
The wikiHow Tech Team also followed the article's instructions and verified that they work.
This article has been viewed 312,204 times.
Learn more...
This wikiHow teaches you how to get an email address that uses your website as the "@" part of the address. You can create a basic email address with GoDaddy or a free email address by using Zoho, or you can use any paid domain hosting service to set up an email account. You will need to own the domain for which you're setting up the email address before you can create the email address.
Steps
Using GoDaddy
-
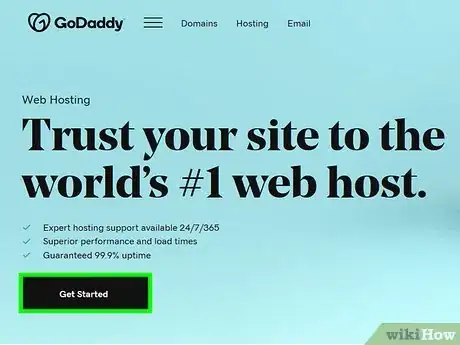
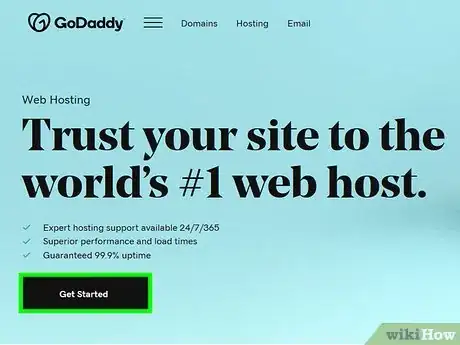
1Open the GoDaddy package selection page. Go to https://www.godaddy.com/hosting/web-hosting/ in your computer's web browser.
- If you don't have an account with GoDaddy, you can create one by clicking Sign In in the top-right corner of the page, clicking the Create an account link at the bottom of the page, and following the prompts.
-
2Sign up for the basic package. To do so:
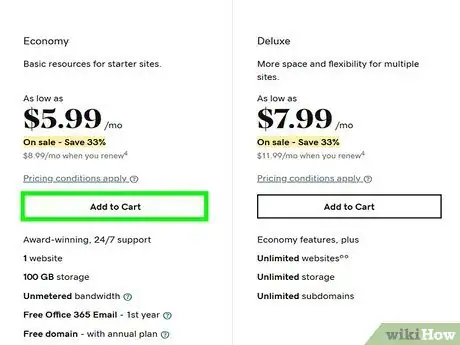
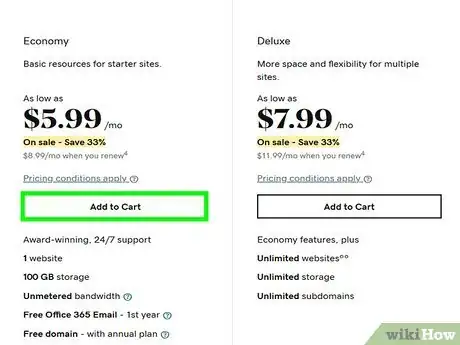
- Scroll down and click Add to Cart under the "Economy" heading.
- Select additional plan options if desired.
- Scroll down and click Continue With These Options
- Add a domain if you like, or click No thanks to pass.
- Sign into GoDaddy if you aren't already signed in.
- Enter your billing and payment information, then check out.
Advertisement -
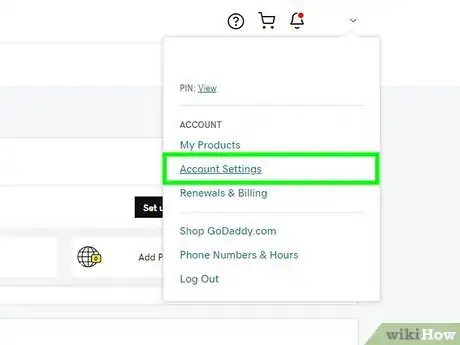
3Open your GoDaddy account. Go to https://www.godaddy.com/ and click the person-shaped logo in the top-right corner of the page, then click Account Settings in the resulting drop-down menu.[1]
-
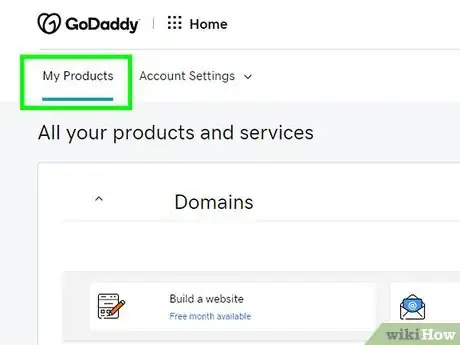
4Click My Products. It's a tab in the upper-left side of the page.
-
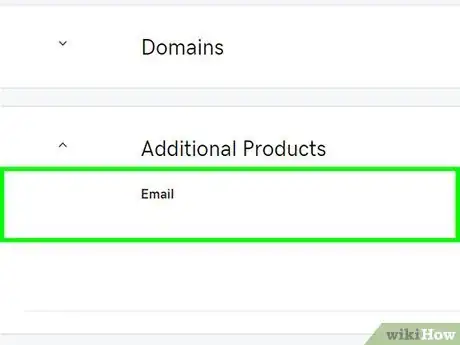
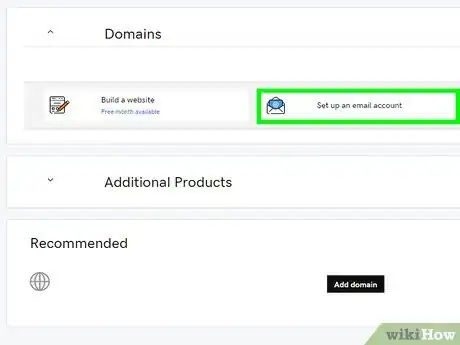
5Scroll down to the "Workspace Email" heading. This option is near the middle of the page.
-
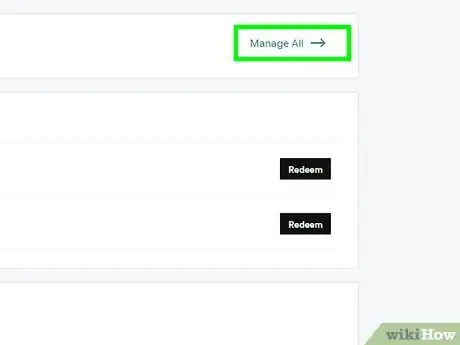
6Click Manage All. It's to the right of the "Workspace Email" heading. Doing so will open a new page from which you can create your .com email address.
-
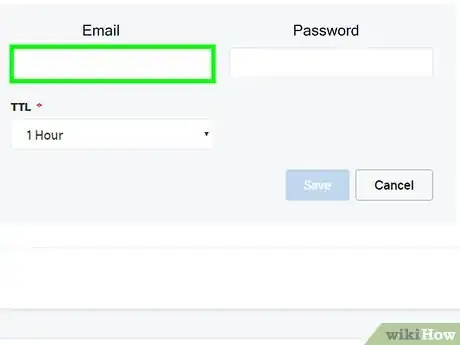
7Enter your preferred email address. In the "Email address" text box, type in the email address that you want to create, making sure to use your preferred domain name.
-
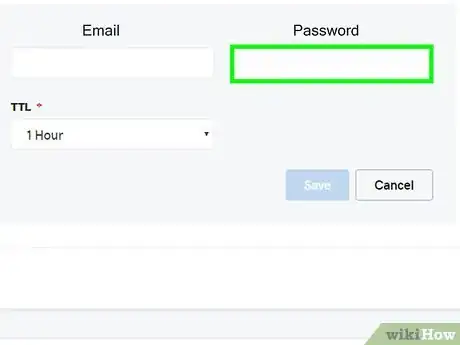
8Enter a password for the email address. Type your preferred password into the "Password" and "Confirm password" text fields.
-
9Click Create. This option is at the bottom of the page. Doing so will create your email address, though it will take a few minutes to be ready for use.
Using Zoho
-
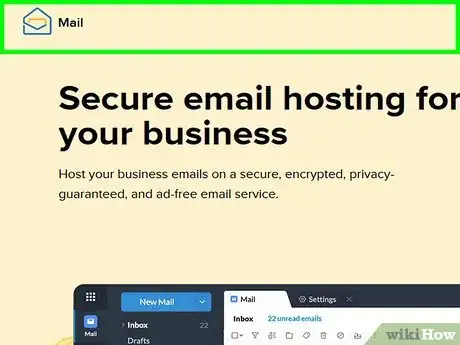
1Open the Zoho Mail site. Go to https://www.zoho.com/mail/ in your browser. Zoho Mail is a site that offers free hosting for one email address, allowing you to create one ".com" email for yourself.
-
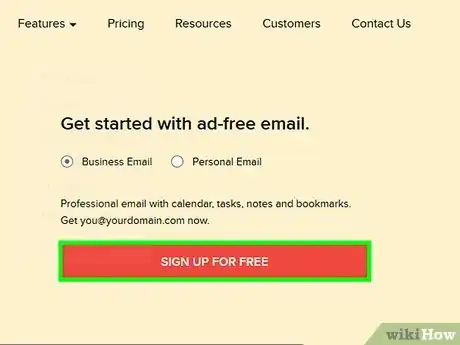
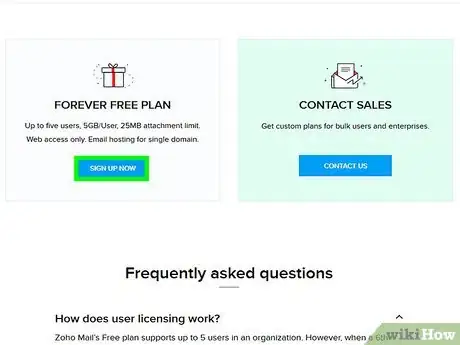
2Click SIGN UP NOW. It's a red button on the right side of the page.
-
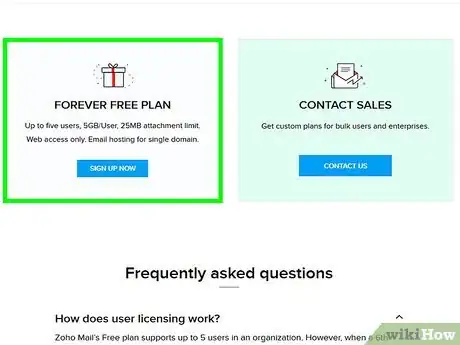
3Scroll down to the "FREE PLAN" heading. You'll find this option near the bottom of the page.
-
4Click GET STARTED. It's in the "FREE PLAN" section. Doing so will take you to the beginning of the setup process.
-
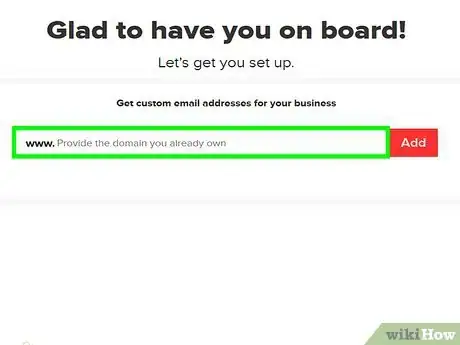
5Enter your website's address. Type your website's domain address into the text field in the middle of the page.
-
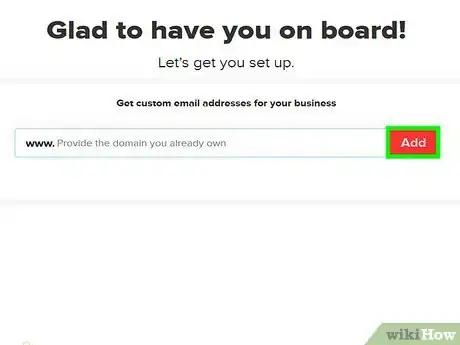
6Click Add. It's to the right of the text field.
-
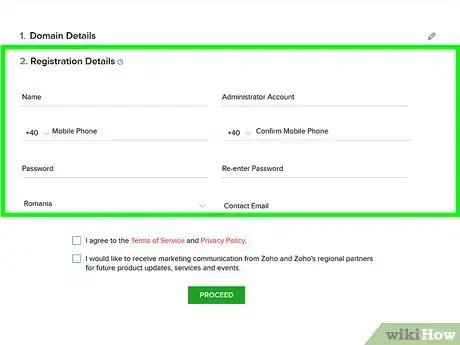
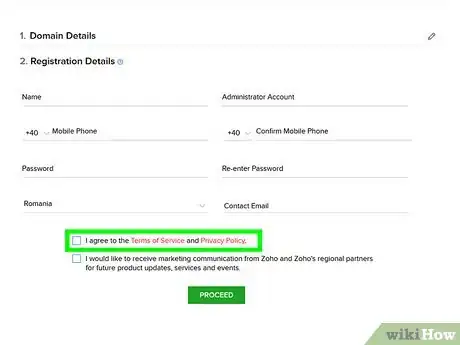
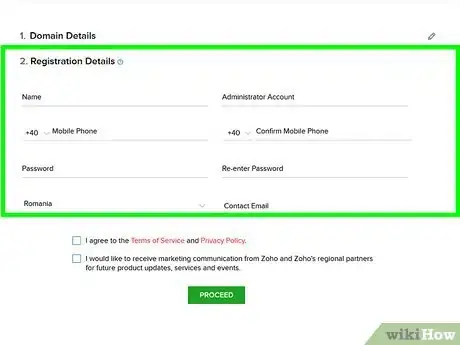
7Enter your account details. Fill out each of the boxes on this page, making sure to use a working phone number at which you can receive text messages.
-
8Check the "I agree" box. It's near the bottom of the page.
-
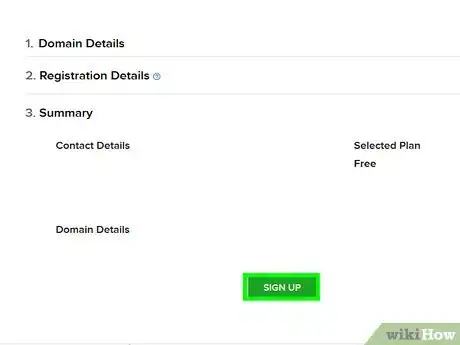
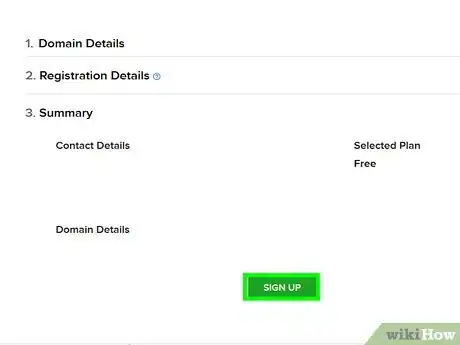
9Click Sign Up. This option is at the bottom of the page. Doing so will prompt Zoho to send a verification text message to your phone number.
-
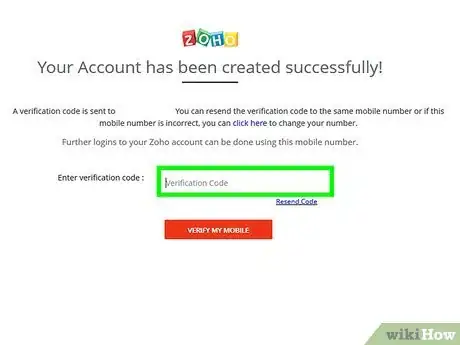
10Verify your account. To do so:
- Open your phone's Messages app.
- Open the text from Zoho.
- Note the verification code in the text.
- Enter the verification code into the text box in the middle of the setup page.
- Click VERIFY MY MOBILE
-
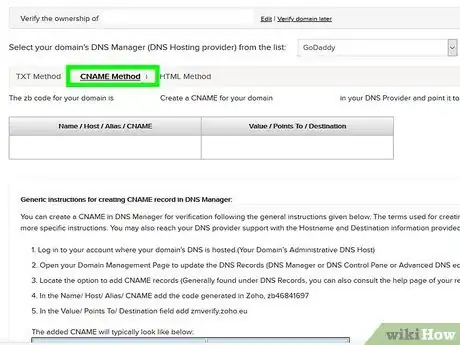
11Click the CNAME Method tab. It's at the top of the page. This is the easiest method of website verification.
-
12Select a website host. Click the drop-down box near the top of the page, then click your domain host's name (e.g., GoDaddy) in the resulting drop-down menu.
-
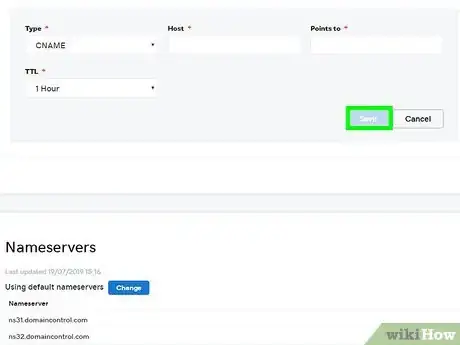
13Verify that you own your domain. While this process will vary slightly depending on your selected domain host, you'll generally follow these steps:
- Copy the "Name / Host / Value / CNAME" code by selecting it and pressing Ctrl+C (Windows) or ⌘ Command+C (Mac).
- Open your website's domain settings page (or DNS Management, etc.).
- Click ADD or NEW, then select CNAME.
- Set the "Type" value to CNAME
- Paste the copied code into the "Name", "Host", "Value", or "CNAME" text box by pressing Ctrl+V (or ⌘ Command+V).
- Copy the "Value / Points to / Destination" code.
- Paste this code into the similarly titled text box in the settings page.
- Save your changes.
- Click Proceed to CNAME Verification, then click Verify Now when prompted. If you don't see this prompt, wait for a few minutes before trying again.
-
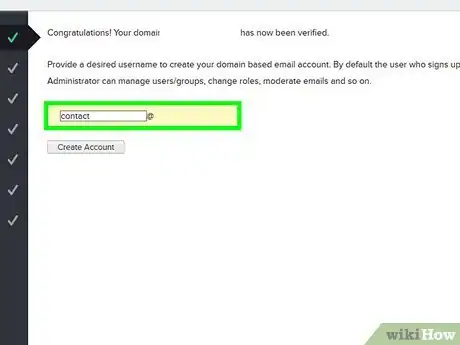
14Enter a username. In the text box at the top of the page, enter the name that you want to use with your customized email address.
-
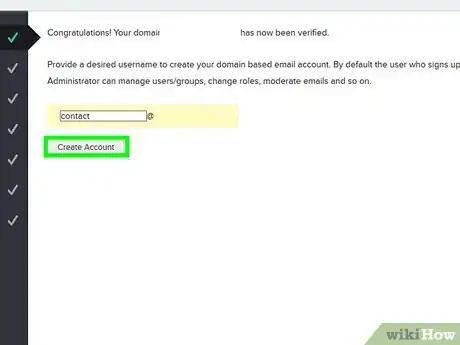
15Click Create Account. It's a grey button below the text box.
-
16Skip to the "Configure Email Delivery" page. Click Skip in the lower-right side of the page twice.
-
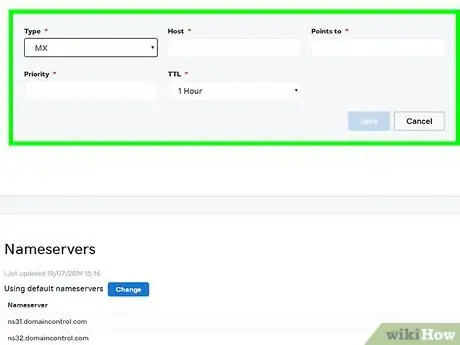
17Set up your domain service to send email to Zoho. This is what will guide incoming email into your inbox. To do so:[2]
- Open the domain service's settings page.
- Click ADD or NEW, then select MX or MX Record
- Type @ into the "Host" field.
- Type mx.zoho.com into the "Points to" field.
- Type 10 into the "Priority" field.
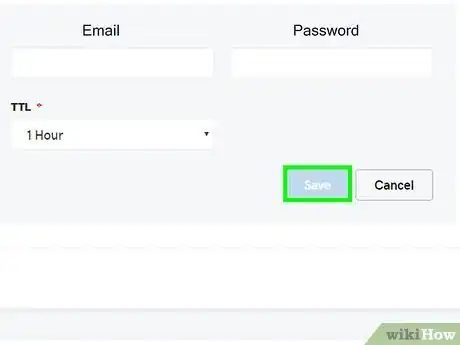
- Save this record by clicking Save or OK
- Repeat this process with the @ symbol, the "Points to" value mx2.zoho.com, and the priority level 20.
-
18Follow any instructions on the "Email Migration" page if necessary. If you want to move your existing inbox's contents over to Zoho, you'll have to follow the instructions on the "Email Migration" page to complete the process.
- You can also just click Skip in the bottom-right side of the page to skip this step.
- You can find specific instructions on using Zoho with your selected email platform on the "Mail Client Configuration" page as well.
-
19Access your Zoho inbox. You can go to https://workplace.zoho.com/ and click Mail to view your Zoho inbox, which functions like any other email service.
- There's also a free Zoho Email app that you can download and sign into on iPhone and Android.
Using General Paid Email Hosting
-
1Find a paid domain hosting service. If you haven't yet registered your domain with a hosting service, you'll need to find a hosting service such as GoDaddy or FastComet.
- If you already have your domain hosted on a service, you can usually set up a domain email address from within the service's email settings page.
-
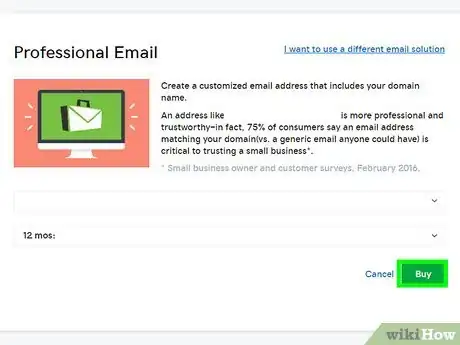
2Select a paid package. Most email hosting services have various packages which include different perks, such as increased storage space or access to online tools. Pick the package that works best for your needs.
-
3Enter your account details. This will generally include the following information:
- Basic information (e.g., your name, phone number, preferred username, etc.)
- Domain information (your website's address, login credentials, etc.)
- Payment information (your credit or debit card number and billing address)
-
4Purchase the package. Completing the purchase will allow you to begin using your hosted email address.
-
5Follow any setup instructions. Most hosting services will either send an email or display a page with setup instructions regarding moving your current email's contents over, setting up your email inbox with your website, and so on.[3]
- You may also have to pick a username and/or a style of inbox (e.g., Microsoft Outlook) here.
-
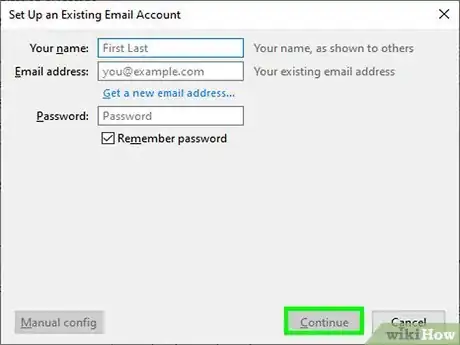
6Use your selected service's email app. If your selected email service comes with its own built-in email inbox or email app, you can view and manage your emails using this service rather than setting up another inbox to use your service's settings.
Community Q&A
-
QuestionCan I have an email address if I am 13 years old?
 Community AnswerMost popular email providers stipulate in their terms of service that users must be 13 years old at minimum. Some, including Yahoo, limit the activities of users between 13 and 17.
Warnings
- Owning a website domain and the related email services can be expensive over time.⧼thumbs_response⧽
