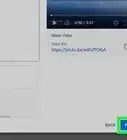
This article was co-authored by Beth Cormack and by wikiHow staff writer, Hunter Rising. Beth Cormack is a Social Media Manager based in Washington, D.C. With five years of experience, she specializes in multi-channel social media marketing and storytelling. She earned her Master of Professional Studies from Georgetown University School of Continuing Studies and her BA in Communication from the University of Massachusetts-Amherst.
There are 19 references cited in this article, which can be found at the bottom of the page.
wikiHow marks an article as reader-approved once it receives enough positive feedback. In this case, 100% of readers who voted found the article helpful, earning it our reader-approved status.
This article has been viewed 237,179 times.
With hours of new content uploaded to YouTube every minute, your videos need to be high-quality if you want viewers to find you. Videos meant to entertain or educate your audience may be different in subject matter, but they essentially require the same processes. Plan each video you make and be sure to use proper equipment to film it. After you record everything, edit your footage and share it so other people can find it. While you can’t determine what videos will become popular, creating the best content you can increases your chances of people watching it!
Steps
Recording the Video
-
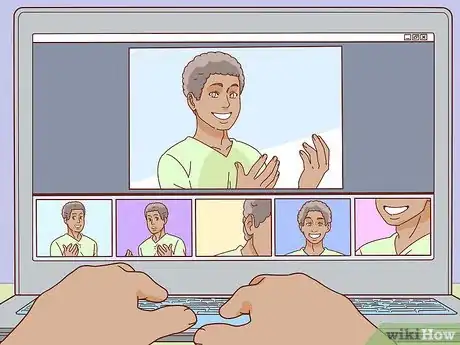
1Practice your video a few times before recording it. Go over your script and practice saying it out loud to see how it flows. Make any changes to the script that you need to so it’s easier to say. Try running through your lines faster or slower to see how the emphasis changes. If you’re talking directly to the camera, practice your delivery until it feels like you’re naturally having a conversation.[1]
- If you’re working with multiple actors, run through the scenes a few times to rehearse your script.
- Don’t be afraid to get rid of lines that don’t work as well you thought they would.
-
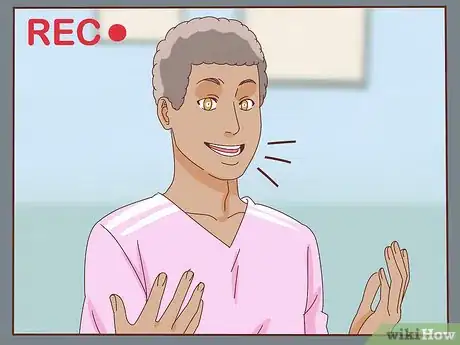
2Record multiple takes of the video so you can choose different shots. After you hit record on your camera, do your best to deliver your lines without hesitation. If you screw up, keep the camera running and just start the line over again. It’s okay if you stumble on a few words since you can edit them out later. After you get a good take, read the lines at a different speed or with different emphasis so you have the option to use those shots later on.[2]
- Try to stick to your script or outline so you don’t lose focus while you’re recording.
- If you’re shooting comedy videos, try to improv a few lines since they could be funny when you edit them later on. That way, you have an option for what jokes you want to include.
Advertisement -
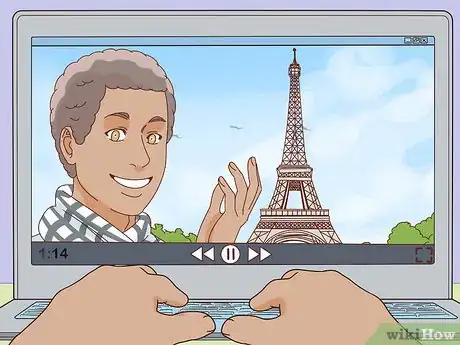
3Film extra footage so you can include it if you need to. Videos like travel vlogs, short films, and educational content usually have extra footage called B-roll that’s used to fill in any gaps. You may use additional footage to transition between topics in your video or to add visual interest. Make sure to include any shots that you may want to add later so you can put them into your video during the edit.[3]
- For example, if you’re filming a video about a trip to Paris, you may include footage of the Eiffel Tower or the Arc de Triomphe to show off the landmarks.
-
4Speak clearly so people listening can understand you. Be sure to articulate each word while you’re speaking so you’re easy to listen to. Stay at a moderate volume so your microphone doesn’t peak and muffle your audio. It’s okay if you screw up a line or two since you can always rerecord it.[4]
Tip: Adjust your tone of voice for the audience you’re making videos for. While yelling and having an excited tone may work for entertainment vlogs, it doesn’t work as well in educational videos.
-
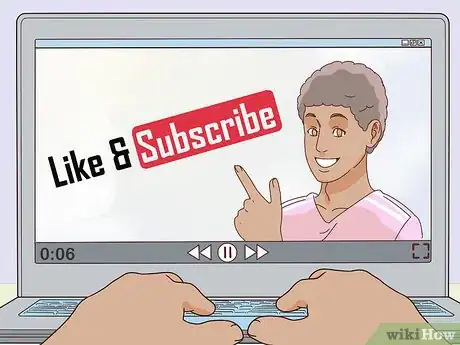
5Ask people to like and subscribe to your channel so you can build an audience. At some point while you’re recording, be sure to ask viewers to like the video and subscribe to your channel. You can tell people in the intro of your topic or at the end of your video. That way, your video and channel can get more popular so other people will see your content.[5]
- You may say something like, “And don’t forget to click the thumbs up if you like this video and subscribe to my channel if you want to see more!”
- Asking people to like and subscribe may not work well if you include it in short films.
- You can also ask people to like and subscribe by including text at the end of your video as a reminder.
Editing Your Video
-
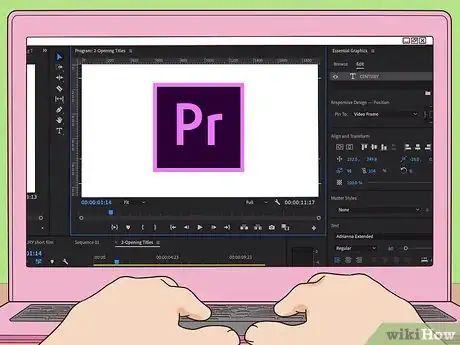
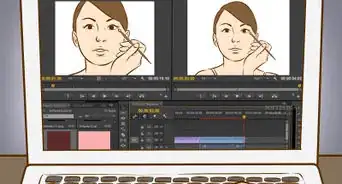
1Use video editing software to cut your footage together. Install video editing software on your computer so you can cut the footage from your video. There are many free options for editing, but you may get more functionality from paid programs. Familiarize yourself with the software you’re using so you know what you’re capable of creating.[6]
- Common video editing software you can use includes Adobe Premiere, Windows Movie Maker, iMovie, and Final Cut.
- Don’t upload your video to YouTube unedited since it won’t get as many views.
- YouTube has a built-in editor, but it has limited functionality.
-
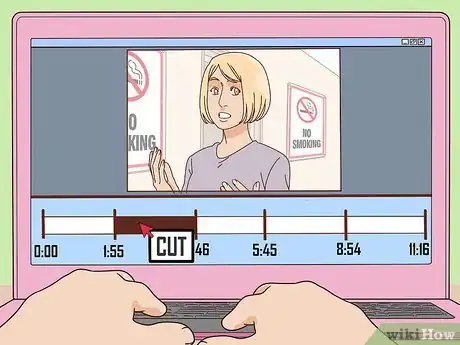
2Cut out any pauses that are too long so your video moves quickly. Load your footage into the program and rearrange it into the order you want. Watch through the footage and remove any time you stumble over your lines or pause for a long time. Aim to have quick cuts to maintain your viewers’ attention and prevent your video from getting boring or long-winded.[7]
- Cut out any content that you don’t want to include in your video.
Tip: You can also rearrange the footage in any way you want. Try out multiple edits to see what works best for your video.
-
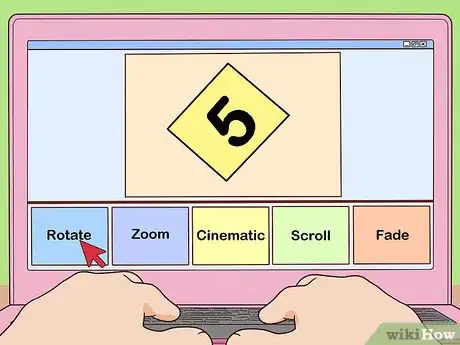
3Add effects and animations to make your content unique. Educational videos usually include images, infographics, or small animations to add more visual interest to your videos. If you don’t have footage for part of the video, use an image or animation with your narration to fill in the gaps. You may also include transitions between your footage to make the video flow and look smooth.[8]
- You can make your own animations in programs like Adobe After Effects or Blender.
- Adding visuals and graphics to a short film can help create a unique filmmaking style.
- Look online for tutorials on how to create certain effects in your video.
-
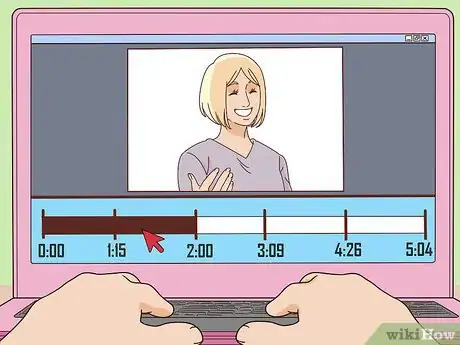
4Make your video only as long as it needs to be. Videos are most popular if they are around 5 minutes long, but it may be longer or shorter depending on the topic you’re covering. Cut out any footage or audio that doesn’t fit the tone of the rest of your video. When you’re finished with an editing pass, watch through the video to see if there is anything that you still need to remove.[9]
- Many comedy videos range between 30 seconds to 2 minutes long.
- Educational videos may be longer than 10 minutes depending on how much information you’re covering.
Uploading Videos to YouTube
-
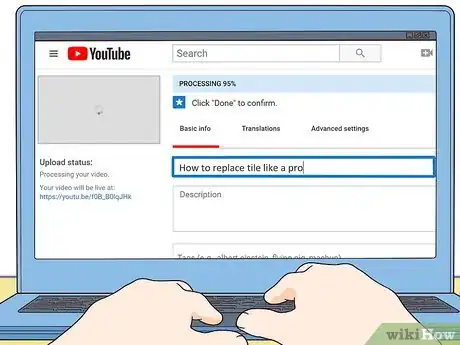
1Give your video a catchy title to draw viewers in. Include any keywords about your topic early in the video title so people can see it immediately when they search it. Be sure to describe what you’re covering in enough detail so viewers know what to expect from the video. Keep the title less than 60 characters long so it’s catchy and easier to share.[10]
- You can use titles that are clickbait as long as you don’t lie about the content of your video.
- If you need to include episode numbers on your videos, put them at the end of your title so the important information is first.
-
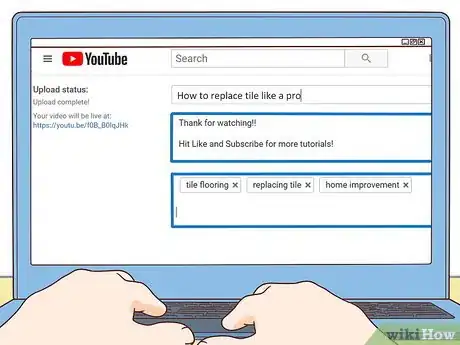
2Fill out the description and tags so people can find your video easily. Write what you’re doing in the description of your video so other people can read it and learn more. Include helpful information or links you didn’t include in the video. Update the tags on your video with keywords relating to your video so it shows up in more searches.[11]
- For example, if your video is about replacing a tile floor, you may include tags like, “tile flooring,” “replacing tile,” and “home improvement.”
- Try linking to different times in your video if you cover a lot of information. This helps viewers jump to the part of the video that they need.
-
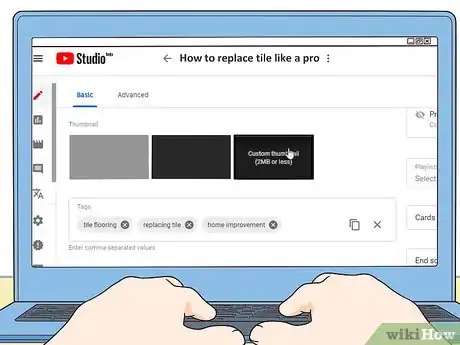
3Create a custom thumbnail for your video to hook viewers. Video thumbnails are the first images you see when you’re searching for a video, so it’s important for them to stand out. Use a photo editor to create a thumbnail using a still frame or picture from your video. Put text on the thumbnail so you can read it from a distance to make it more noticeable when you search it.[12]
- If you don’t make a custom thumbnail, YouTube will let you choose a still frame from your video to use instead.
-
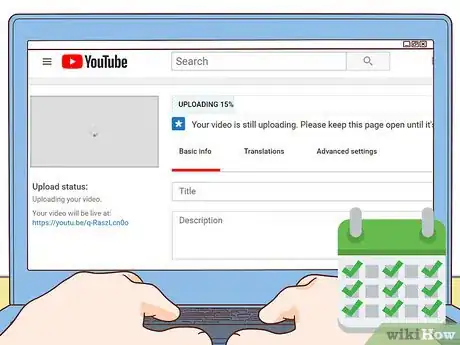
4Set a consistent upload schedule so viewers know when to expect new content. If you want to get more subscribers and views, upload videos regularly so people can watch them. You can choose to make multiple videos a week or once a month. Make sure to stick to your schedule so you don’t lose any viewers or subscribers.[13]
- Plan to have 2-3 videos ready at all times so you can have a back-up video if a different one you’re making takes up more time.
- Start posting videos to see what your viewers respond well to.
Planning Your Video
-
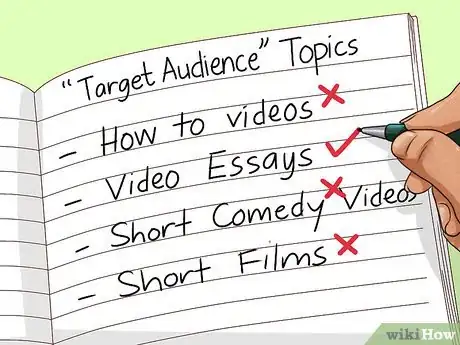
1Determine who you want as your target audience. Picking your target audience also helps you choose the types of videos you create. Choose an audience that you can relate to so you can figure out what types of content they’re looking for. Once you choose a target audience, aim to make most of the videos on your channel about subjects related to your audience.[14]
- How-to videos have a large audience so they may help you get the most views and subscribers.
- Video essays cover certain topics in detail and require research. Choose topics that you’re personally interested in because other people might also have a similar interest.
- Short comedy videos usually attract a large audience of younger viewers since they’re easy to watch and share with others.
- If you want to make short films, pick genres you like to watch and make films based on it.
-
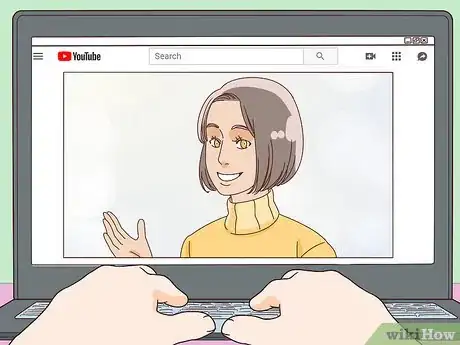
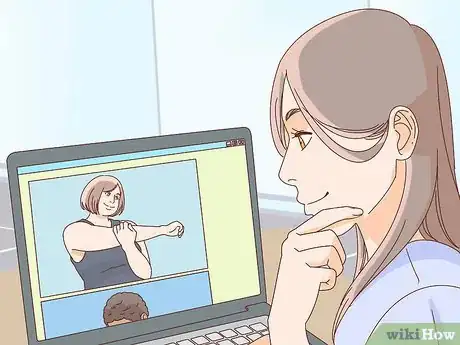
2Watch other videos in the style you want to create. Look up other popular YouTube personalities that make content similar to what you want to do. Take notes about how their videos are structured, the points they cover, and what they film. Use the videos you watch as influences to your own content.[15]
- Never steal another person’s content or copy it word for word.
- Put your own unique spin on the style of video to make yourself stand out. Look at what’s common between multiple videos in that style and then change something to your own. For example, many video essays have people standing and talking directly to the camera. You may choose to shoot from different angles to make your essays more interesting.
-
3Research topics for your video if you’re making informative content. Look up the topic to see what other people are searching for so you know what to include in your video. If you need to learn more about the topic, make sure you use reliable sources so you aren’t spreading false information. Try to find a variety of sources so you become an expert on the topic.[16]
Tip: Try to narrow down your video topic to make it more specific. For example, instead of making a video about how to lose weight, you may instead make a video about how to lose weight if you’re under 30.
-
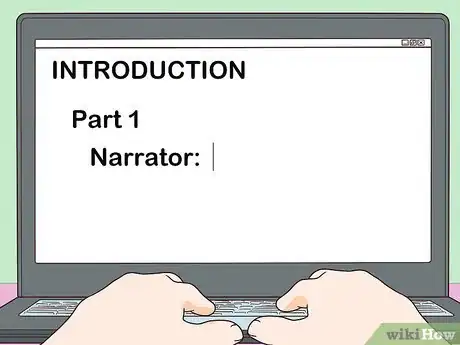
4Write a script or outline for your video (optional). Plan out what you’re going to say ahead of time so you don’t lose focus when it’s time to record. You can either write a full script or a bulleted list of points that you want to cover. Go over the script a few times to edit out anything that doesn’t fit with the rest.[17]
- If you’re making impromptu videos or recording yourself playing video games, you don’t need to have a script or outline.
- Include visuals in your outline, like things that you want to film or images you want in your final video.
Choosing the Right Equipment
-
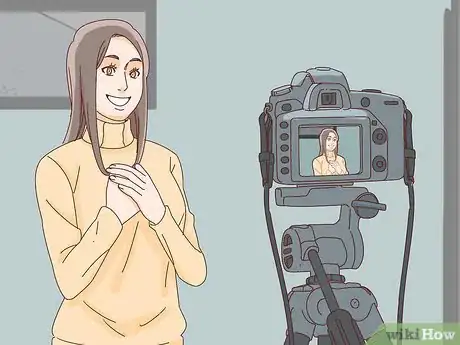
1Use a camera with a tripod if you’re filming yourself. Make sure the camera you use has enough storage for your video files since they can take up a lot of space. Put the video camera on a tripod so it doesn’t move around or shake while you’re recording since this could look unprofessional.[18]
- If you’re filming comedy videos or short films, you may choose to shoot without a tripod for some of your shots.
- You can use your phone as long as it has enough memory available to record your video. You can buy phone tripods at convenience stores or online.
- Bring extra batteries for your camera since recording can burn through them quickly.
-
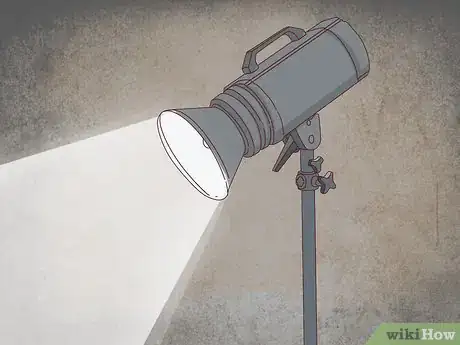
2Light your recording area so it isn’t too dark. Move lights around the space where you plan on recording to see how they affect the brightness. Make sure it’s bright enough that you’re visible on camera, but not so much that it causes harsh highlights or shadows. Aim to have 1 light set up to the left and right of your camera to create balanced lighting.[19]
- You can also use natural lighting coming from windows into your space.
- You can film outdoors, but avoid shooting directly into the sun or else it will look too bright.
- Your lighting all depends on the space where you’re shooting. Rooms with lighter colors will look brighter than rooms with darker colors.
-
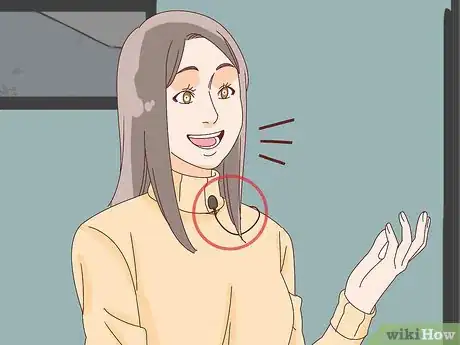
3Speak into a microphone to get clear audio. The microphones built into your camera or phone don’t pick up audio clearly, especially if you’re far away from them. Get an external microphone that has good sound quality so your videos sound and feel professional. Test the microphone beforehand to make sure it works.[20]
- Lapel microphones clip onto your shirt so you can clear audio no matter where you are in the shot.
- Directional microphones pick up sounds in whichever direction they’re pointing.
- Omnidirectional microphones pick up any noise around it.
Tip: Check what type of batteries your microphone uses so you can bring extras with you.
-
4Keep the background clean if you plan on recording educational content. Choose a clean wall or area where you feel comfortable to film your video. Remove anything that’s cluttering the background of your recording area since it could be distracting to viewers. Leave some objects, such as books or posters, to give your shot some visual interest.[21]
- If you don’t have a clean wall to film in front of, try hanging up a sheet and standing in front of it instead.
-
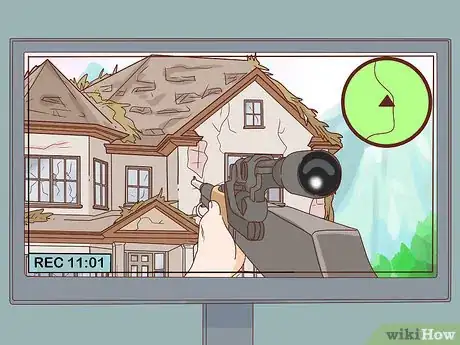
5Use a screen-capture program if you’re filming video games or computer screens. Look online for free video-capture programs so you can record the game you’re playing. Follow the program’s instructions and select the screen or window you want to record to capture the footage. That way, you can use your microphone to record your audio and while the software records the footage and audio from your computer.[22]
- Screen-capture programs work great for digital art videos, video game let’s plays, and how-to computer tutorials.
- Try filming video of yourself even if you’re using a screen-capture program. That way, you have the option to include it if you need it.
Expert Q&A
-
QuestionWhat kind of lighting is best for videos?
 Beth CormackBeth Cormack is a Social Media Manager based in Washington, D.C. With five years of experience, she specializes in multi-channel social media marketing and storytelling. She earned her Master of Professional Studies from Georgetown University School of Continuing Studies and her BA in Communication from the University of Massachusetts-Amherst.
Social Media Manager Natural lighting is the best! Just make sure that you (or whoever/whatever the subject of your video is) faces the light rather than stands behind it. If it's dark outside, use artificial lights with your phone or computer—some of them have adjustable settings (like making the light a warmer or cooler hue).
 -
QuestionWhat's the best way to get people to click on my videos?
 Sarrah SouzaCommunity AnswerMake exciting thumbnails that go with your topic. Go for bright colors and vivid images, and avoid using sexual or copyrighted thumbnails, as this may get you reported.
 -
QuestionWhat if I have a low quality camera? I'm not working yet, I can't afford to buy good cameras.
 Community AnswerIf you have a low quality camera, you can take two paths. Use the camera anyway -- if everything else is really good, it shouldn't matter. You could even use it to your advantage as a piece of "old camera footage." Or, you could borrow a better one from a friend or parents.
Warnings
- Make sure your content doesn’t break any YouTube guidelines or it could be removed.⧼thumbs_response⧽
- Don’t make any content that harasses other people or contains illegal content, or else your account could get suspended or deleted.⧼thumbs_response⧽
Expert Interview
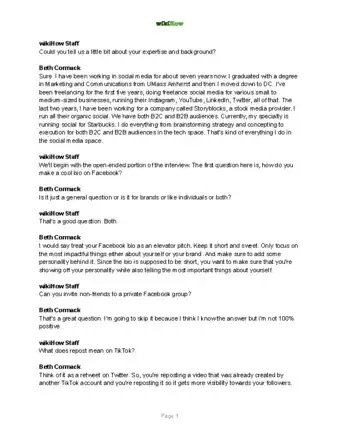
Thanks for reading our article! If you'd like to learn more about becoming a YouTuber, check out our in-depth interview with Beth Cormack.
References
- ↑ https://youtu.be/JAOcyGaoDwA?t=266
- ↑ https://youtu.be/JAOcyGaoDwA?t=308
- ↑ https://youtu.be/8KNz8yxrn18?t=168
- ↑ https://youtu.be/JAOcyGaoDwA?t=145
- ↑ https://youtu.be/xiZW9laL-js?t=128
- ↑ https://youtu.be/JAOcyGaoDwA?t=198
- ↑ https://youtu.be/IrycnysM9FA?t=299
- ↑ https://youtu.be/8KNz8yxrn18?t=188
- ↑ https://www.lifehack.org/articles/technology/10-ways-create-popular-youtube-channel.html
- ↑ https://creatoracademy.youtube.com/page/lesson/thumbnails
- ↑ https://www.lifehack.org/articles/technology/10-ways-create-popular-youtube-channel.html
- ↑ https://creatoracademy.youtube.com/page/lesson/thumbnails
- ↑ https://www.filmora.io/community-blog/how-often-should-you-upload-to-youtube--consistent-posting-187.html
- ↑ https://vidooly.com/blog/researching-the-right-audience-for-your-youtube-channel/
- ↑ https://youtu.be/ZuUOWFfk7kk?t=358
- ↑ https://www.nhcc.edu/student-resources/library/doinglibraryresearch/basic-steps-in-the-research-process
- ↑ https://youtu.be/JAOcyGaoDwA?t=59
- ↑ https://youtu.be/JAOcyGaoDwA?t=128
- ↑ https://youtu.be/vjtt-bMonpc?t=40
- ↑ https://youtu.be/JAOcyGaoDwA?t=145
- ↑ https://youtu.be/vjtt-bMonpc?t=551
- ↑ https://youtu.be/7HBE0u9epfE?t=93
About This Article
If you want to make great videos for YouTube, start by investing in good equipment, such as a camera, mic, and lighting, as well as video editing software. Then, come up with some ideas for videos, and outline the entire video before you shoot it. Aim to make original content that people like to watch, such as comedy skits or short interviews, and keep your first videos around 1-3 minutes long so viewers can watch them quickly. At the end, remind your viewers to like, comment, and subscribe to your channel if they enjoyed the video! For tips on getting in front of the camera and editing videos, read on!

