X
This article was co-authored by wikiHow Staff. Our trained team of editors and researchers validate articles for accuracy and comprehensiveness. wikiHow's Content Management Team carefully monitors the work from our editorial staff to ensure that each article is backed by trusted research and meets our high quality standards.
This article has been viewed 47,056 times.
Learn more...
Turn your Android into a personal information manager by syncing it with Microsoft's companion app. Use the app with any email provider and access information from multiple accounts by making Outlook your primary inbox. Download Microsoft Outlook from Google Play to get started!
Steps
Method 1
Method 1 of 2:
Syncing With the Microsoft Outlook App
-
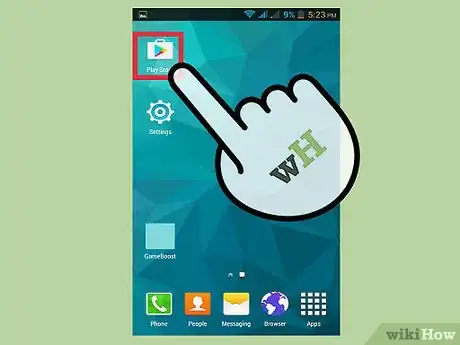
1Tap the Google Play icon. This will open Android’s app store where you’ll download Microsoft Outlook. The icon looks like a colorful “play button” inside a white briefcase.
- Tap on the dotted icon to scroll through your apps if you can’t find Google Play from the homescreen.
-
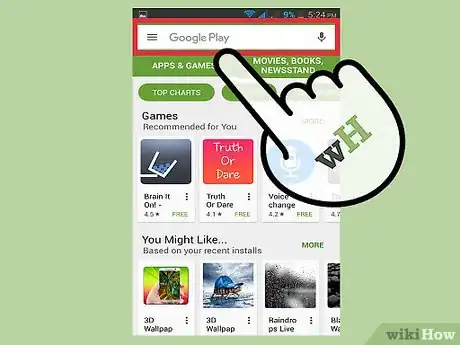
2Tap on the search bar at the top of your screen. Doing so will prompt a text field.Advertisement
-
3Type in “Outlook”. Once you’ve typed “Outlook” into the search bar, tap on the magnifying glass at the bottom-right corner of your keyboard to bring up a list of applications.
- A list of recommended searches will appear under the text field while typing.
-
4Tap on the Microsoft Outlook tab. It's the first application listed. This will bring you to the app’s informational page.
- Look for the app three rows down from the top if you prefer to search with the drop-down list.
-
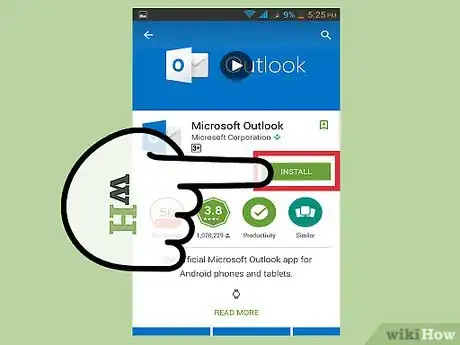
5Tap the green “Install” button. Microsoft Outlook will begin downloading.
- Feel free to read reviews and specifics about the app before installing to see if it’s compatible with your device and functional needs.
-
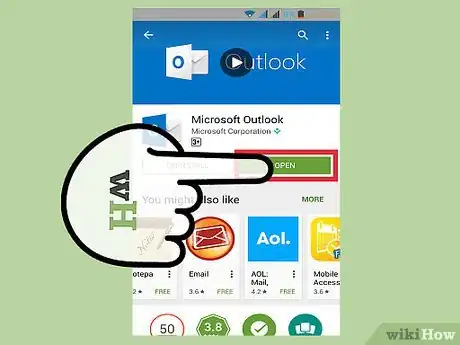
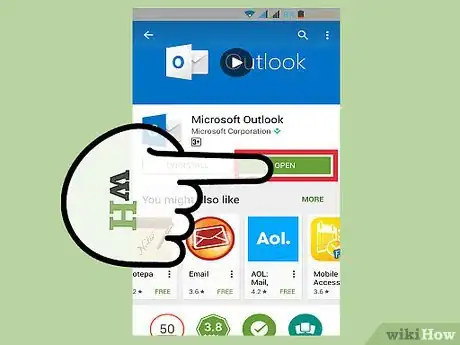
6Tap the green “Open” button. Doing so once the app is finished downloading will cause Outlook to open. A page will popup on your screen where you can proceed by tapping “Get Started”.
- Open Outlook from your app drawer if you’ve already exited Google Play.
-
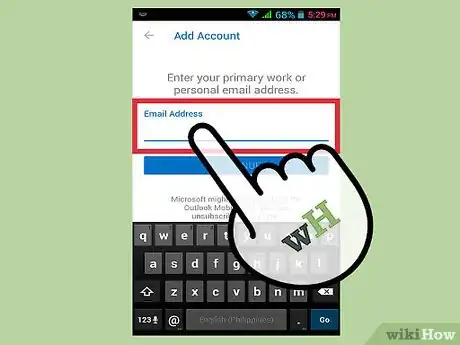
7Type in an email address that you want to sync. You can enter either an Outlook email address or an email with a different provider.
-
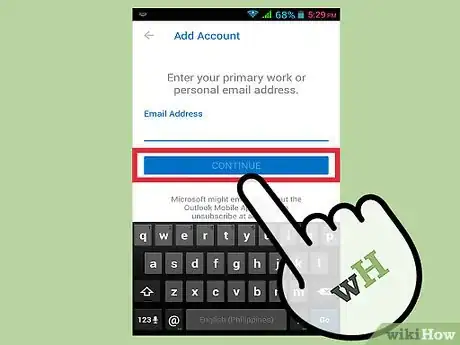
8Tap “Continue”. The button is located underneath your email address and will prompt a page where you can review the account information before signing in.
- Outlook will automatically configure the account.
- Tap “Find my account” and follow the prompts if your email address isn’t properly showing up.
-
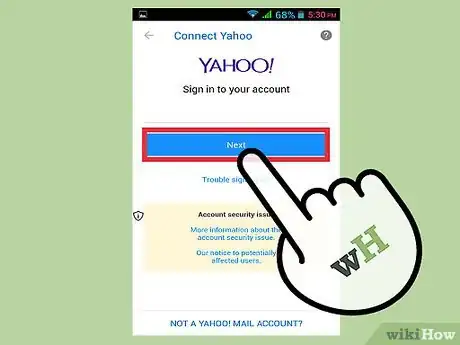
9Tap the blue “Next” button. Type your account password into the text field that appears under your email address.
-
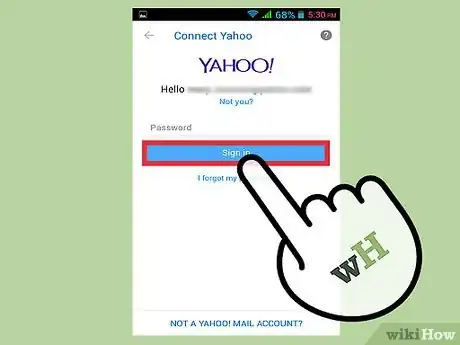
10Tap “Sign in”. This will bring you to the permissions page where you can see a list of features that will sync with the app.
- You can change your account permissions at anytime.
-
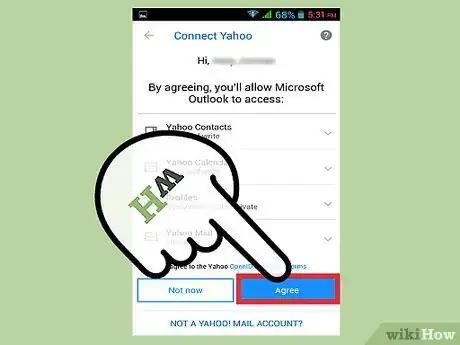
11Tap the “Allow” button. You'll find it at the bottom-right corner of the permissions page. Pressing it will sync Outlook with your Android. Once the sync is complete, you’ll be able to access your contacts, documents, emails, and shared calendars straight from the app’s dashboard.
Advertisement
Method 2
Method 2 of 2:
Syncing Multiple Accounts With Outlook
-
1Tap on the Microsoft Outlook icon. Open up Outlook by searching for it in your device’s app list.
- Please read method 1 (Syncing With the Microsoft Outlook App) before proceeding if you don’t have Microsoft Outlook installed on your Android.
-
2Tap on the gear icon. Once you’ve opened Outlook, access your settings at the top-right corner of the screen to sync multiple accounts.
-
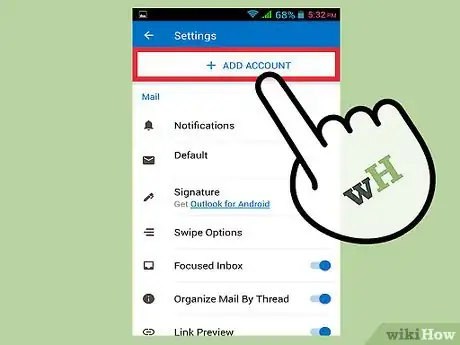
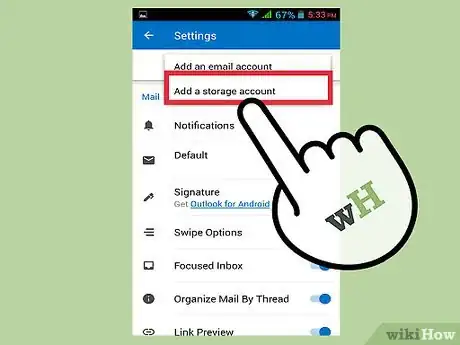
3Tap on “Add Account”. Below the primary email address, you’ll find the command typed in blue. A small box will appear with the options to: “Add an email account” or “Add a storage account”.
-
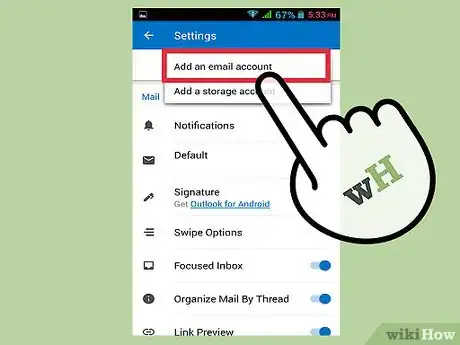
4Tap on “Add an email account”. Follow steps 5 - 7 from Method One (Syncing With the Microsoft Outlook App).
- Add as many accounts as you’d like.
-
5Tap “Add a storage account” (Optional). Choose an account type from the list of options and sign in.
-
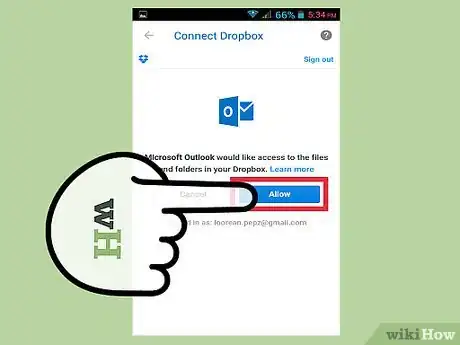
6Tap “Allow”. This will send you back to the settings page, and make the account accessible within Outlook.
- Google Drive will automatically sync when adding a Gmail account.
-
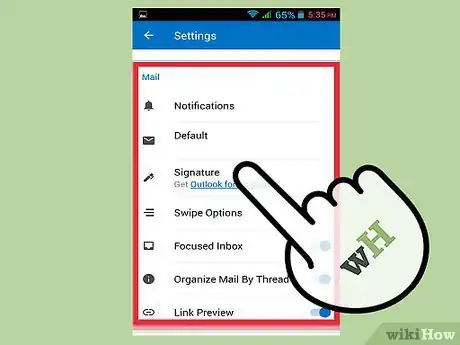
7Scroll down to "Mail". From the settings page, you can adjust how your email accounts interact with Outlook. Tap on the tabs within the "Mail" section to toggle these settings to:
- Create specific notifications for each account.
- Change your default account.
- Create an Outlook signature that will appear on all outgoing messages sent from the application.
- Adjust your swipe shortcuts for archiving messages and scheduling events.
- Change the format of Outlook’s inbox.
-
8Scroll down to "Calendar". Below "Mail", you can adjust calendar settings and make Outlook your Android’s primary calendar by linking additional apps such as Facebook, Evernote, and Wunderlist. Tap on the tabs within the "Calendar" section to toggle these settings to:
- Create specific notifications for each account.
- Change your default calendar and the weekly start date.
-
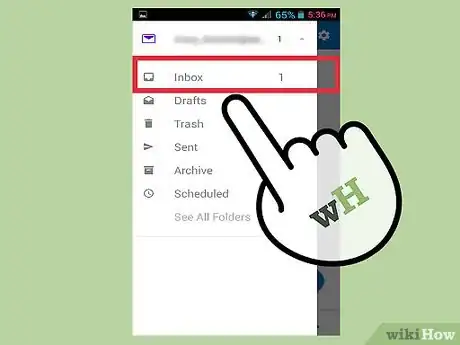
9Tap on the white arrow. Now that your accounts have been synced, you can start using Outlook as a central resource.
Advertisement
About This Article
Advertisement
