This article was co-authored by wikiHow staff writer, Nicole Levine, MFA. Nicole Levine is a Technology Writer and Editor for wikiHow. She has more than 20 years of experience creating technical documentation and leading support teams at major web hosting and software companies. Nicole also holds an MFA in Creative Writing from Portland State University and teaches composition, fiction-writing, and zine-making at various institutions.
This article has been viewed 14,004 times.
Learn more...
As a Mailchimp user, you don't have to pay for a scrubbing service to clean your email list. Mailchimp has built-in tools that automatically keep your contact list free of duplicate and inactive email addresses. You can further clean your list by archiving your inactive contacts, reconfirming your subscribers, and fixing email address typos. We'll show you how to improve your open rates, reduce spam complaints, and prevent unsubscribes by cleaning up your Mailchimp mailing list.
Steps
Archiving Inactive Contacts
-
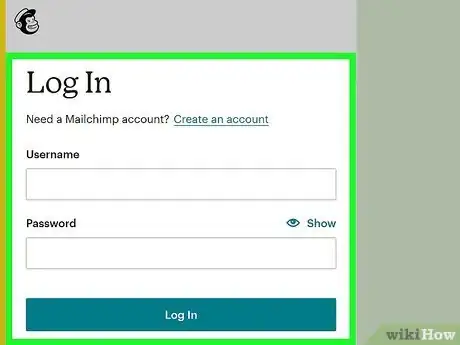
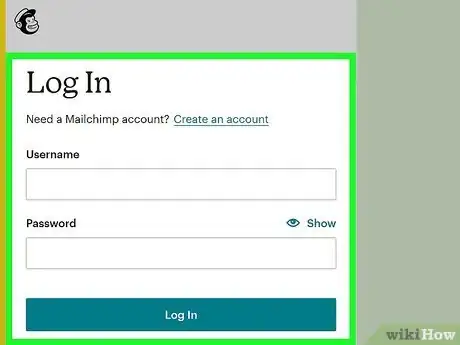
1Sign in to your Mailchimp account. If your mailing list contains a lot of inactive subscribers who don't often interact with your emails, you can archive those contacts based on inactivity.[1] Archived contacts won't count against your bill, and you won't lose any data.
- You can always unarchive contacts if you decide to do so later.
-
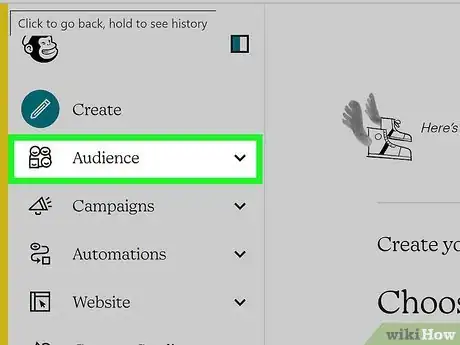
2Click the Audience icon. It's the icon of four faces in the left panel of Mailchimp.Advertisement
-
3Click Audience dashboard. You'll see this under the "Audience" header.
-
4Select an audience. If you have multiple audiences, click the "Current audience" menu and select the audience you want to modify.
-
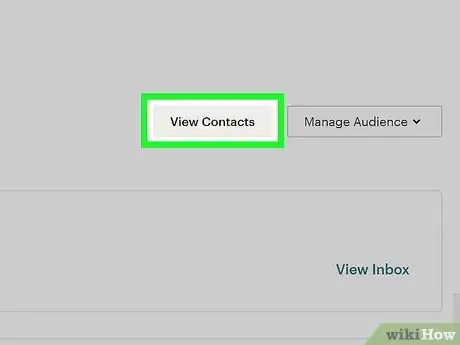
5Click View Contacts. This displays all contacts in the audience.
-
6Click the New Segment button. This lets you add contacts to a separate segment that you can archive.
-
7Create a new condition based on inactivity. Here's how you can view only the contacts that haven't interacted with your recent campaigns:
- Select All from the "Contacts match" menu.
- Select Campaign Activity from the first drop-down menu.
- Select did not open from the second menu.
- Select the number of campaigns, e.g., All of the last 20 campaigns from the third menu.
-
8Click Preview Segment. This displays all contacts that haven't viewed your mailings in the selected period of time.
-
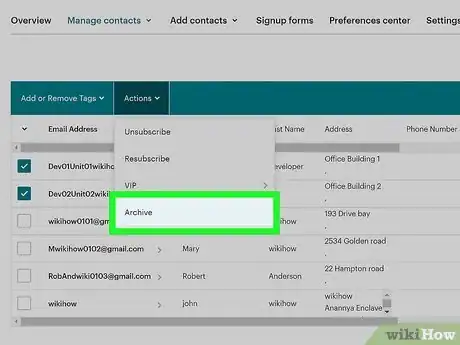
9Select the contacts you want to archive and click Archive. Once you archive these contacts, these contacts will no longer be in your audience, nor will they count toward your bill.
- If you want to unarchive these contacts, go to Audience, select All contacts, select the audience (if you have more than one), and then select Archived contacts from the "Manage contacts" drop-down menu.[2] Select the contacts you want to unarchive and click Unarchive.
Reconfirming Contacts
-
1Sign in to your Mailchimp dashboard. If you haven't sent a mailing in a while and want to make sure your list contacts still want to hear from you, you can reconfirm your contacts to clean up the list.[3]
- This can help prevent contacts from lodging spam complaints if they've forgotten that they've subscribed or just no longer want to hear from you.
-
2Export the current contacts as a CSV file. To reconfirm your list, you'll need to first export the audience to a file that contains their email addresses. Here's how:
- Click the Audience icon.
- Select All contacts and then choose the audience you want to work with (if you have more than one).
- Click Export Audience.
- Click Export as CSV and save the file to your computer.
-
3Unsubscribe the exported contacts. Now you'll need to remove these contacts from the mailing list so you can give them the opportunity to resubscribe if desired. Here's how:
- Click the Audience icon.
- Select All contacts and then choose the audience you want to work with (if you have more than one).
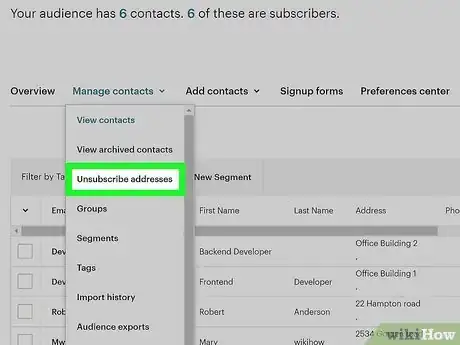
- Select Unsubscribe addresses from the "Manage contacts" menu.
- Open the CSV file you saved to your computer and copy the email addresses.
- Paste the email address list into the field and click Unsubscribe.
-
4Get the link to your sign-up form. Now that you've unsubscribed everyone from the list, you'll be able to send them a link to resubscribe. Here's how you can find the sign-up link:
- Click the Audience icon.
- Select All contacts and then choose the audience you want to work with (if you have more than one).
- Select Signup forms from the "Manage contacts" menu.
- If you want to change the form, making those changes now.
- Copy the URL under "Signup form URL."
-
5Create an email asking the previous subscribers to resubscribe if still interested. If you use Mailchimp to send a reconfirmation message to subscribers, subscriber response (or lack of response) could impact your sending reputation. To avoid this, send the reconfirmation message from your personal or business email address instead of through Mailchimp.
- Create a new email message from your business or personal email account.
- Write a message asking the recipients to resubscribe to your list if they still want to receive your mailings.
- Paste the URL to the Mailchimp signup form.
- You can also use other methods to get the URL to your subscribers, such as a postcard or pop-up message on your website. But sending an email is the fastest way to re-add subscribers.
- Copy the email addresses from the CSV file you downloaded and paste them into the "BCC" field.
-
6Send the message. Now that you're starting from scratch, you'll know that your mailing list is clean.
Managing Cleaned Contacts
-
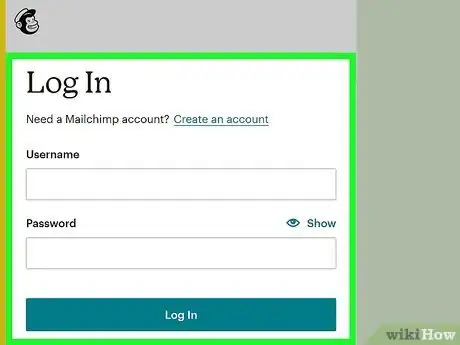
1Sign in to your Mailchimp dashboard. If you've seen the word "Cleaned" next to some of your contacts in Mailchimp, Mailchimp automatically removed those addresses from your mailing list(s) upon a hard message bounce.[4] Hard bounces can happen if there's a typo an email address or the address was deactivated. When Mailchimp "cleans" an address, that address can't receive messages from future campaigns. There are two ways you can manage your cleaned addresses:
- If you identify an obvious typo in a cleaned address, such as gmaillc.om as a domain name, you won't be able to edit the address, but you can re-add it. We'll show you how.
- Cleaned addresses don't count against your Mailchimp audience limit and you won't be charged for them. You don't have to delete them, but you can if you no longer want to see them.
-
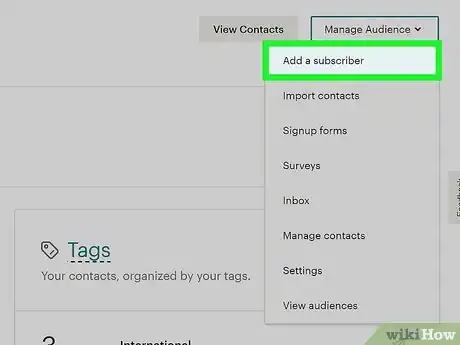
2Correct a typo in an email address. If you want to read subscribers who've been cleaned due to obvious misspellings of their email addresses, you can add those subscribers manually. Here's how:
- Click the Audience tab.
- Click Audience dashboard.
- If you have multiple audiences, select the one you want to add the subscriber to.
- Select Add a subscriber on the "Manage Audience" drop-down menu.
- Enter the correct email address.
- Check the box next to "This person gave me permission to email them" box.
- Click Subscribe.
-
3Remove cleaned addresses from your list. If you don't want to see cleaned addresses in your data anymore, you can delete them the way you would any contact on your list. Here's how:
- Click the Audience tab.
- Click All contacts.
- Select an audience if you have multiple.
- Select Data management tool from the "Manage Contacts" drop-down menu.
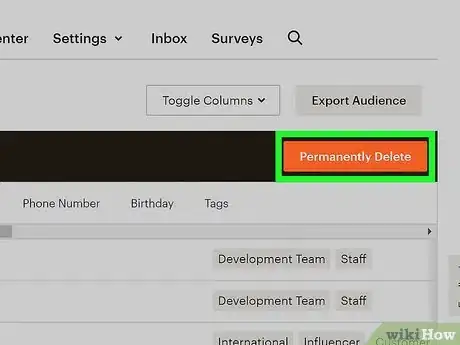
- Check the boxes next to contacts with "Cleaned" next to their names.
- Click Permanently Delete.
- Follow the on-screen instructions to confirm.
References
About This Article
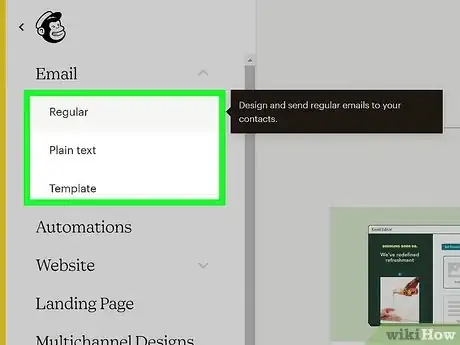
1. Archive the subscribers who haven't interacted with your mailings in a while.
2. Remove your subscribers and reconfirm their subscriptions.
3. Correct obvious typos.
