This article was co-authored by wikiHow staff writer, Eric McClure. Eric McClure is an editing fellow at wikiHow where he has been editing, researching, and creating content since 2019. A former educator and poet, his work has appeared in Carcinogenic Poetry, Shot Glass Journal, Prairie Margins, and The Rusty Nail. His digital chapbook, The Internet, was also published in TL;DR Magazine. He was the winner of the Paul Carroll award for outstanding achievement in creative writing in 2014, and he was a featured reader at the Poetry Foundation’s Open Door Reading Series in 2015. Eric holds a BA in English from the University of Illinois at Chicago, and an MEd in secondary education from DePaul University.
This article has been viewed 59,201 times.
Learn more...
Cleaning a PlayStation 3 is pretty straightforward and easy. Since there’s a self-cleaning function built into the machine, you shouldn’t need to open the case. Typically, cleaning a PS3 only requires wiping the case down regularly to prevent dust buildup and running the auto-cleaning function to clear the inside out. If you haven’t cleaned your PS3 regularly and the machine has been collecting dust for years, you can open the machine up by removing the screws in the back and bottom before wiping it and spraying it with compressed air.
Steps
Wiping the Case
-
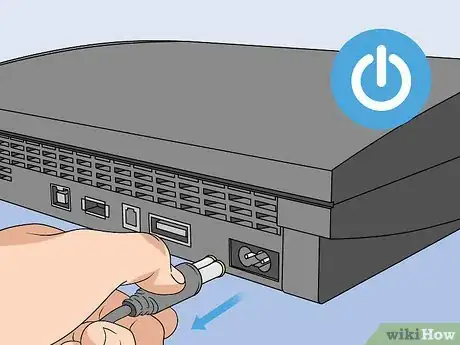
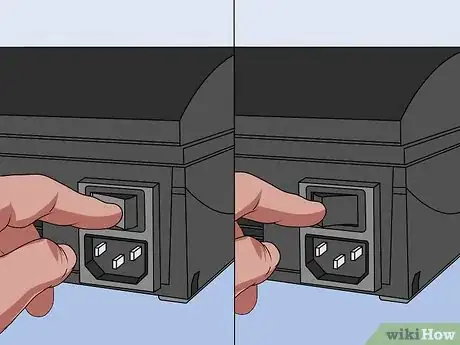
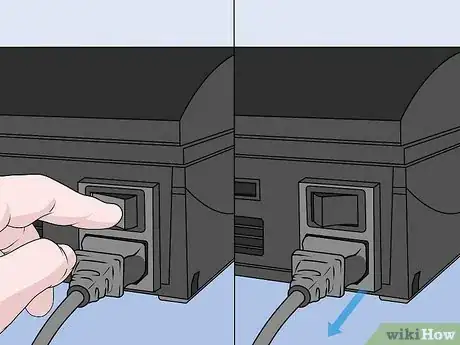
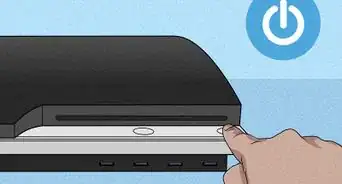
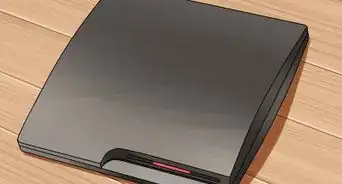
1Turn the power off and unplug the system. If you have an older version of the PlayStation 3, there’s a switch on the back of the unit. Flip the switch to turn it off and pull the power supply out. On newer versions, simply unplug the unit and pull it out.[1]
- Take every other cord out of the corresponding ports. This includes the power supply and any wired controllers.
- Wiping the case will prevent dust or grime from building up around the external openings of the machine.
-
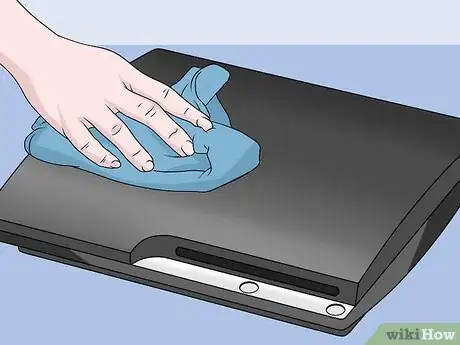
2Wipe the flat surfaces with a disinfectant wipe. Take a disinfectant wipe and lightly rub the top and the bottom of the PlayStation. Run the cloth along the sides of the machine. Do not use the wipe on the buttons on the front panel or the ports on the back.[2]
- You can rub the panels on the back if you really want to, but don’t touch the ports or openings.
Advertisement -
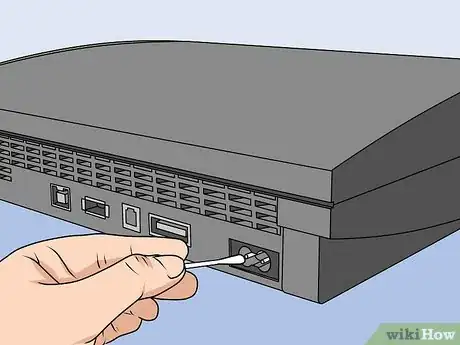
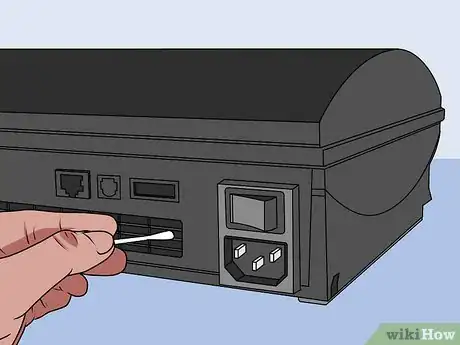
3Use cotton swabs to clear around the ports and vents. Use a small cotton swab to clean around the rims of the ports in the back. Run the head of the cotton swab in between the panels on the vents in the back. Discard any cotton swabs once they’re dirty and get new ones.[3]
-
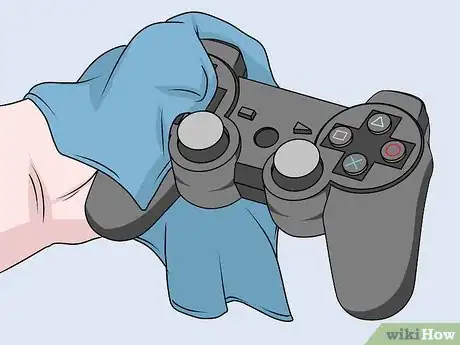
4Clean your controllers with a disinfectant wipe and toothpick. Use a toothpick to carefully dig out the gunk that is stuck in the seams between your buttons. Flip the controller over and use the toothpick to clean the seams where the plastic case is glued together. Use a disinfectant wipe to lightly rub the surface of the buttons and the case.[4]
- You can use a cotton swab instead of a toothpick if you’re worried about damaging your case.
Tip: Disassembling a PS3 controller to clean it isn’t really worth it. There are a lot of sensitive cables, tabs, and screws, and a you can get a new controller for only $5-10.
Performing a Self-Cleaning
-
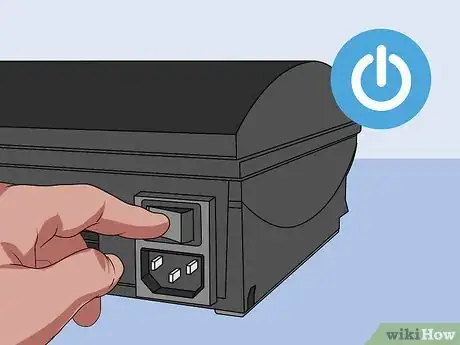
1Flip the power switch on the back or unplug it. You cannot use the PlayStation 3’s self-clean feature without turning the power totally off—this will not work in standby mode. To turn the power off, flip the power switch in the back if you have an older model. If you have the PS3 slim, unplug it after putting it in standby mode.[5]
- When you press the power button on the front or turn the PS3 off from the dashboard, you aren’t actually shutting the power down. The system just goes into standby mode, which is sort of like sleep mode on a computer.
- Take any discs out of the PS3 before doing this. It probably won’t damage them, but there’s no harm in playing it safe.
-
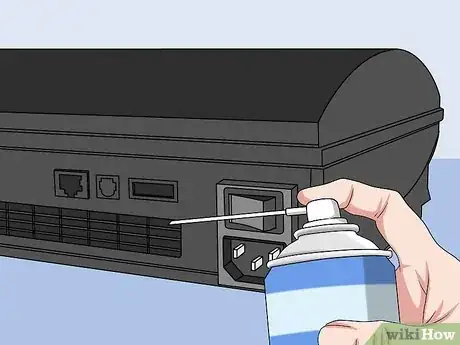
2Spray the vents on the back at an angle with a few bursts of compressed air. While your PlayStation is off, point a can of compressed air at the vents on the back of the machine. Hold the nozzle 3–5 in (7.6–12.7 cm) from the vent and pull the button or trigger to release air. Use short, controlled bursts of air and hit each part of the vent. Spray at an angle away from the center of the vent to avoid damaging the fan by hitting it directly.[6]
- Spray the seams on the side to knock any grime towards the back of the frame.
Warning: Don’t overdo it on the canned air. You only need to loosen the dirt before using the self-clean function and if you spray for too long you could end up introducing moisture into your case.
-
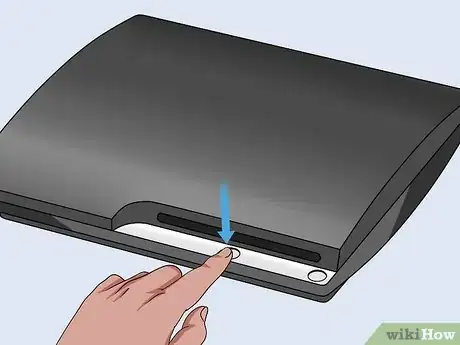
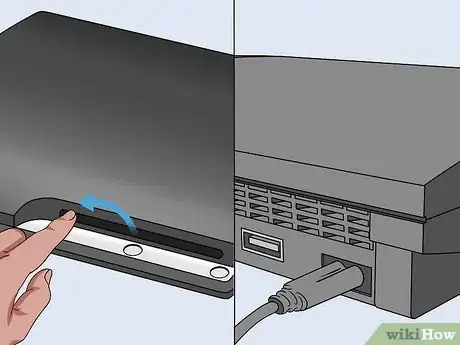
3Press the eject button and hold it down. With the power to your PlayStation still off, locate the eject button on the front face of your system. The eject button is in the middle, and it looks like a triangle on top of a line. Press it with your index finger and hold it down. You don’t need to press hard to keep the button down.[7]
-
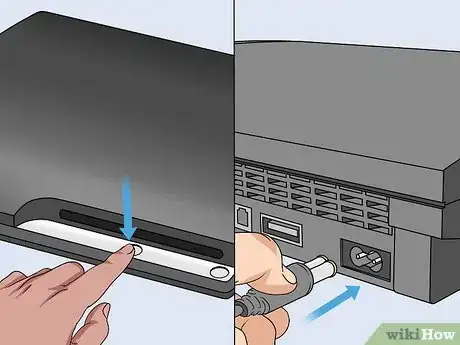
4Plug the PlayStation in or turn it back on while holding the eject button. Continue to hold the eject button down. With your free hand, either flip the power switch on your older model or plug your newer model back in.[8]
- You can enlist the help of a friend if you find it kind of awkward to plug it in and hold the button at the same time.
-
5Let go of the eject button when you hear the fan generating noise. When you plug the power cord back in or flip the switch, the PS3 will go back to standby mode and then make a beeping noise. The fan will start spinning faster than usual. Once the fan gets louder than it normally does, let go of the eject button and allow the fan to keep running.[9]
- This activates the self-cleaning function for the PlayStation 3. Essentially, the system overclocks the machine until the dust is removed.
- You may see a ton of dirt and dust shooting out of the vents. Wipe it up with a paper towel.
- This process can take 1-5 minutes.
-
6Clean the vents in the back with a cotton swab. The fan will calm down and shut off automatically after the sensors in the system think that the inside is clean enough. You’ll have a ton of dust caked on to the vents. Use a clean cotton swab to remove the dust by running the swab between each panel.[10]
- Depending on how dirty your vents are, you may need a few cotton swabs.
-
7Turn the PS3’s power off and on to reset it. Your PS3 will not turn back on if you hit the power button after performing a self-cleaning without resetting your machine. To do this, simply flip the power switch or pull the plug in the back of the machine. Wait 10 seconds, then flip the switch again or plug it back in. Then you will be able to turn it back on and use your PS3.
Cleaning the Inside of the Case
-
1Shut your PlayStation down and unplug everything. Flip the power switch or unplug it to turn the machine off. Then, remove any ethernet and controller cords. Take your PlayStation to a flat work surface and put a clean towel underneath it.[11]
-
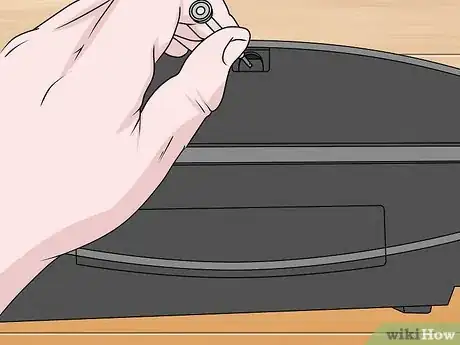
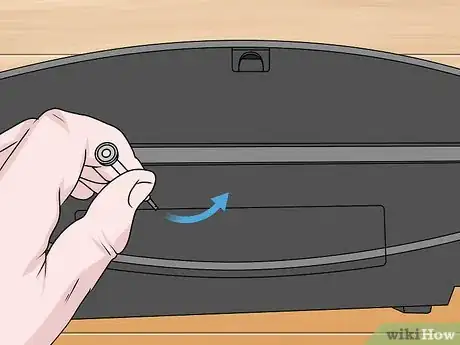
2Remove the screws and stickers on the back. Peel the stickers off of the back to access the screws underneath. Use a TR9 screwdriver to unscrew the 2 screws in the top right and top left. Then, use the same screwdriver to unscrew the screws that were underneath the stickers.[12]
- There is a total of 3 or 4 screws depending on the model of the machine.
- These screws are pretty small, so be careful to not lose them when you take them out.
- Once you remove the stickers, your warranty is voided.
-
3Pull lightly on the back panel to remove it. Avoid using a lot of force or you’ll risk damaging the back panel. Wrap your fingers around the edges of the case and tug on it a little bit. It should slide right out. If it doesn’t, try prying it off from the top with your finger or a dull knife.[13]
- If it’s sticking a little bit and you have to pry it off by starting on one side, you should have an easy time popping it off after you get one edge lifted off.
-
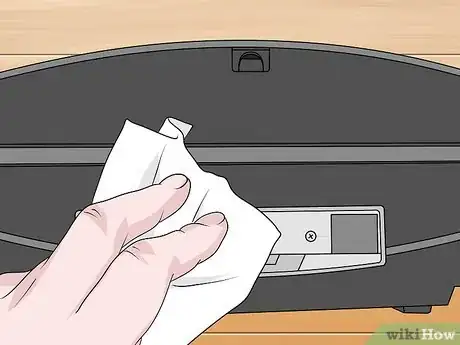
4Spray the back panel with a can of compressed air and wipe it with a paper towel. Hold the back panel away from the rest of the machine and spray both sides with a can of compressed air. Use a paper towel to wipe both sides of the panel. If it’s really sticky, you can use a disinfectant wipe to scrub the plastic.[14]
- If you wipe it with a disinfectant wipe, you’ll have to let it air dry for at least 30 minutes before reinstalling it.
-
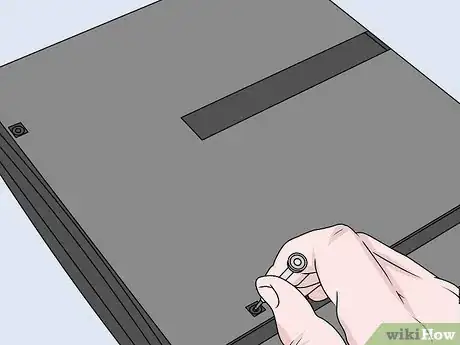
5Flip the PS3 so the bottom is facing up and remove the screws. Flip your PlayStation upside-down and locate the 2 TR9 screws on the side and the 1 TR9 screw on the bottom. Use your TR9 screwdriver to unscrew these pieces and set them aside. Use a Phillips head screwdriver to remove the 2 bigger screws in the corners.[15]
- The Phillips screws are a little longer than the TR9 screws. You may need to pry them up a little bit with a flat edge.
-
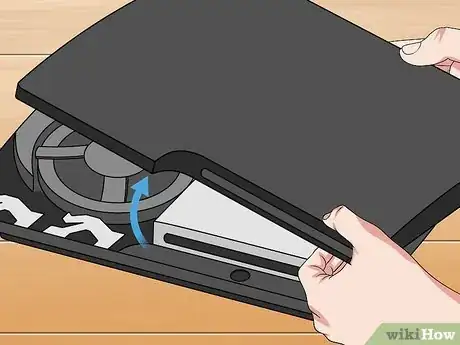
6Lift the cover up to access the power supply and internal components. Use the tips of your fingers to raise the panel up from each side. You’ll find one side where the hinge is located that won’t open. Slowly open the panel in the direction of the hinge. Open it all the way to access the inside of your machine.[16]
-
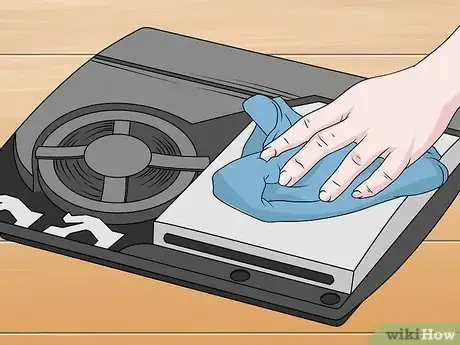
7Clear dust out of the power supply with compressed air and paper towels. Wipe away any visible dust with a dry paper towel. Use a can of compressed air with a thin nozzle attachment to spray air in the hard-to-reach areas and blow out the dust or grime. Run a cloth under the lip of the case’s edges to clear out the buildup that gets stuck there.[17]
- The nozzle attachment on the can of compressed air looks like a really thin pen. It’s a hollow piece of plastic that concentrates the air in one location.
- Do not use any disinfectant wipes, soap, or water in this area.
-
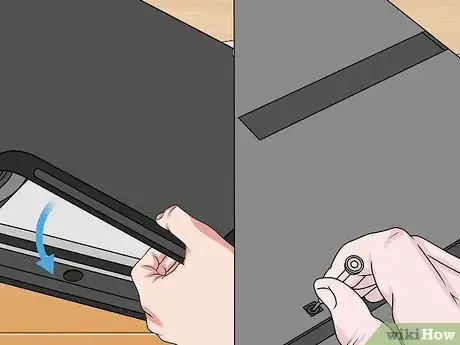
8Reassemble the machine with the same screws. Once you’ve cleaned the power supply, flip the panel back to the closed position. Start with the Philips screws and screw them in until there’s heavy resistance. Then, screw the 3 TR9 screws into the bottom panel and turn the system so that the back panel is facing you. Screw in the 3 or 4 TR9 screws and plug the machine back in.[18]
- The stickers you peeled off aren’t structurally important. Go ahead and just toss it out.
Warning: Once you feel a lot of resistance coming from the screws, don’t apply more pressure. You don’t want to crack your case.
Warnings
- Avoid cleaning the inside of the case if you have an active warranty. While it is highly unlikely that your warranty is still valid (PS3s were discontinued in 2016), you may still have an active warranty if you bought the PS3 from a private shop. If you want to keep the warranty intact, do not open the case, since this voids the warranty.⧼thumbs_response⧽
- Never spray a can of compressed air upside down, since the liquid could shoot out.⧼thumbs_response⧽
Things You’ll Need
Wiping the Case
- Disinfectant wipe
- Cotton swab
- Toothpick
Performing a Self-Cleaning
- Cotton swab
- Compressed air
Cleaning the Inside of the Case
- Towel
- TR9 screwdriver
- Paper towel
- Disinfectant wipes
- Cotton swab
References
- ↑ https://www.makeuseof.com/tag/clean-dust-playstation-4/
- ↑ https://kotaku.com/reminder-the-inside-of-your-ps3-is-probably-disgusti-1733682451
- ↑ https://kotaku.com/reminder-the-inside-of-your-ps3-is-probably-disgusti-1733682451
- ↑ https://youtu.be/cvp-1kwwh1E?t=170
- ↑ https://youtu.be/THgb76CfVao?t=25
- ↑ https://kotaku.com/reminder-the-inside-of-your-ps3-is-probably-disgusti-1733682451
- ↑ https://ourpastimes.com/how-to-use-the-ps3-self-cleaning-fan-12526436.html
- ↑ https://ourpastimes.com/how-to-use-the-ps3-self-cleaning-fan-12526436.html
- ↑ https://ourpastimes.com/how-to-use-the-ps3-self-cleaning-fan-12526436.html
- ↑ https://ourpastimes.com/how-to-use-the-ps3-self-cleaning-fan-12526436.html
- ↑ https://www.makeuseof.com/tag/clean-dust-playstation-4/
- ↑ https://www.makeuseof.com/tag/clean-dust-playstation-4/
- ↑ https://www.makeuseof.com/tag/clean-dust-playstation-4/
- ↑ https://www.makeuseof.com/tag/clean-dust-playstation-4/
- ↑ https://www.makeuseof.com/tag/clean-dust-playstation-4/
- ↑ https://www.makeuseof.com/tag/clean-dust-playstation-4/
- ↑ https://www.makeuseof.com/tag/clean-dust-playstation-4/
- ↑ https://www.makeuseof.com/tag/clean-dust-playstation-4/
