X
This article was co-authored by wikiHow staff writer, Jack Lloyd. Jack Lloyd is a Technology Writer and Editor for wikiHow. He has over two years of experience writing and editing technology-related articles. He is technology enthusiast and an English teacher.
The wikiHow Tech Team also followed the article's instructions and verified that they work.
This article has been viewed 185,651 times.
Learn more...
This wikiHow teaches you how to see whether your preferred PlayStation Network (PSN) username is free or already taken. Unfortunately, the only way to check your username is by using the built-in username checker in the account creation form, which means you'll need to start creating an account.
Steps
Method 1
Method 1 of 2:
Using the PlayStation Website
-
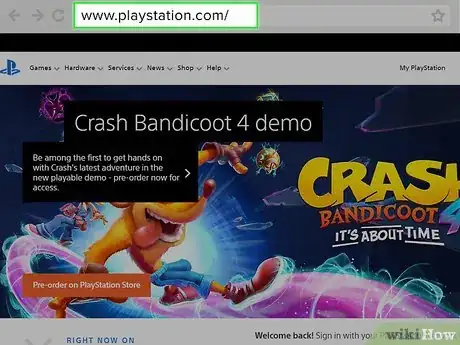
1Open the PlayStation website. Go to https://www.playstation.com/ in your computer's web browser.
-
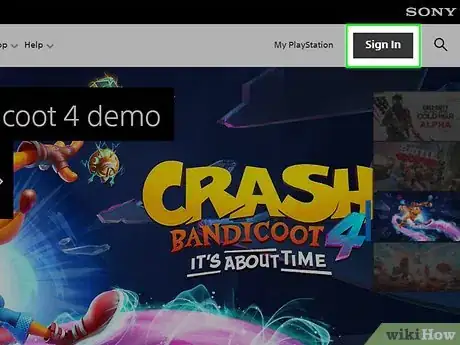
2Click Sign In. It's in the upper-right side of the PlayStation home page.Advertisement
-
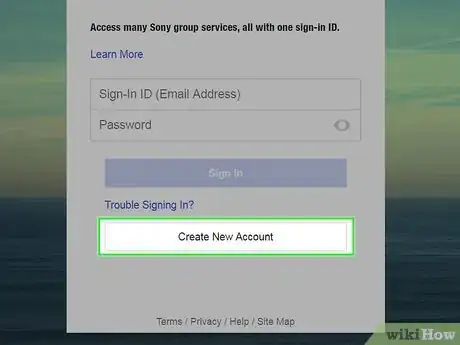
3Click Create New Account. This button is below the sign-in field that's in the middle of the page.
-
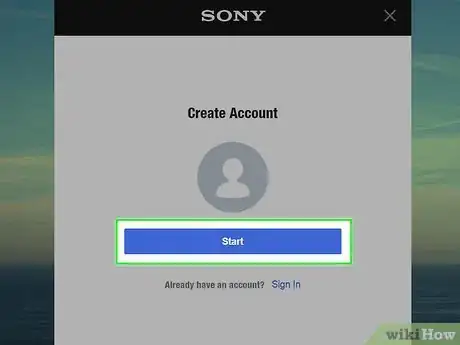
4Click Start. It's a blue button in the middle of the page. This will open the account creation form.
-
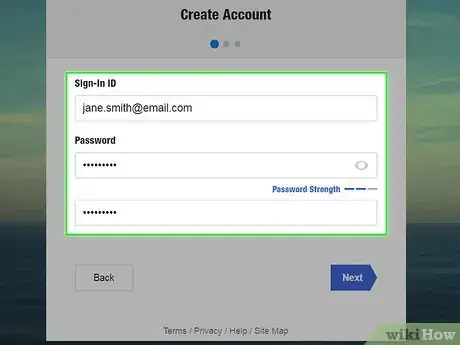
5Enter your account's sign-in details. Type an email address into the "Sign-In ID" text box, then enter a password into both of the "Password" text boxes.
- Make sure that your email address works, since you'll need to verify your account at your provided email address later.
-
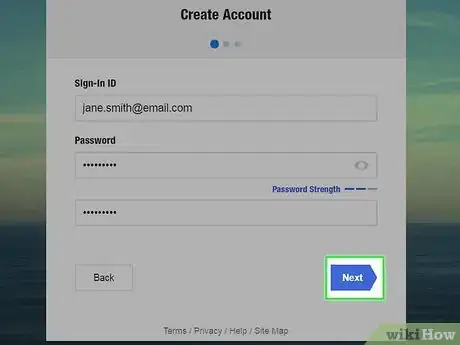
6Click Next. It's in the top-right corner of the page.
-
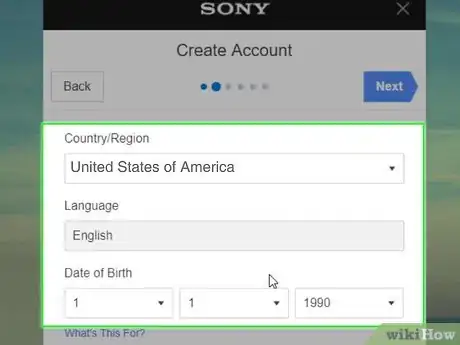
7Select your date of birth. Using the drop-down boxes in the "Date of Birth" section, indicate the month, day, and year of your birth.
- You can also change your region and language settings here if they differ from your preferences.
- You must be at least 18 years old to create your own master account, though you can create a sub account under someone else's account if you're between 7 and 17.[1]
-
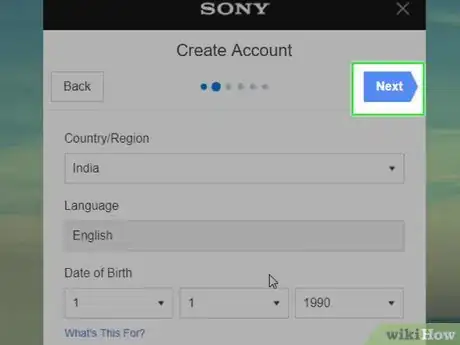
8Click Next. It's in the upper-right side of the page.
-
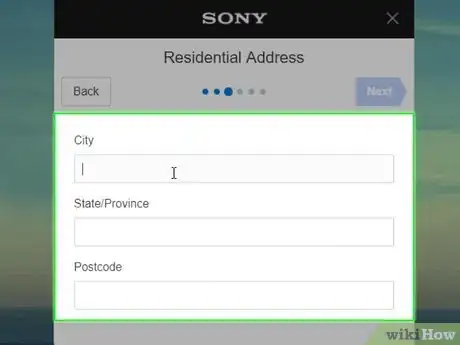
9Add your address details. You'll need to enter your city, state, and ZIP code in the "City", "State/Province", and "Postal Code" text boxes, respectively.
-
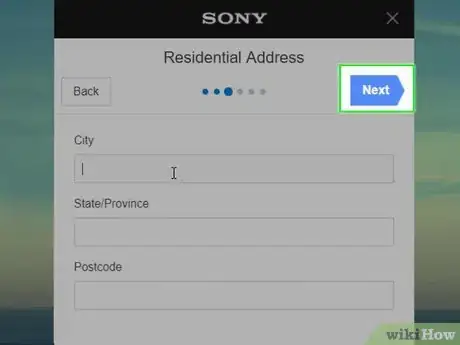
10Click Next. It's in the upper-right side of the page. This will take you to the PSN Profile page, which is where you'll be able to test your user ID.
-
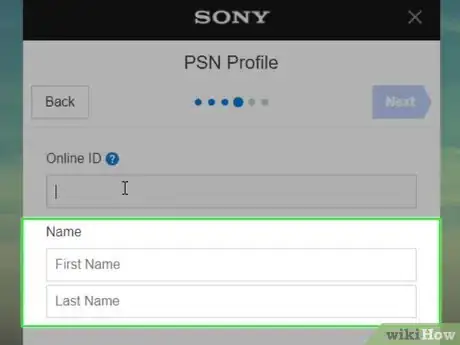
11Enter your real name. Do so in the "Name" section.
- Your first name goes in the top box in this section, while your last name goes in the bottom box here.
-
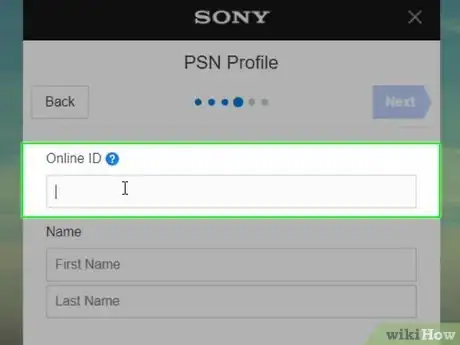
12Enter your preferred PSN ID. Type this ID into the "Online ID" text box at the top of the page. Make sure that this is exactly the PSN ID that you want to use, since you don't get to change it later.
- Your PSN ID cannot be the same username that your email address uses.
-
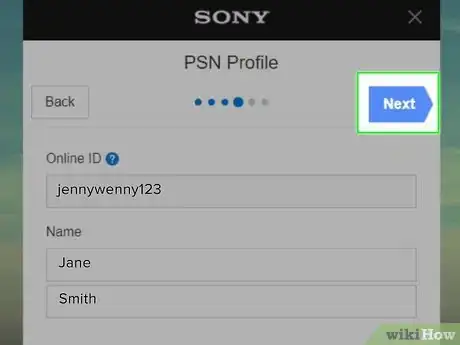
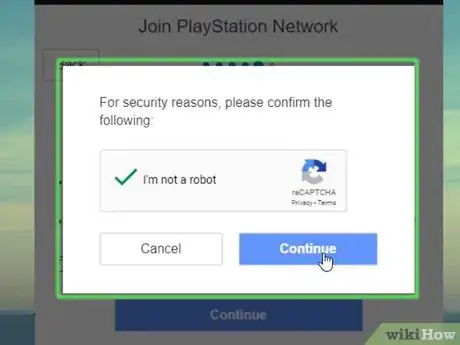
13Check your PSN ID's availability. Click Next in the top-right corner of the page; if you're taken to the "Finish" page or an "I'm not a robot" checkbox, your PSN ID is available!
- If the page refreshes and a red line of text that says "This online ID is already in use." appears below the "Online ID" text box, you'll need to come up with a different ID.
-
14Finish creating your account if you like. If you just wanted to check an ID for availability, you don't have to complete the account creation process. Otherwise, do the following:
- Check the "I'm not a robot" box and click Continue if prompted.
- Click Agree and Create Account
- Open the inbox for the email address that you used to sign up for your account.
- Open the "Account registration confirmation" email from PlayStation.
- Click the blue Verify Now button.
Advertisement
Method 2
Method 2 of 2:
Using a PlayStation 4
-
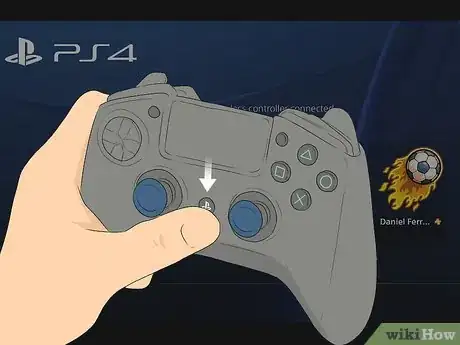
1Turn on your PS4 and a connected controller. You can create a PSN ID from your PlayStation 4's sign-in page.
-
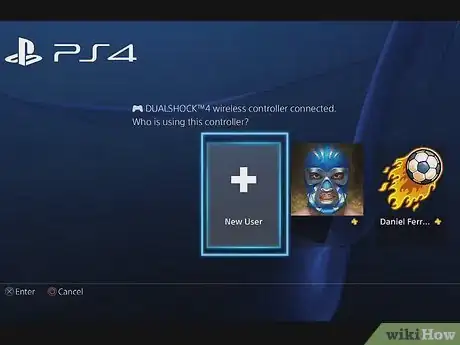
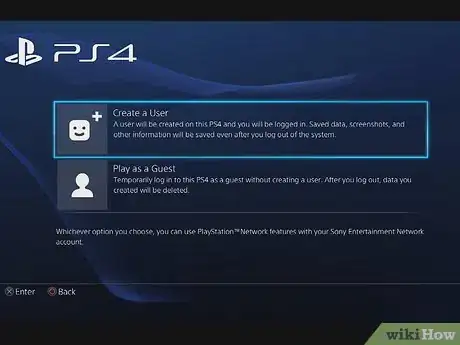
2Select New User. Scroll over to the New User option and press the X button on your PlayStation 4 controller.
-
3Select Create a User. It's near the bottom of the page.
-
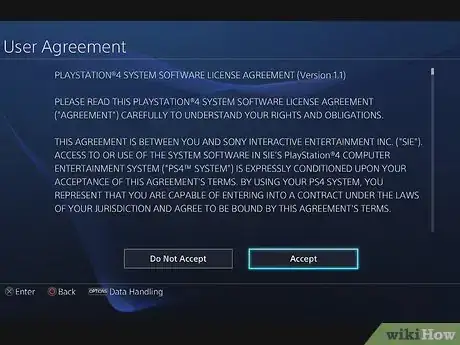
4Select Accept. This option is in the bottom-right corner of the screen.
-
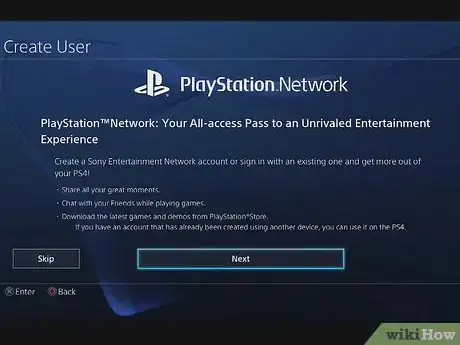
5Select Next. It's at the bottom of the screen.
-
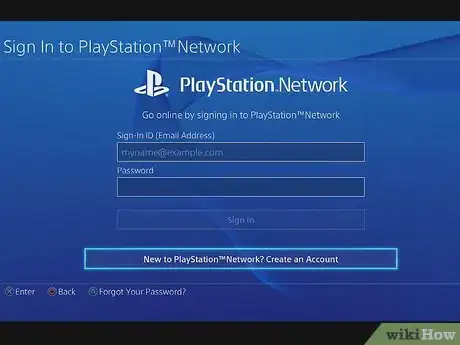
6Select New to PlayStation™ Network - Create an Account. This option is at the very bottom of the screen.
-
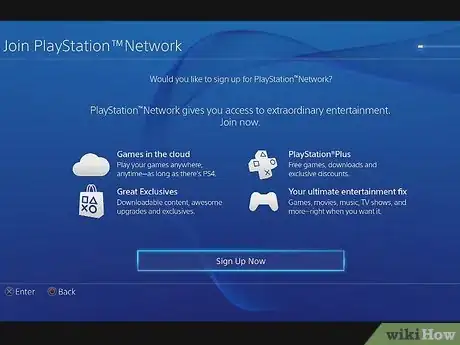
7Select Sign Up Now. Doing so will open the account creation page.
-
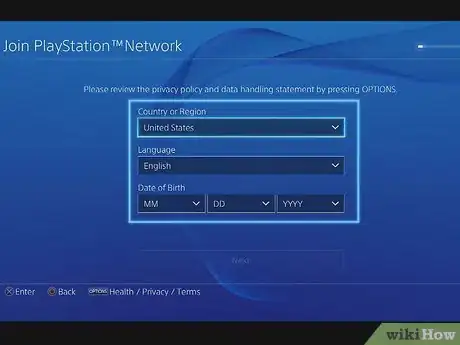
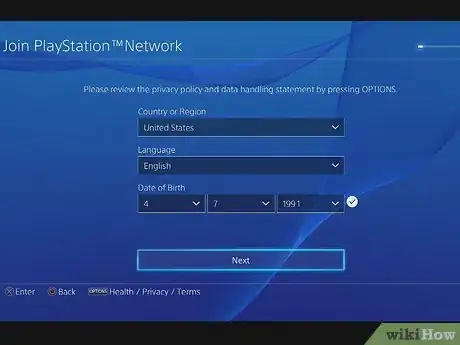
8Enter your location and age information. Use the "Date of Birth" boxes to select the month, date, and year of your birth.
- You can also change the region and language information if it's incorrect.
- You must be at least 18 years old to create your own master account, though you can create a sub account under someone else's account if you're between 7 and 17.
-
9Select Next. It's at the bottom of the screen.
-
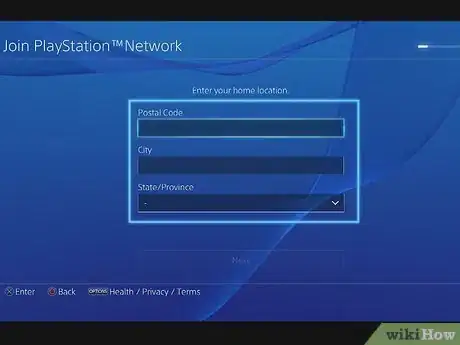
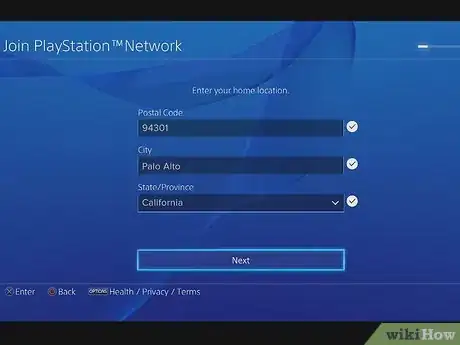
10Add your address details. You'll need to enter your ZIP code, city, and state (or province) in the "Postal Code", "City", and "State/Province" boxes, respectively.
- When you enter your postal code, the "City" and "State/Province" boxes should automatically fill.
-
11Select Next.
-
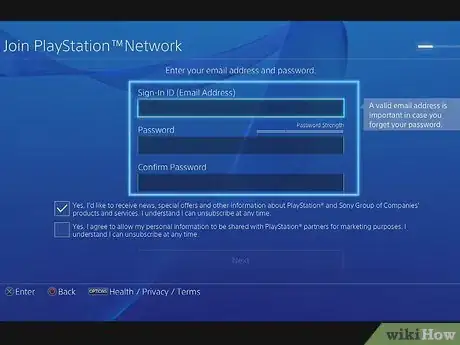
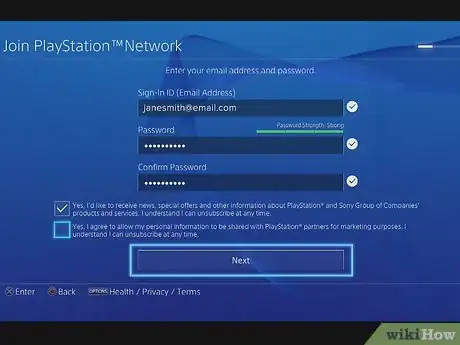
12Enter your account's sign-in details. Type an email address into the "Sign-In ID (Email Address)" text box, then enter a password in the "Password" and "Confirm Password" text boxes.
-
13Select Next.
-
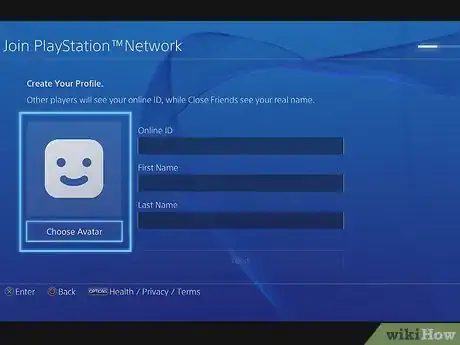
14Select an avatar. This is what will stand in as your PSN profile picture. Scroll through the available avatars until you find one that you like, then press X.
-
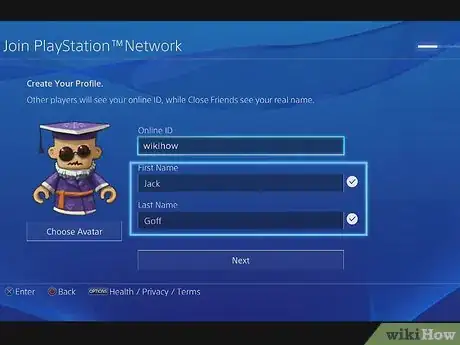
15Add your first and last name. Do so in the "First Name" and "Last Name" text boxes.
-
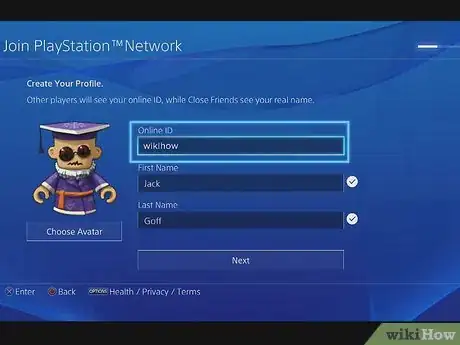
16Enter your preferred PSN ID. Type this ID into the "Online ID" text box at the top of the page. Make sure that this is exactly the PSN ID that you want to use, since you don't get to change it later.
- Your PSN ID cannot be the same username that your email address uses.
-
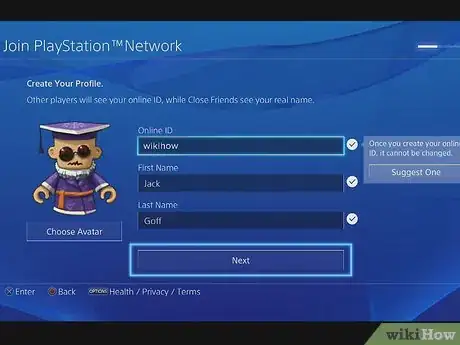
17Check your PSN ID's availability. Scroll down to the Next button and wait for it to become selectable. If you're able to select Next after a few seconds, your PSN ID is available!
- If you see a "This online ID is already in use" message appear to the right of the Online ID box, your selected ID isn't available. You'll need to select a different one.
-
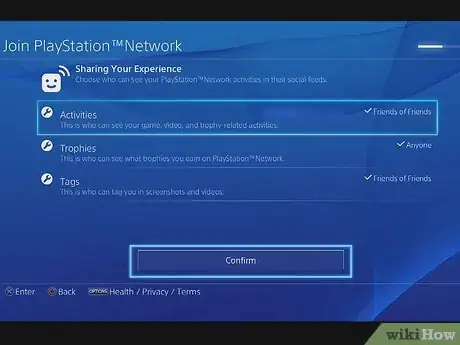
18Finish setting up your PSN account if you like. Follow the rest of the on-screen prompts to finish setting up your account.
- If you only wanted to use your PS4 to check for your username's availability, you can instead exit the setup by pressing the circle button until you arrive back at the home page.
- You may have to verify your email address by opening its inbox, opening the email from Sony, and clicking Verify Now before you can use your PSN account.
Advertisement
Warnings
- You cannot delete a PSN account.⧼thumbs_response⧽
- Make sure that you like your username before you finalize it—once you've created your username, you cannot change it.⧼thumbs_response⧽
Advertisement
About This Article
Advertisement
