This article was co-authored by wikiHow Staff. Our trained team of editors and researchers validate articles for accuracy and comprehensiveness. wikiHow's Content Management Team carefully monitors the work from our editorial staff to ensure that each article is backed by trusted research and meets our high quality standards.
The wikiHow Tech Team also followed the article's instructions and verified that they work.
This article has been viewed 563,190 times.
Learn more...
Do you want to bend letters or words on an image in Adobe Photoshop? This wikiHow article will teach you how to use the Pen and Warp Text tools to align text along curves or warp text into a curved shape.
Steps
The Pen Tool
-
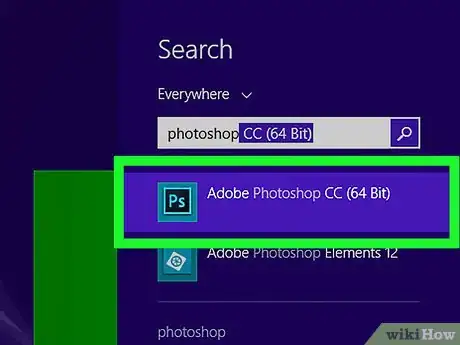
1Open or create a Photoshop file. To do so, double-click on the blue app icon that contains the letters "Ps," then click on File in the menu bar at the top of the screen, and:
- Click on Open... to open an existing document; or
- Click on New... to create a new document.
-
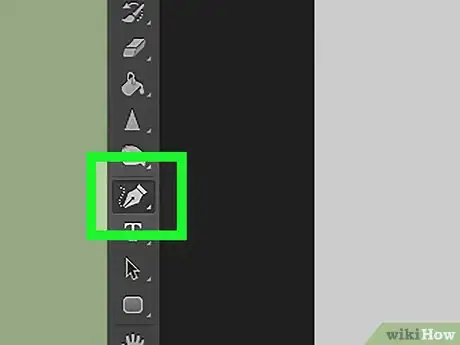
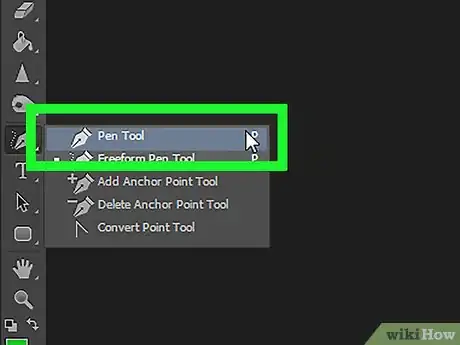
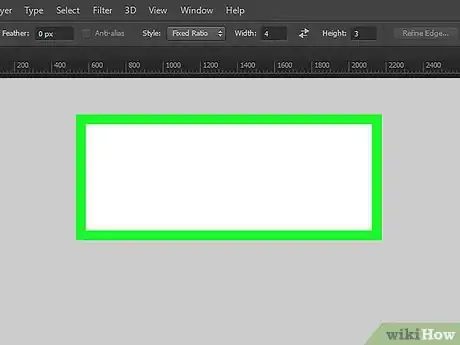
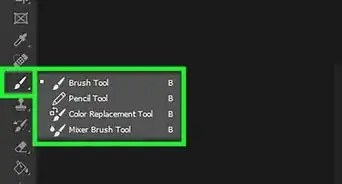
2Click on the Pen Tool. It's the icon that's shaped like a fountain pen nib near the bottom of the toolbar on the left side of the window.
- Alternatively, simply press P to switch to the Pen Tool.
Advertisement -
3Click on Path. It's in the drop-down menu next to the pen icon in the upper-left corner of the window.
-
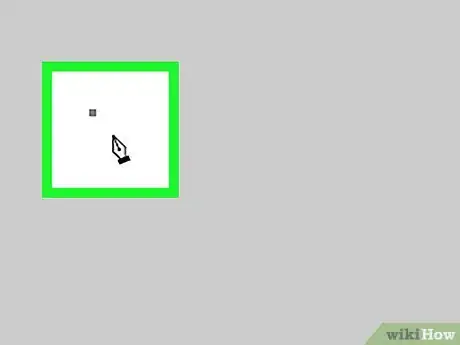
4Create the start point of the curve. Do so by clicking anywhere on the current layer.
-
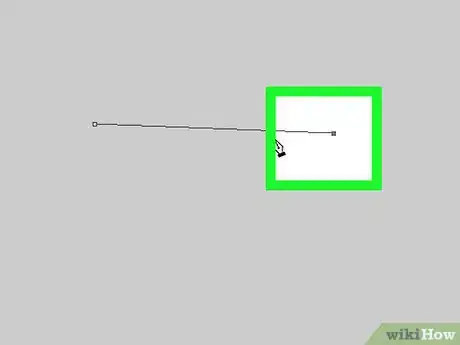
5Create the endpoint of the curve. Do this by clicking on another place in the layer.
- A straight line will be created between the two point.
-
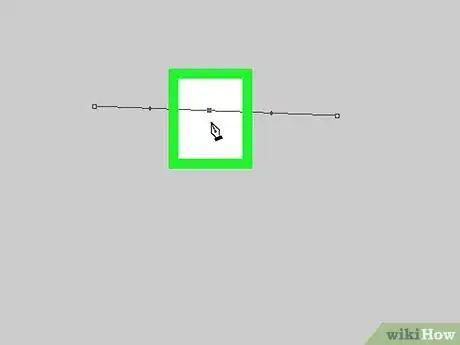
6Create an anchor point. Do so by clicking on the line, near the middle.
-
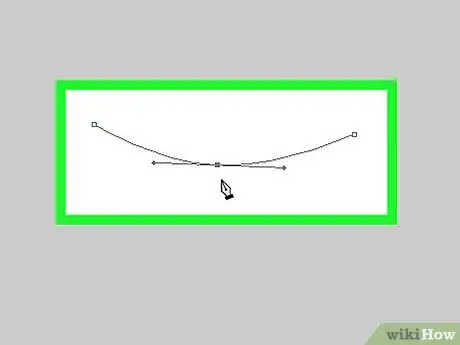
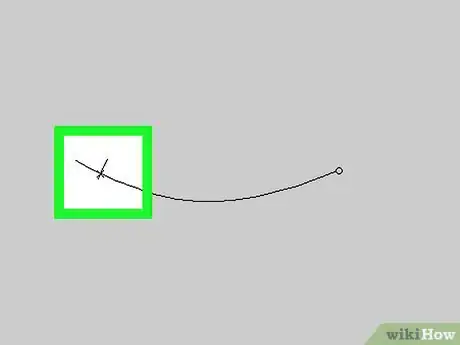
7Curve the line. Press and hold Ctrl (Windows) or ⌘ (Mac) as you click on and drag the anchor point until the line is at the same arc at which you want the text to bend.
-
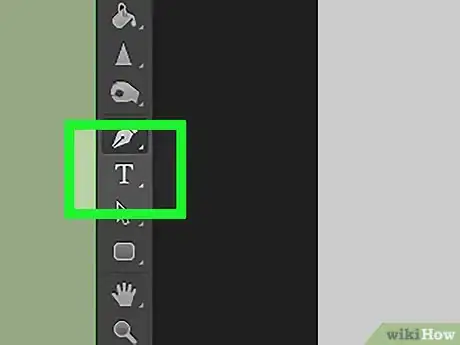
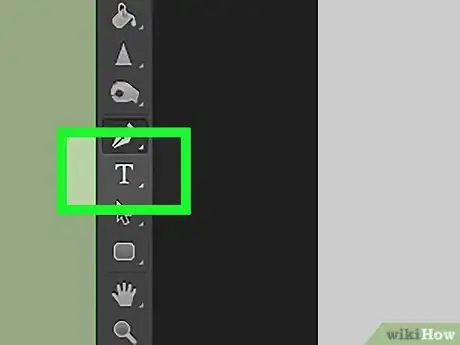
8Click on the Text Tool. It's the T icon near the Pen Tool in the toolbar on the left side of the window.
- Alternatively, you can simply press T to switch to the text tool.
-
9Click on the curve at the point where you want the text to start.
- Use the drop-down menus in the upper-left and center of the window to select a font, style, and size.
-
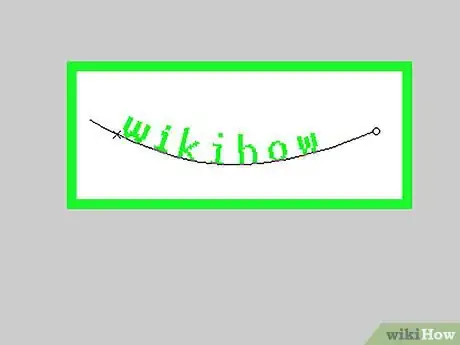
10Type the text. As you type it will align with the curve you created.
The Warp Text Tool
-
1Long click on the Text Tool. It's the T icon near the Pen Tool in the toolbar on the left side of the window. A drop-down menu will appear.
-
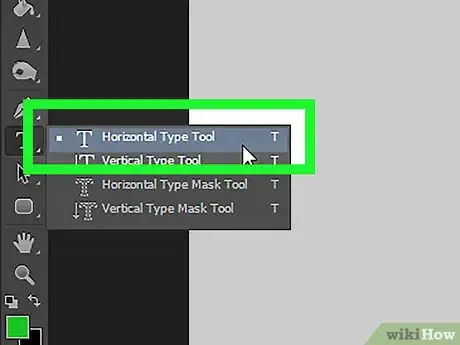
2Click on Horizontal Type Tool. It's at the top of the drop-down menu.
-
3Double-click in the window. Do so in the area where you want the text to be.
-
4Type the text you want to bend.
- Use the drop-down menus in the upper-left and center of the window to select a font, style, and size.
-
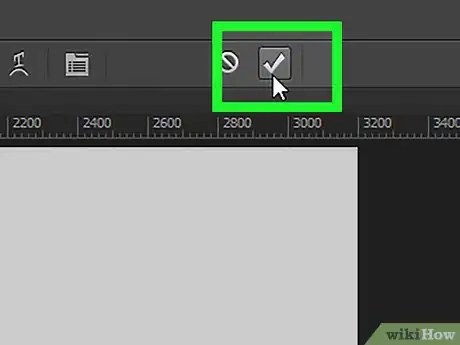
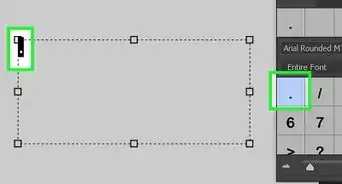
5Click on ☑️. It's at the top of the window, toward the right side.
-
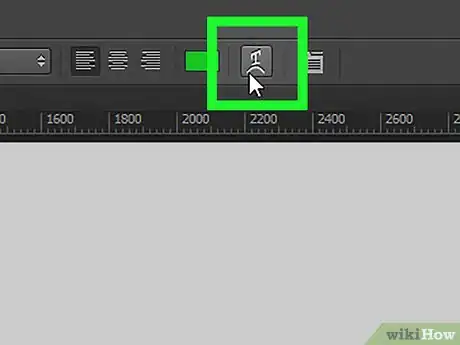
6Click on the Warp Text Tool. It's the button at the top of the window that looks like a T with a curved line beneath it.
-
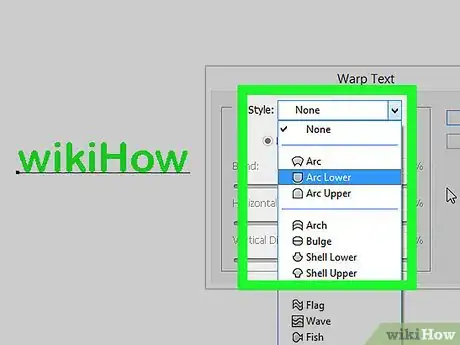
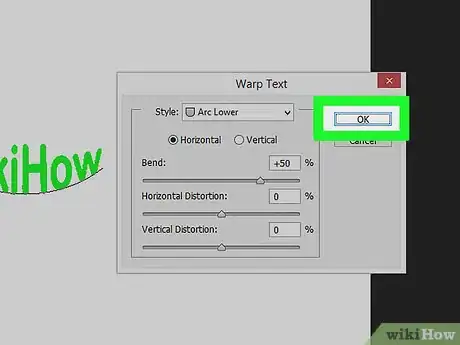
7Select an effect. Do so by clicking on the options in the "Style:" drop-down menu.
- As you select styles, the text will change to preview the look.
- Use the radio buttons to choose a vertical or horizontal bend.
- Change the degree of the text's arc by moving the “Bend” slider to the left or right.
- Increase or decrease distortion of the text with the "Horizontal" and "Vertical" Distortion sliders.
-
8Click on OK when you're finished.
Community Q&A
-
QuestionHow do I get the text to be the same size when I use the warp method?
 Community AnswerYou have to make the path longer to fit the text. The text won't go all the way to the end of the path. It's a pretty clunky tool.
About This Article
1. Click the Pen tool.
2. Click the Path menu.
3. Click somewhere on the layer to start the path.
4. Click another location to create a line between the points.
5. Click the line near the middle to create an anchor point.
6. Press Ctrl or Cmd as you drag the anchor point.
7. Click the Text tool.
8. Click the location where you want the text to start.
9. Type your text.
