X
wikiHow is a “wiki,” similar to Wikipedia, which means that many of our articles are co-written by multiple authors. To create this article, 11 people, some anonymous, worked to edit and improve it over time.
This article has been viewed 88,341 times.
Learn more...
Adobe Photoshop can do a lot of things, including making lenticular prints. If you want to learn how to make a lenticular print in this program, look no further than this article.
Steps
-
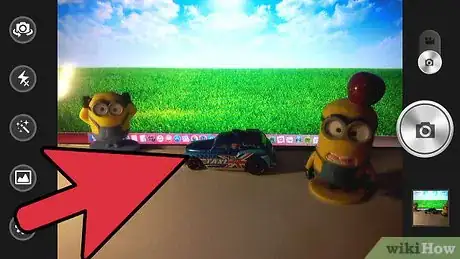
1Arrange a scene such that the main object is about 4-feet from the camera with some objects at the front and some at the back.
-
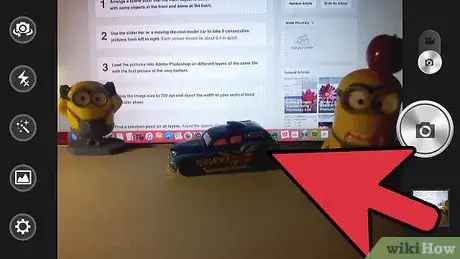
2Use the slider bar or a moving die-cast model car to take 9 consecutive pictures from left to right. Each picture should be about 0.4-in apart.Advertisement
-
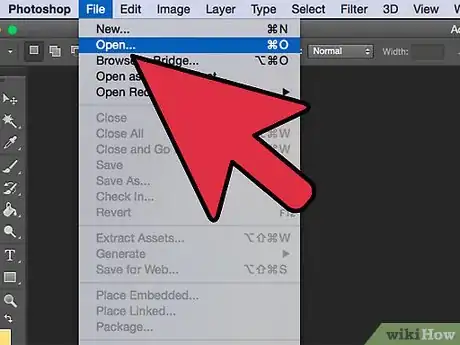
3Load the pictures into Adobe Photoshop on different layers of the same file with the first picture at the very bottom.
-
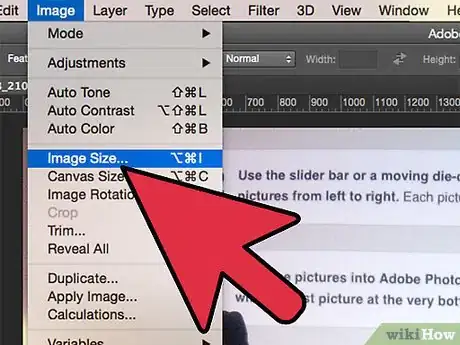
4Resize the image size to 720 dpi and about the width of your vertical lined lenticular sheet.
-
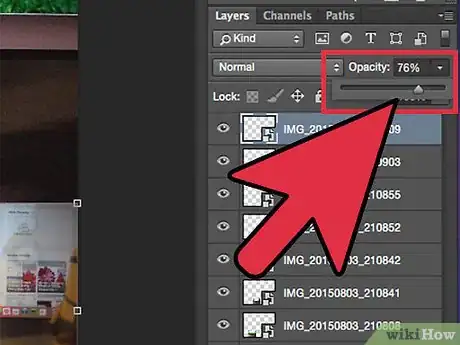
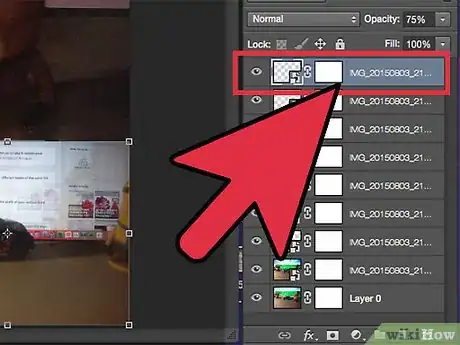
5Find a common point on all layers. Adjust the opacity of some layers and align the common point to the same x-y coordinates.
-
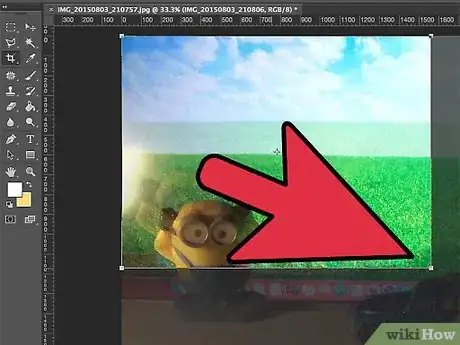
6Because of the alignment the top layer will be shifted to the right. Use the crop tool to crop out the empty space on the left.
-
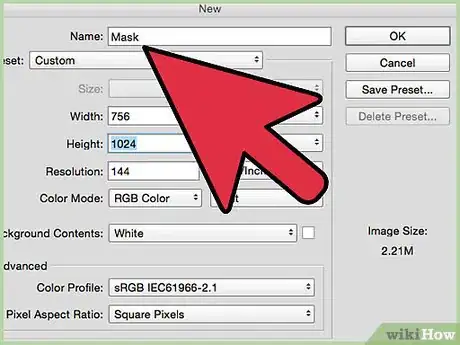
7Create a new file called Mask about 36 pixel wider then the just cropped image.
-
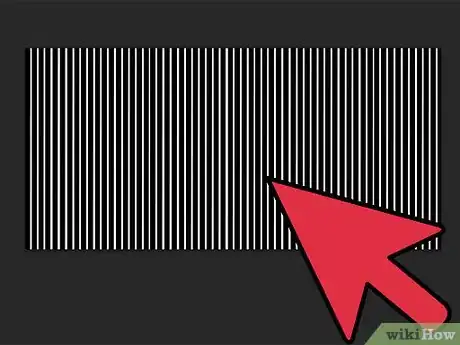
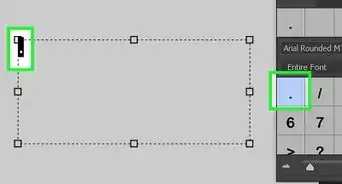
8In the new file, draw a 2-pixel wide white vertical stripe, then a 16-pixel wide black stripe. Fill the rest of the area with these white-black stripes.
-
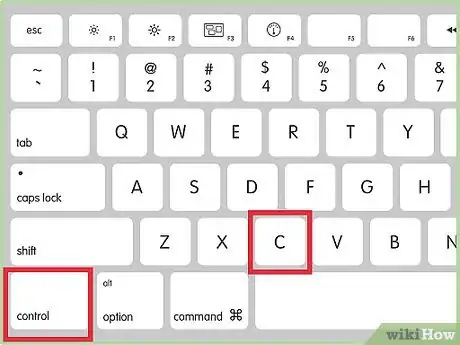
9CTRL-A to select all the stripes; CTRL-C to copy them into the clipboard.
-
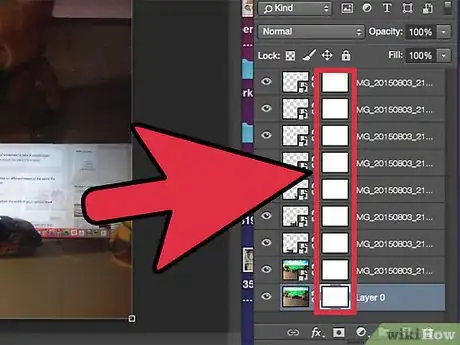
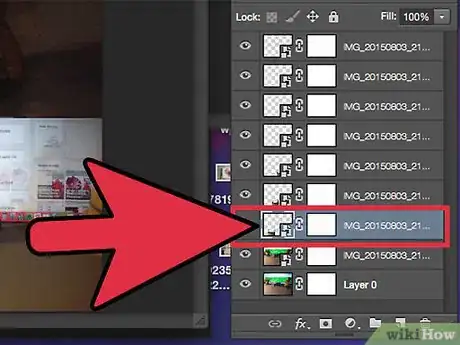
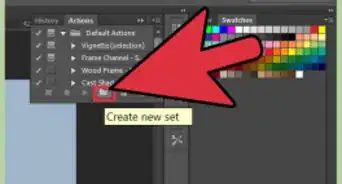
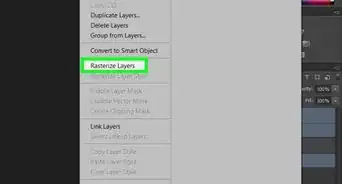
10Create a layer mask for each layer on the original image.
-
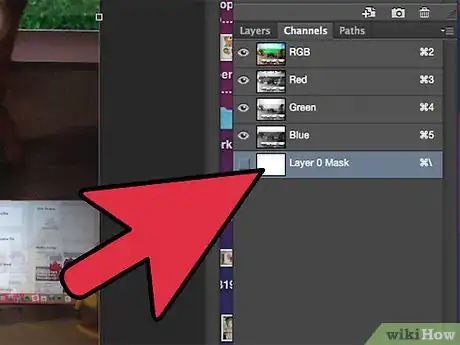
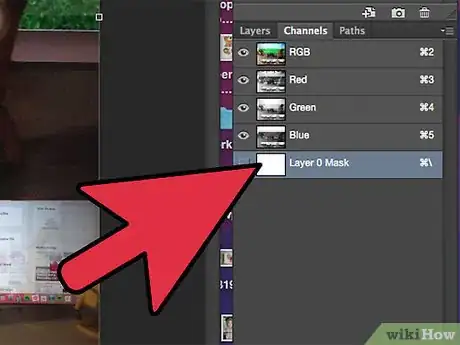
11Select the bottom layer then click on the Channel tab. Highlight and select the Layer Mask layer and paste over the content of the clipboard.
-
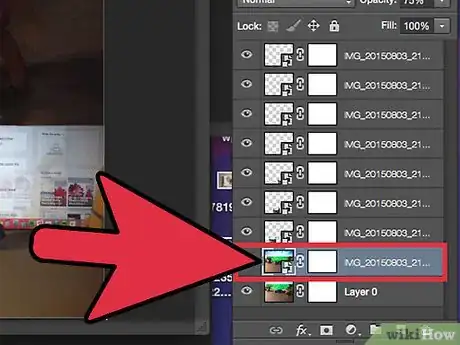
12Click on the Layer tab and select the next layer up.
-
13Go back to the Mask file. Move the whole pattern 2-pixels to the right. CTRL-A and CTRL-C to put the shifted content to the clipboard.
-
14Repeat step 11 for the working layer instead of the bottom layer.
-
15Repeat the same steps for the other layers up.
-
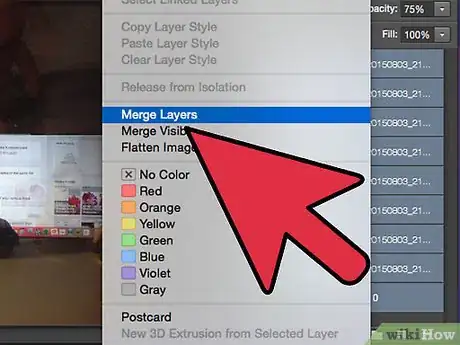
16Merged all the layers.
-
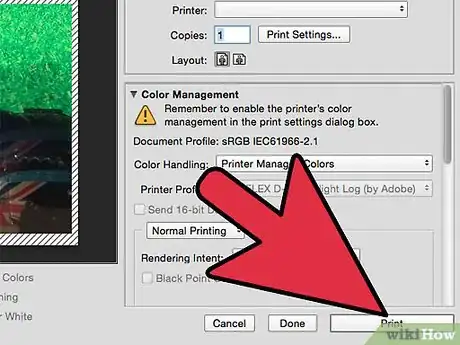
17Print the merged file at 720 dpi.
-
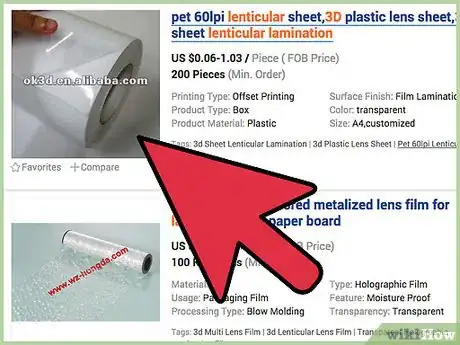
18Laminate the lenticular sheet over the top of the printout.
Advertisement
Things You'll Need
- To make a 3D lenticular print you will need to have the following items ready.
- A digital camera with at least 2 mega pixels.
- A slider bar to mount the camera so pictures can be taken along a straight line. If you don't have a slider bar, consider tying the camera to # 1/18th scale die-cast model car.
- Adobe Photoshop or any other graphics editing program such as Gimp.
- A lenticular sheet with adhesive backing and known line density, 40 lines per inch, for example
About This Article
Advertisement
