This article was co-authored by wikiHow Staff. Our trained team of editors and researchers validate articles for accuracy and comprehensiveness. wikiHow's Content Management Team carefully monitors the work from our editorial staff to ensure that each article is backed by trusted research and meets our high quality standards.
This article has been viewed 1,367,826 times.
Learn more...
Contacts that you've added through various accounts like Google and WhatsApp are automatically saved to their respective accounts. Contacts that you've saved to your device's storage will need to be backed up if you're planning on wiping your device. The quickest way to back up any contacts stored on your Android device is to copy them to your Google account.
Steps
Finding Your Contacts
-
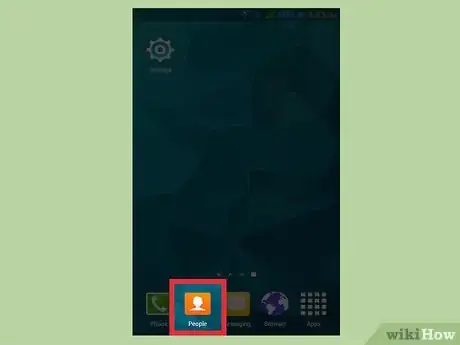
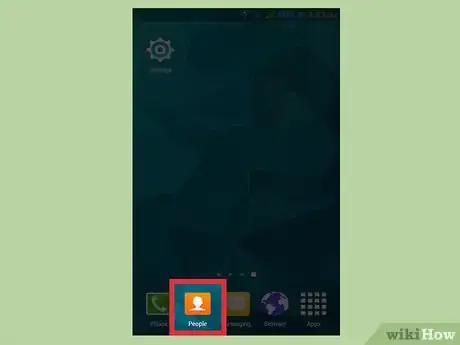
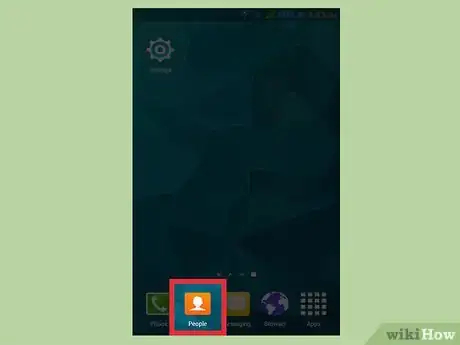
1Tap the Contacts or People app on your device. The process for all of this will vary depending on the manufacturer of your device and the contacts app you are using.
-
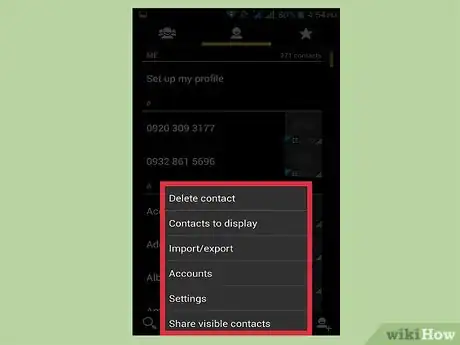
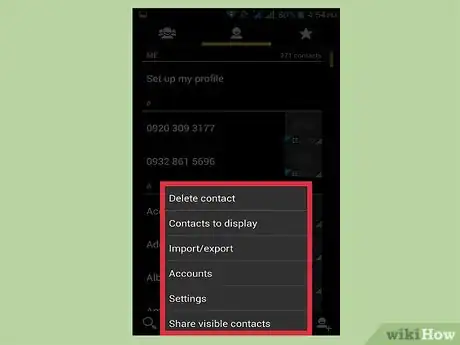
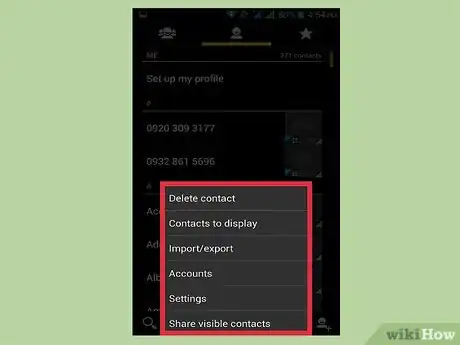
2Tap the ⋮ or More button. This is typically located in the upper-right corner.Advertisement
-
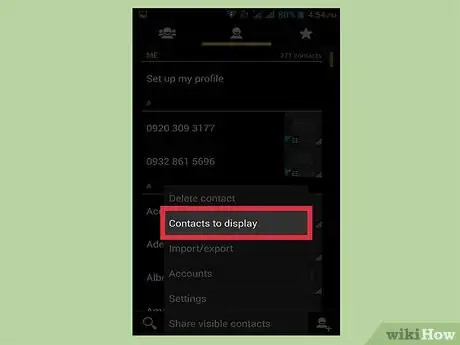
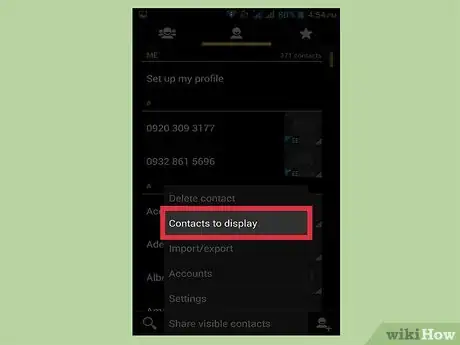
3Tap Contacts to Display or Display Options. You may have to tap Settings first. The wording may vary from device to device.
-
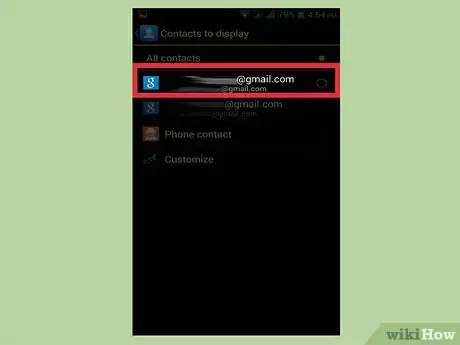
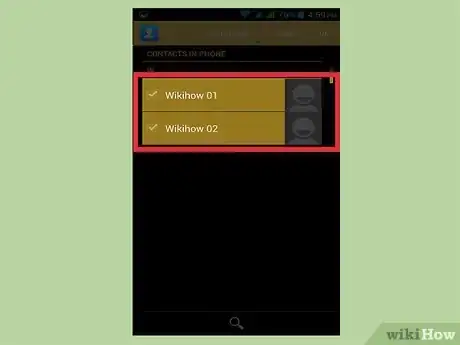
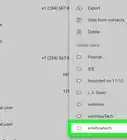
4Tap an ACCOUNT to view the contacts. When you select an account, you'll see all of the contacts that are saved to that account. Any contact that is connected to an account is automatically backed up and can be restored whenever you sign in again.
- For example, tapping "WhatsApp" will display all of your WhatsApp contacts. These contacts are stored on WhatsApp servers, so you don't need to worry about backing them up.
-
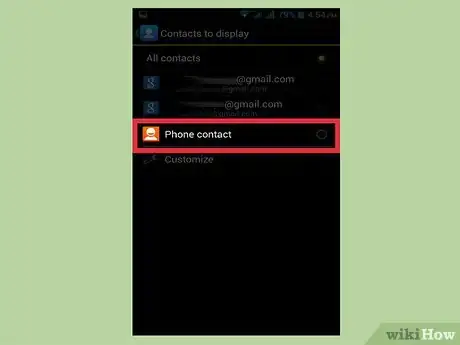
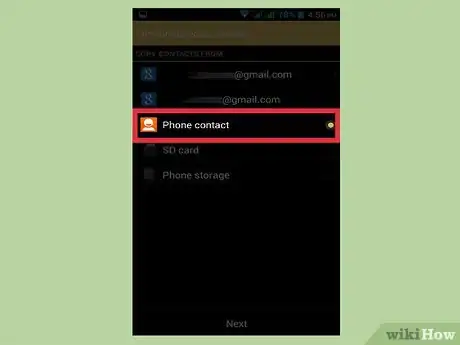
5Tap Phone to view contacts stored on your phone. These are contacts that have been saved to your device's memory, and will need to be transferred to another account like Google or exported to a file. Contacts stored on your phone's memory will be erased if you perform a factory reset.
Copying Contacts from Phone to Google
-
1Open your Contacts app to the Phone view. Your contacts app should just be displaying the contacts that are stored on your device's memory.
- Note that the terminology in this section will vary a lot depending on your phone manufacturer. The features discussed may not be available on all devices.
-
2Tap the More or ⋮ button.
-
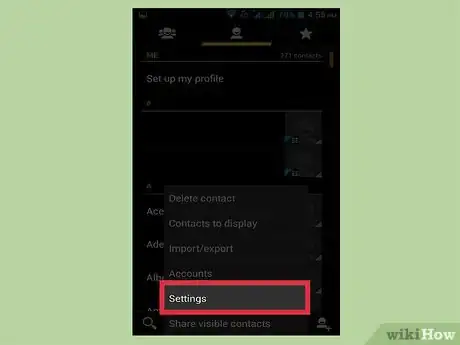
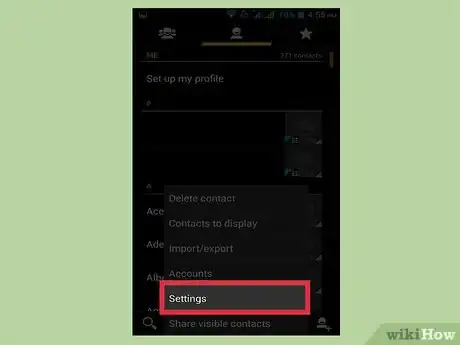
3Tap Settings or Manage Contacts.
-
4Tap Move device contacts to or Copy. The wording on this feature will vary a lot depending on your device. Look for a utility that allows you to transfer contacts from one account to another.
- If you don't have the ability to copy contacts to your Google account, you can still export your contacts as a file and them import them to Google.
-
5Tap Phone in the From list. If you are prompted to select the account you want to move contacts from, select your phone's storage.
-
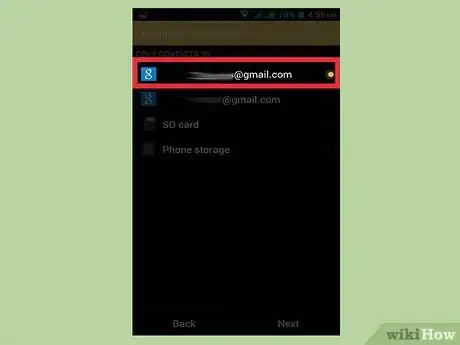
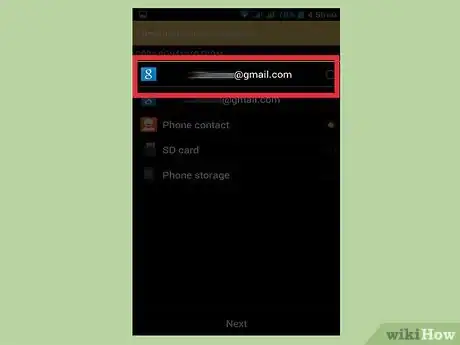
6Tap your Google account in the To list. Select your Google account in the list of accounts you can move your contacts to. This will ensure that they reappear when you sign back in with your Google account, and that they can be accessed from contacts.google.com.
-
7Tap Copy or OK. Your contacts will begin copying to your Google account. This may take a few moments if you are copying a lot of contacts.
-
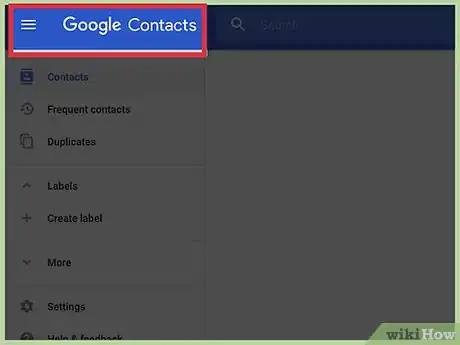
8Visit contacts.google.com in your browser. You can verify that your contacts were successfully added here.
-
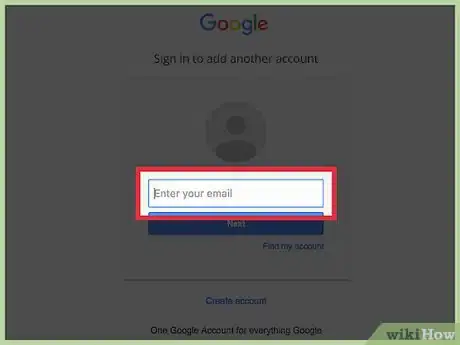
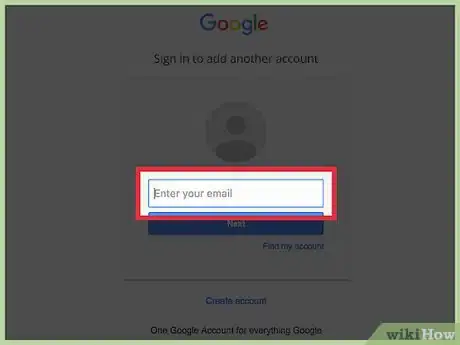
9Sign in with your Google account. Sign in with the same Google account you copied the contacts to.
-
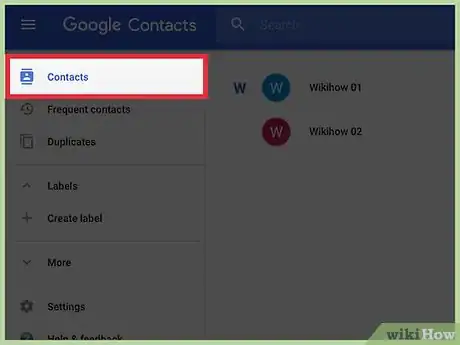
10Find your newly-added contacts. If you see your contacts from your phone here, they have been safely backed up to Google. You may need to wait a little while for the contacts to sync.[1]
Exporting Your Contacts as a File
-
1Tap the Contacts app on your device. If you can't copy your contacts directly to your Google account, you can export them to a file and then import that file to your Google account.
-
2Tap the ⋮ or More button.
-
3Tap Contacts to Display or Display Options. You may have to tap the Settings option first.
-
4Tap the Phone option. This will set the contacts app to only display contacts stored on your device, which are the contacts that need to be backed up.
-
5Tap the ⋮ or More button again.
-
6Tap Settings or Manage Contacts.
-
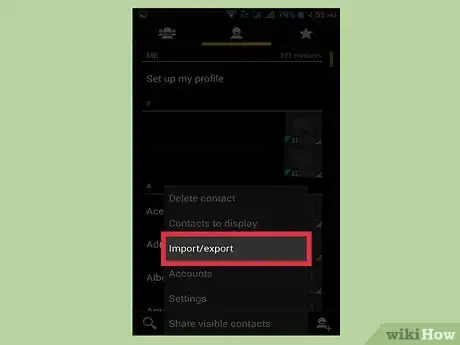
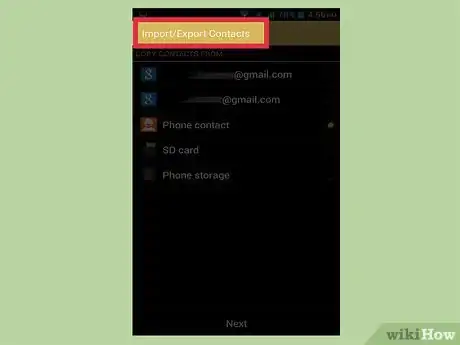
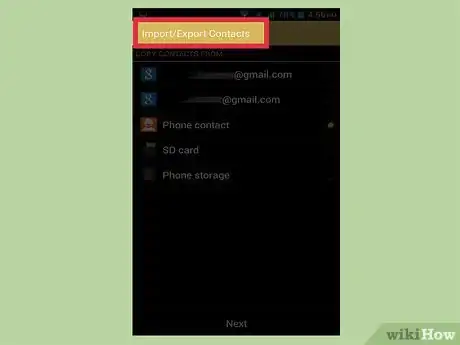
7Tap the Import/Export or Back up option.
-
8Tap Export.
-
9Tap your device's storage. This will set the contact file to save in your phone's storage.
-
10Tap the contacts you want to export. If you're given the option, tap the contacts you want to export. Since you restricted the view to the contacts just stored on your device, you can usually just tap "Select All."
-
11Wait while your contacts export. You'll see a notification appear at the top of the screen when the contacts have finished exporting.
-
12Tap the ⋮ or More button in the Contacts app.
-
13Tap Settings or Manage Contacts.
-
14Tap the Import/Export option.
-
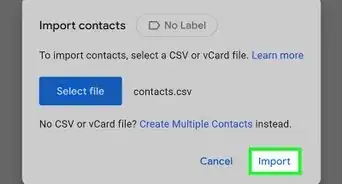
15Tap Import.
-
16Tap your Google account. This will ensure that the imported contacts are added directly to your Google account.
-
17Tap your contact file. Tap the file that you just created when prompted. This will import the contacts from that file into your Google account, backing them up online.
-
18Visit contacts.google.com in your browser.
-
19Sign in with your Google account. Sign in with the same account you just imported the contacts to.
-
20Find your newly-imported contacts. Look for the contacts from your phone that you just imported. If you see them, they have been safely backed up to your Google account.[2]
- It may take a little while for the contacts to sync.
Community Q&A
-
QuestionCan I backup my contacts without an existing backup?
 Community AnswerYes.
 -
QuestionCan I transfer contacts from one device to another?
 JoelCommunity AnswerYes, you can. This is typically done in store by a technician when you get a new phone.
 -
QuestionI want to export my contacts from my android device to my PC. What should I do?
 Community AnswerGet a data cable. Connect your android device to your computer. You might have to go into the settings on your phone to connect to the computer. Then on your computer, go to your file explorer and you should see your device listed there. If it's a newer phone and you have your google account on it should add them automatically. At least, mine did.
