Make your mass email campaign stand out
This article was co-authored by wikiHow staff writer, Kyle Smith. Kyle Smith is a wikiHow Technology Writer, learning and sharing information about the latest technology. He has presented his research at multiple engineering conferences and is the writer and editor of hundreds of online electronics repair guides. Kyle received a BS in Industrial Engineering from Cal Poly, San Luis Obispo.
Learn more...
Personalizing your bulk emails is a great way to connect with your audience. Luckily, there’s an easy way to tailor each email automatically — mail merge. This feature allows you to place variables in your draft that are replaced with contact information. This guide covers the built-in Gmail feature and the Google Workplace add-on Yet Another Mail Merge. This wikiHow guide will show you these 2 methods for adding personalization to your mass emails.
Things You Should Know
- To use Gmail Mail Merge, turn on multi-send in a new email. Then, include merge tags using the “@” symbol.
- Note that you need a Google Workplace account to use Gmail’s mail merge feature.
- Use Yet Another Mail Merge (YAAM) to customize the variable contact info using a Google Spreadsheet.
Steps
Gmail Mail Merge
-
1Turn on multi-send mode. If you have Google Workspace, you can send individual emails to multiple contacts all at once. Personalize the email with Google’s merge tags, fields that will autofill with the contact’s information when you send the email.[1]
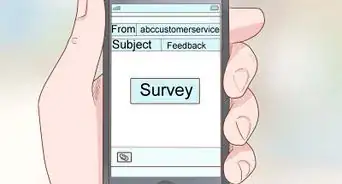
- Mass emails are a great technique to include in your marketing strategy.
-
2Start a new email. Go to https://www.gmail.com/ and click Compose. This will open a blank email draft.
- For general customization tips, see our guide on how to customize an email.
Advertisement -
3Click the multi-send button. This looks like an envelope in front of another envelope. When you hover over the button, it will say something like “Turn multi-send mode on/off.”
- When multi-send is on, the “Send” button will change to “Continue.” The tab header will turn purple.
- Multi-send will also automatically put an unsubscribe link at the bottom of the email.
-
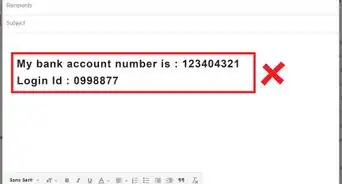
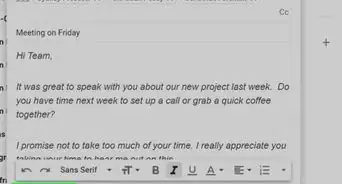
4Write your email, including merge tags. Press @ while typing in the email draft to view a list of merge tags. Start typing to narrow down the list. Press Enter to select a merge tag.[2]
- Merge tags will be replaced with each contacts’ information when the email is sent. For example, “@firstname” will become “Kyle” for a contact with the first name Kyle.
- As of October 2022, Gmail supports four merge tags: @firstname, @lastname, @fullname, @email.
- Google plans to add additional merge tags and custom tags in future releases.
-
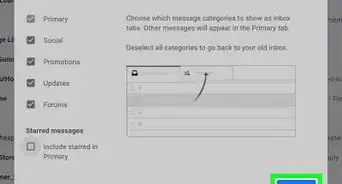
5Send the email. Click Continue when you’re ready to send the email. This will open a confirmation menu. Click Send all to send the email to the listed recipients.[3]
- Click Send preview if you want to receive a test email.


Yet Another Mail Merge
-
1Go to https://yamm.com/ and create an account. Click the Get started for free button to start the account-making process.[4]
-
2Install YAMM. Yet Another Mail Merge (YAMM) is a Google Workplace add-on for Google Sheets and Gmail. It allows you to create a Google Sheet with your contacts’ information stored in columns. YAMM pulls that information to fill in sections of your email.
-
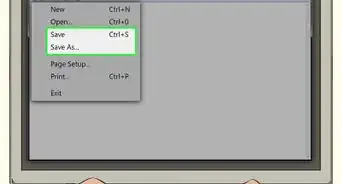
3Create a Google Sheet. This is where you’ll store the information you want as variables in your bulk email.[5]
-
4Launch YAAM. Go to Extensions > Yet Another Mail Merge: Mail Merge for Gmail > Start Mail Merge.
-
5Input the contact data. Include all of the contacts that you want to send the bulk email to.
- Create a header row in row 1. Type in the attributes of each contact. This could include things like first name, last name, and location.
- “Email” must be included as a header for YAMM to work properly.
-
6Compose a new email in Gmail. Write your bulk email, including the YAMM markers.
- Format the markers as {{attribute}} in your email. Replace “attribute” with the exact name of your header in the spreadsheet.
- When you send your email, the markers will be replaced with the contact attribute from the Google Sheet.
- You can use markers in the subject line as well!
-
7Send the email. When you’re done drafting the email, go back to your spreadsheet and follow these steps:
- Click Add-ons and select Yet Another Mail Merge: Mail Merge for Gmail.
- Click Start Mail Merge and customize the sending options.
- Select your email subject in the “Email Template” field.
- Click Send # emails or Send a test. This will complete the mail merge process!


References
About This Article