This article was co-authored by wikiHow staff writer, Darlene Antonelli, MA. Darlene Antonelli is a Technology Writer and Editor for wikiHow. Darlene has experience teaching college courses, writing technology-related articles, and working hands-on in the technology field. She earned an MA in Writing from Rowan University in 2012 and wrote her thesis on online communities and the personalities curated in such communities.
This article has been viewed 53,356 times.
Learn more...
This wikiHow will show you how to use Microsoft Word to add text to an image on your computer, phone, or tablet. The Microsoft Word app is freely available for Androids, iPhones, and iPads, but you'll need to purchase the app from Microsoft if you're using a Windows or macOS.
Things You Should Know
- If you’re using a computer, use a text box with no fill and no outline to overlay text on an image.
- If you’re using the mobile Word app, insert a text box with no fill and no outline. Move the text box onto the image and edit the text.
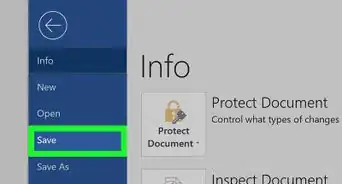
- Make sure to tap the checkmark on mobile app Word documents to save your work!
Steps
Using a Computer
-
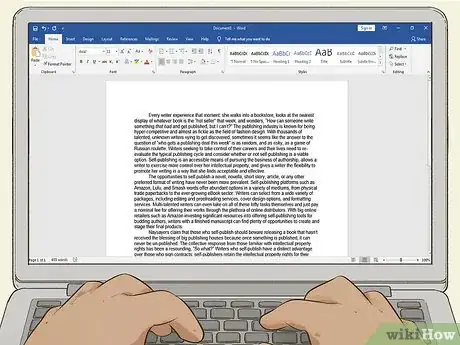
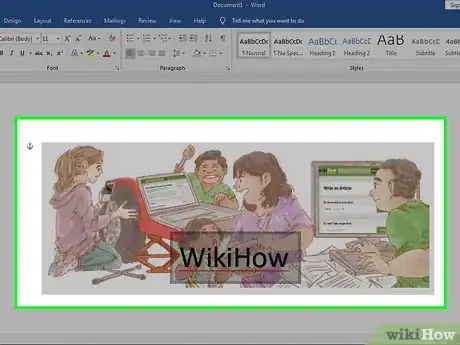
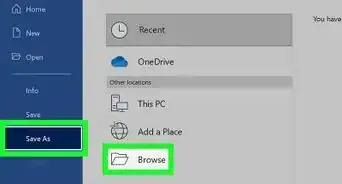
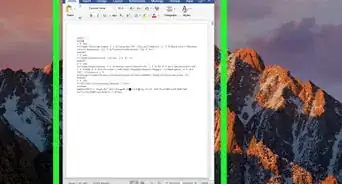
1Open your project in Word. You can do this by clicking Open from the File tab, or by right-clicking the file icon in your file browser and choosing Word from the "Open with…" dialog.
-
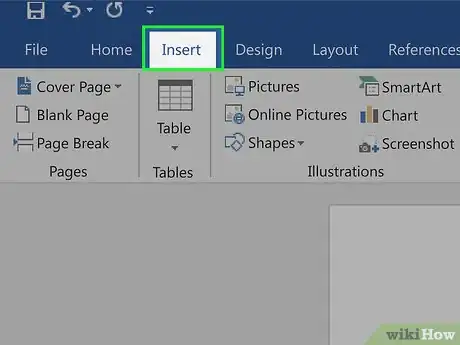
2Click the Insert tab. You'll find this above the document in the menu toolbar or along the top of your screen.Advertisement
-
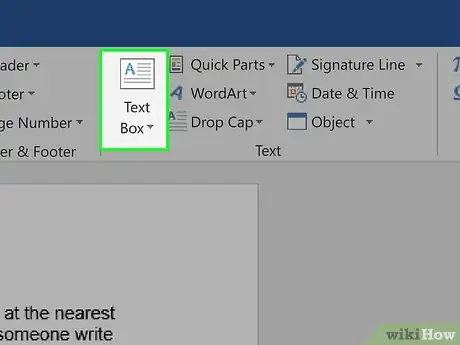
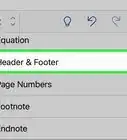
3Click Text Box. You'll find this in the Text group. A menu will dropdown.
-
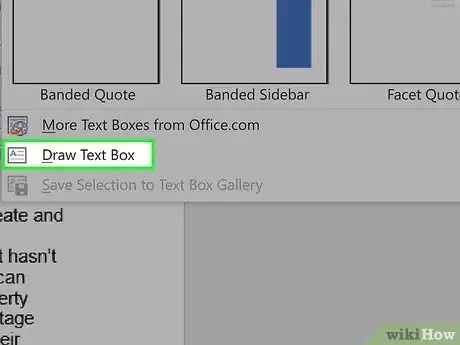
4Click Draw Text Box. You'll see this at the bottom of the menu that drops down.
-
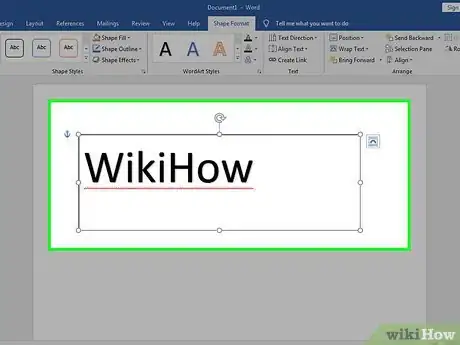
5Enter your text. You'll see your text entered into a moveable object.
- You can highlight your text and change the font size, color, and style before continuing.
-
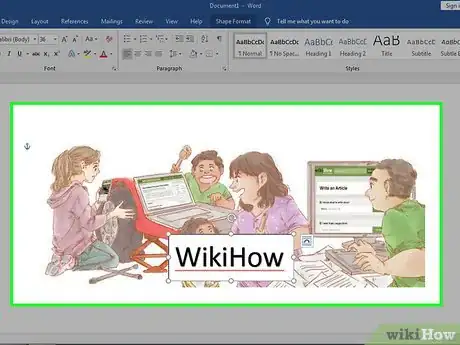
6Drag and drop your text box over the picture. Don't deselect the text box yet.
-
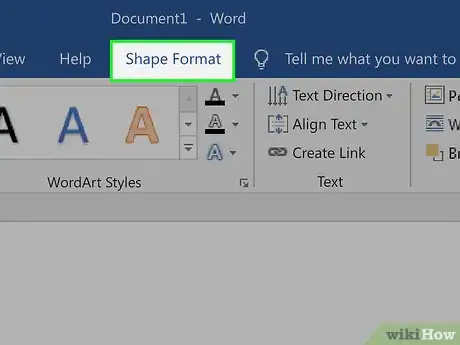
7Click the Format tab. You'll find this above the document in the menu toolbar or along the top of your screen.
-
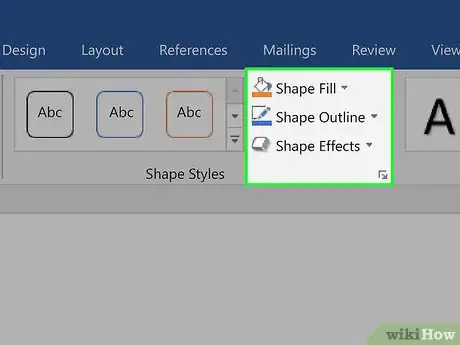
8Format your text box in "Shape Styles." You'll want to make sure your text is not hidden by other elements.
- Click Shape Fill and select No fill.
- Click Shape Outline and select No outline.
-
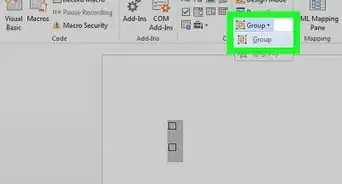
9Group the picture and text box. You can do this by clicking the picture to select it, then pressing and holding Ctrl (PC) or ⌘ Cmd (Mac) and clicking the text box to select it as well. Under the Format tab, click Group.[1]
Using a Phone or Tablet
-
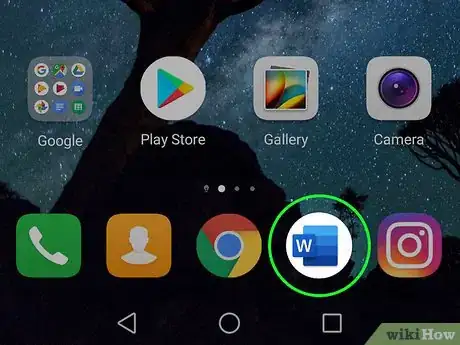
1Open your project in Word. This app icon looks like a blue page with white writing on it, and you can find this app on your home screen, in the app drawer, or by searching. To open your project in Word, you'll need to tap Open from the File tab.[2]
-
2Tap the pencil icon (optional). If you don't see the pencil icon above the document, you may already be in editing mode.
-
3
-
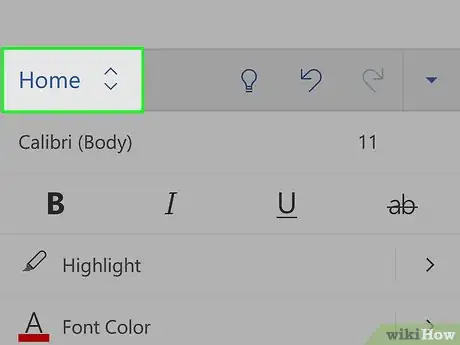
4Tap Home. You'll open up a list of toolbar options.
-
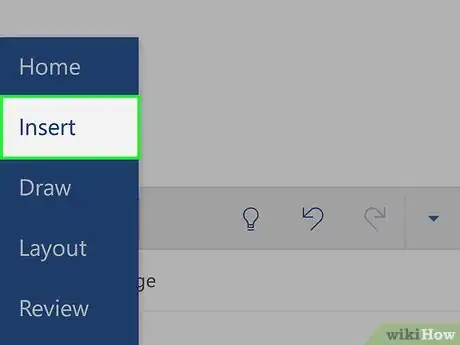
5Tap Insert. You'll see the Insert menu options.
-
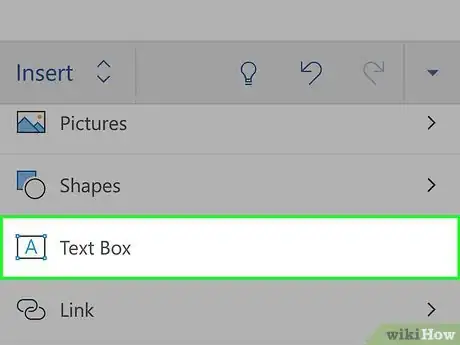
6Tap Text Box. You might have to scroll down to see this option.
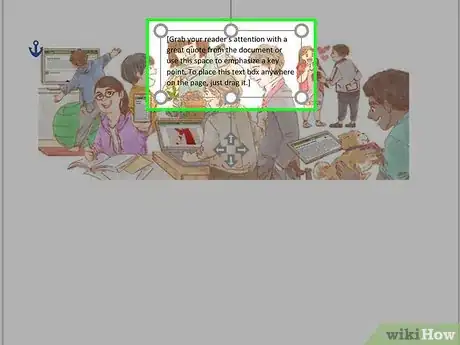
- After you tap this, you'll see a text box with dummy text inserted on your page.
-
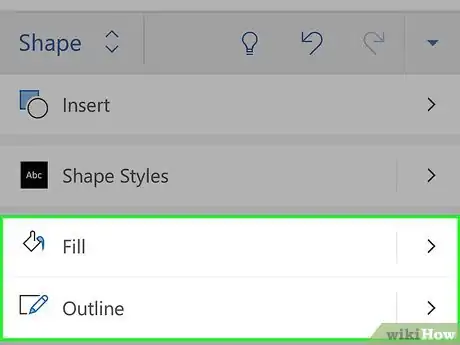
7Format your text box. After you've inserted your text box, you'll notice the main menu shifts to Shape. You'll want to edit this text box from this menu.
- From Fill, choose 'No fill.
- From Outline, choose No outline.
-
8Tap inside the text box. A menu will pop up.
-
9Tap Edit Text. Your cursor will appear in the text box. You'll first need to delete what's already in the text box.[3]
-
10Tap the checkmark when you're done to save your work. You'll see this in the upper left corner of the app.
References
About This Article
1. Open the picture in Word.
2. Insert a new text box from the Insert tab.
3. Type in your text.
4. Drag and drop the new text box over the picture.
5. Group the picture and text box.
