This article was co-authored by wikiHow staff writer, Rain Kengly. Rain Kengly is a wikiHow Technology Writer. As a storytelling enthusiast with a penchant for technology, they hope to create long-lasting connections with readers from all around the globe. Rain graduated from San Francisco State University with a BA in Cinema.
The wikiHow Tech Team also followed the article's instructions and verified that they work.
This article has been viewed 2,040,950 times.
Learn more...
Do you want to create a horizontal line in your resumé or other Microsoft Word document? If you want to customize the color and format of the line, you can use the Shapes tool. If you need to make a quick, basic line, you can use the keyboard shortcut. While you can use the keyboard shortcut on Windows and Mac, you cannot use it on the mobile app. This wikiHow will show you how to insert different lines in Microsoft Word on your Windows, Mac, iPhone, or Android device.
Things You Should Know
- On desktop, go to the Insert tab. Click Shapes, then select a line. Click and drag across the document to create a line.
- To customize the line, double-click it. Click Shape Outline to change the color.
- On mobile, click the three dots. Tap Home and select Insert. Tap Shapes to select a line. Tap and drag across the document to create a line.
Steps
Using Shapes to Draw a Line
-
1Open Microsoft Word on your Windows or Mac computer. Click or double-click the Word app icon, which resembles a white "W" on a dark-blue background.
- If you want to draw a line in an existing Word document, double-click the Word document to open it and skip the next step.
- You'll need a subscription to use Office 365.
-
2Click Blank document. It's in the upper-left side of the page.Advertisement
-
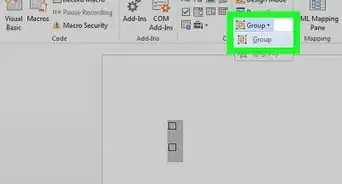
3Click the Insert tab. This tab is in the blue ribbon at the top of the Word window, between Home and Draw.
-
4Click Shapes. It's in the Insert toolbar, next to the icon of an overlapping circle and square.
- A drop-down menu will appear.
-
5Select a line shape. In the "Lines" heading, click one of the line templates. You can choose a line, line arrow, double line arrow, and more.
-
6Draw your line. Click and drag across the document to create your line.
- If you need to adjust the line's length and orientation, click the left or right circle. Drag it left or right to adjust the length, or drag it up and down to adjust the orientation.
- To move the line, double-click and drag it to the desired position.


Using Borders to Add a Line
-
1Open Microsoft Word on your Windows or Mac computer. Click or double-click the Word app icon, which resembles a white "W" on a dark-blue background.
- If you want to draw a line in an existing Word document, double-click the Word document to open it and skip the next step.
-
2Click Blank document. It's in the upper-left side of the page.
-
3Click the Home tab. This tab is in the blue ribbon at the top of the Word window, between File and Insert.
- You may already be on this tab by default.
-
4Click the "Borders" arrow. This is next to the icon of the dotted square with a solid bottom line.
- A drop-down menu will open.
-
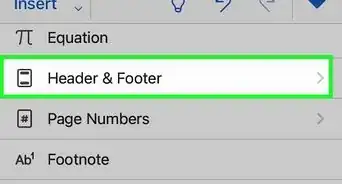
5Click Horizontal Line. This will be towards the bottom, above Draw Table.
- A horizontal line will be added.
-
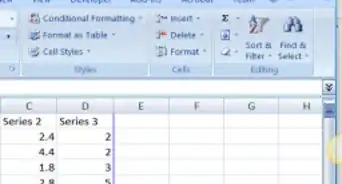
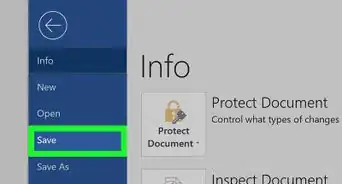
6Format your line. Double-click the line; a dialogue box will appear.
- To change the line thickness, use the up and down arrow below Height. The higher the number, the thicker the line will be.
- To change the color, click the color box underneath Color. Select your desired color.
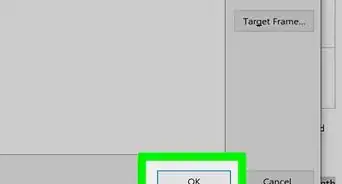
- Click OK to save and apply your changes.
- To move the line, double-click and drag it to the desired position.


Using Keyboard Shortcuts
-
1Open Microsoft Word on your Windows or Mac computer. Click or double-click the Word app icon, which resembles a white "W" on a dark-blue background.[1]
- If you want to draw a line in an existing Word document, double-click the Word document to open it and skip the next step.
-
2Click Blank document. It's in the upper-left side of the page.
-
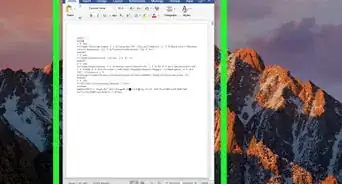
3Place your cursor where you want your line to appear. You'll need to be on a blank line, as this won't work if there is text before or after your cursor on the same line.
- You'll be creating a horizontal line that spans from one edge of your page to the other. The line will stop at your set margins.
- If you want to make the line span the whole page, you'll need to change your document margins.
-
4Type three dashes in a row. Use your dash key on the number row at the top of your keyboard, or on the numeric pad.
-
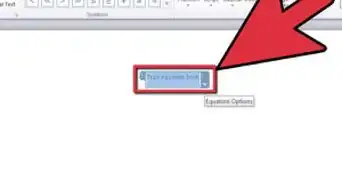
5Press ↵ Enter to convert the dashes into a line. AutoCorrect will automatically create a solid line that will situate itself directly beneath the previous line of text.
- Note that the line does not occupy the space of a line of text, but instead exists between lines of text.
- If you do not have AutoCorrect enabled, do so by clicking File → Options → Proofing → AutoCorrect Options…. This will open a new window.
- Make sure the Border Lines box is checked. This can be found underneath Apply as you type.
- If you want to turn off AutoCorrect, uncheck the boxes.
-
6Use different characters for different line styles. There are a variety of different lines that you can create by using characters other than the dash:[2]
- Thin line: Three hyphens (-).
- Thick line: Three underscores (_).
- Double line: Three equal signs (=).
- Dotted line: Three asterisk (*).
- Triple line: Three pound signs (#).
- Squiggly line: Three tildes (~).
-
7Move the line by entering text above it. You can prompt the line to move down by typing text above it and then pressing Enter.
- Deleting text above the line will prompt it to move upward.


Using the Mobile App
-
1Open a document in the Microsoft Word app. This looks like a blue notebook next to a W.
- Microsoft Word is available for iOS in the App Store and for Android in the Google Play Store.
- Tap Blank document to open a new document or tap a file to open an existing document.
-
2Tap ••• . This can be found above the keyboard, to the right.
- If you don't see your keyboard, tap the document to bring it up.
- A new menu will open.
-
3Tap Home. This will be to the left of the formatting window.
- A drop-down menu will open.
-
4Tap Insert. You'll see a list of all objects you can insert.
-
5Tap Shapes. This is next to the icon of an overlapping circle and square.
-
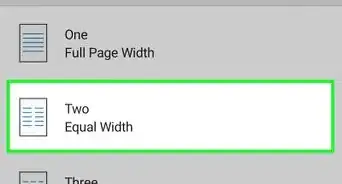
6Select a line shape. In the "Lines" heading, tap one of the line templates. You can choose a line, line arrow, double line arrow, and more.
-
7Draw your line. Tap and drag across the document to create your line.
- Use two fingers to pinch and zoom out to view the entire document.
- If you need to adjust the line's length and orientation, tap the left or right circle. Drag it left or right to adjust the length, or drag it up and down to adjust the orientation.
- To move the line, tap and drag it to the desired position.


Community Q&A
-
QuestionHow do I view all available symbols in Microsoft Word?
 Community AnswerClick "Insert" and then click "Symbols" and you should be shown a box with all of the symbols in it.
 -
QuestionHow do I add a line on the first page, and no lines on the second?
 Community AnswerClick "Insert" and then click "Symbols" and you should be shown a box with all of the symbols in it.
 -
QuestionHow do I change the color of the line?Community AnswerIn the paragraph section, open the drop-down menu on the "Borders" button. At the very bottom is a "Borders and Shading" option. In that option, change the color of the bottom border to your specified color. Click the "Borders" button.


References
About This Article

1. Click Insert.
2. Click Shapes.
3. Select a line template.
4. Click and drag across your Microsoft Word document to draw the line.