X
wikiHow is a “wiki,” similar to Wikipedia, which means that many of our articles are co-written by multiple authors. To create this article, 14 people, some anonymous, worked to edit and improve it over time.
This article has been viewed 42,412 times.
Learn more...
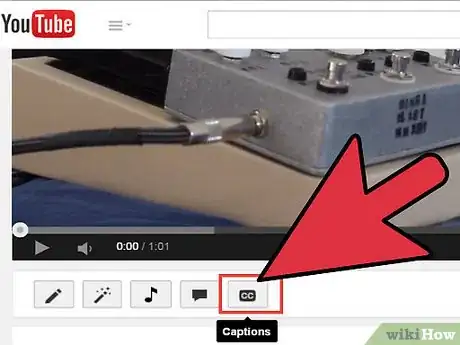
YouTube allows video owners to add closed captions (or subtitles). These can be useful to viewers for all sorts of reasons. They are not the same as annotations! Special software is available to create these closed captions files but you only need a text editor (such as notepad) to write the file.
Steps
Method 1
Method 1 of 2:
Creating YouTube Closed Captions With a Text Editor
-
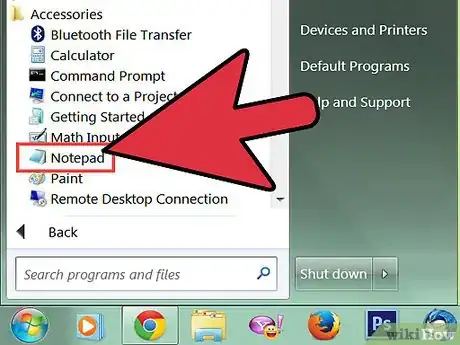
1Open a text editor.
-
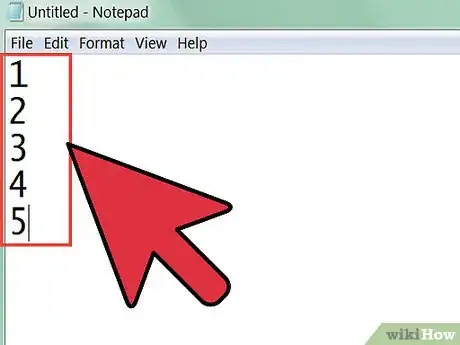
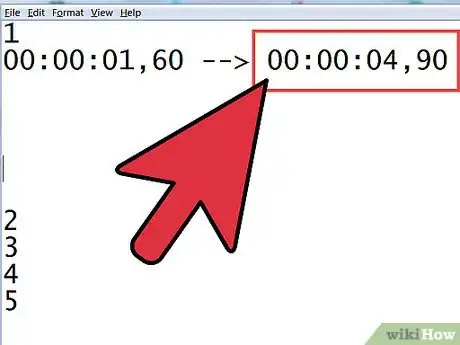
2For each caption write its number on a separate line (in order) - begin with 1 .Advertisement
-
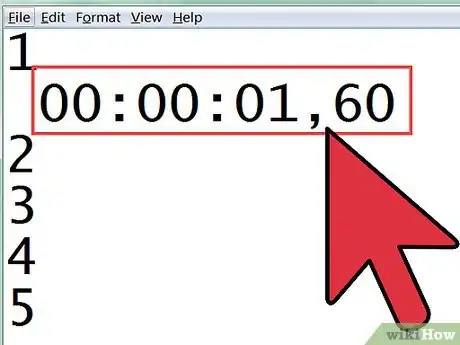
3On the next line write the time you want the caption to appear in the video - in HH:MM:SS,MS e.g. 00:00:01,60 is 1 second 60 milliseconds.
-
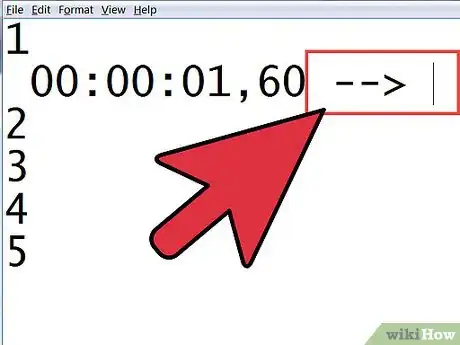
4On the same line write --> with spaces either side.
-
5On the same line write the time you want the caption to disappear - in HH:MM:SS,MS e.g. 00:00:04,90
-
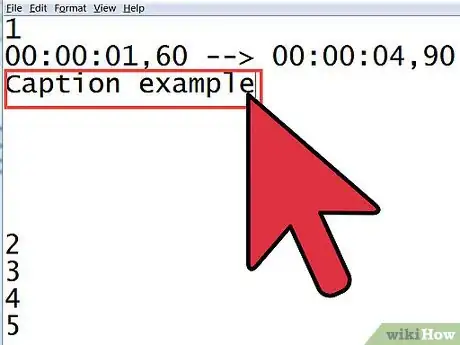
6On the next line, write the caption you want to appear.
-
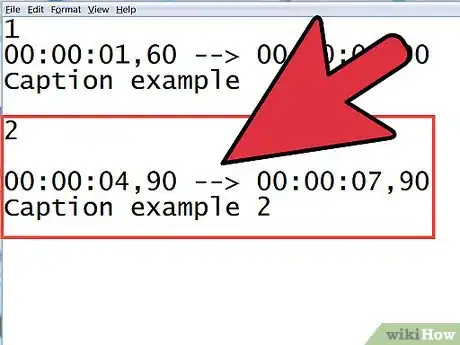
7For more captions leave a blank line and begin with the next number in sequence (2, 3, etc...).
-
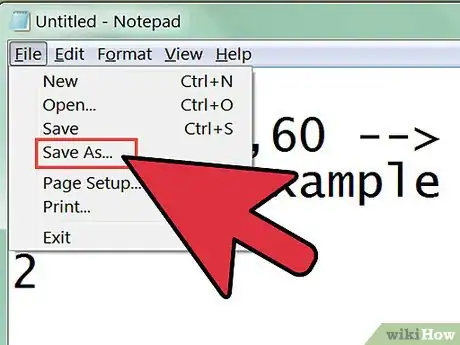
8Save the file as whatever you want as long as it is a text file (.txt).
-
9
Advertisement
Method 2
Method 2 of 2:
Creating Youtube Closed Caption files with uTranscribe.
-
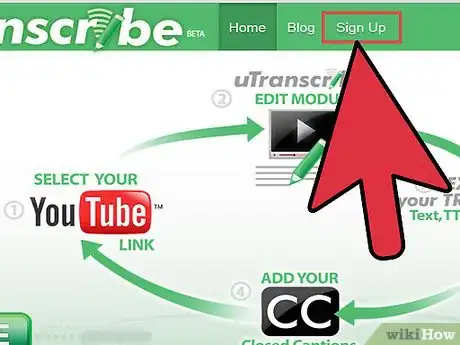
1Create a free account at www.uTranscribe.tv.
-
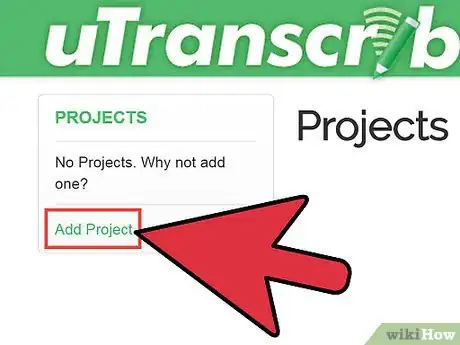
2Create a new project.
-
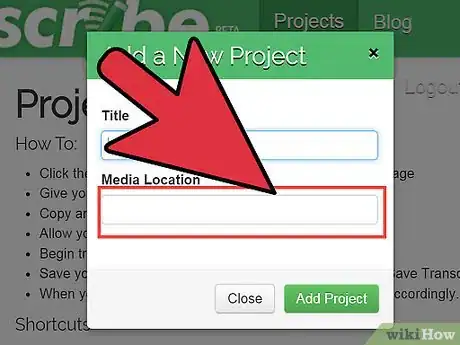
3Copy your YouTube URL.
-
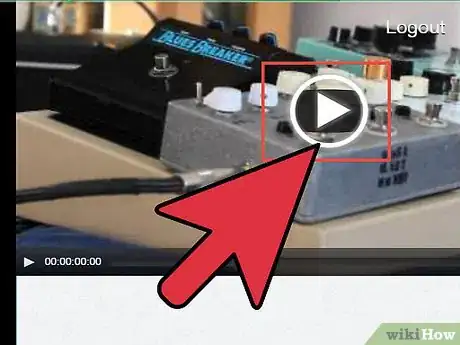
4Start typing and time stamping your video.
-
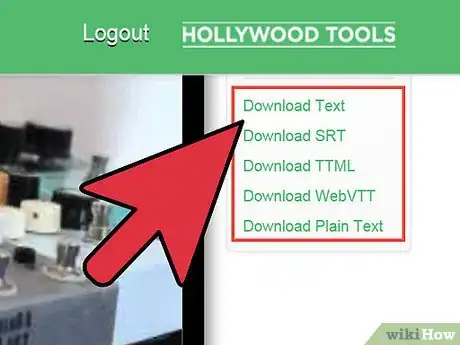
5When complete save and output a SRT, WebVTT or TTML closed caption file for YouTube.
-
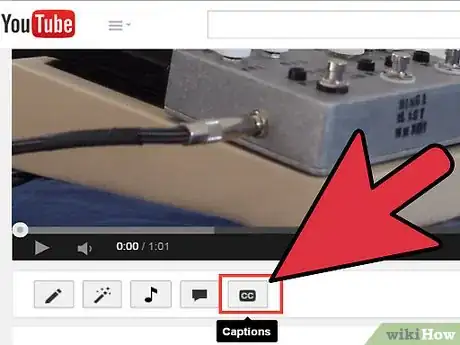
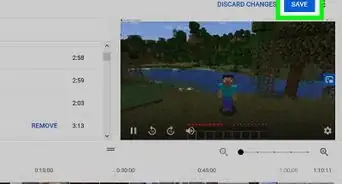
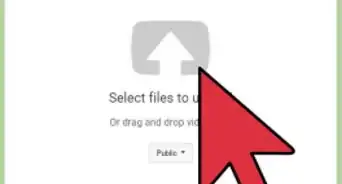
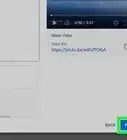
6Upload your Closed Caption file to your corresponding YouTube video.
Advertisement
Warnings
- Closed captions are not the same as annotations! They have different uses.⧼thumbs_response⧽
- Unless community contributions are turned on, you cannot add closed captions to videos somebody else has uploaded.⧼thumbs_response⧽
Advertisement
About This Article
Advertisement
