This article was co-authored by wikiHow Staff. Our trained team of editors and researchers validate articles for accuracy and comprehensiveness. wikiHow's Content Management Team carefully monitors the work from our editorial staff to ensure that each article is backed by trusted research and meets our high quality standards.
There are 12 references cited in this article, which can be found at the bottom of the page.
wikiHow marks an article as reader-approved once it receives enough positive feedback. In this case, 91% of readers who voted found the article helpful, earning it our reader-approved status.
This article has been viewed 383,044 times.
Learn more...
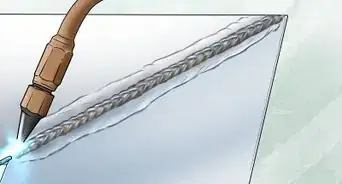
Welding is a way to combine pieces of stainless steel together for repair work and even craft projects. To begin a weld, set the steel in place over a welding table using clamps and jigs. Then, join the steel together through MIG or TIG welding. MIG welding is an inexpensive way to weld larger pieces together, while TIG welding is perfect for more delicate, stronger welds. No matter which type of torch you choose for your project, you can make the project a success with the right equipment and technique.
Steps
Setting the Steel in Place
-
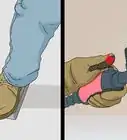
1Put on a welding mask and protective clothing. Wear a full-length shirt and pants to cover up as much skin as possible, and cover your hands and feet with insulated gloves and boots. You also need a welding helmet to protect your eyes and face while you work. Finally, get a respirator mask and ear muffs for additional protection.[1]
-
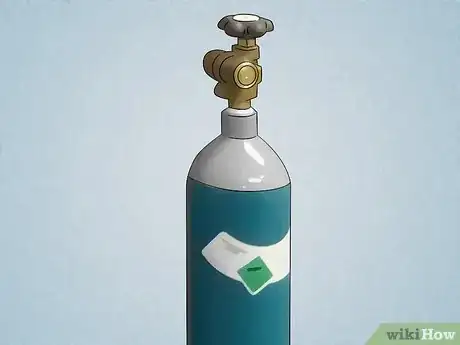
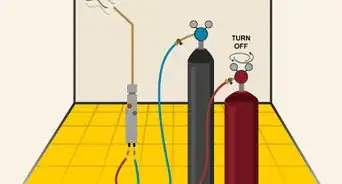
2Get an argon-carbon dioxide shielding gas compatible with your project. For the best results, use a gas mix consisting of 2% carbon dioxide and 98% argon. It is available at some home improvement stores or online. Using a shielding gas protects your weld and strengthens it.[2]
- For MIG welding, a 90% helium, 7.5% argon, and 2.5% carbon dioxide mixture is even better.
Advertisement -
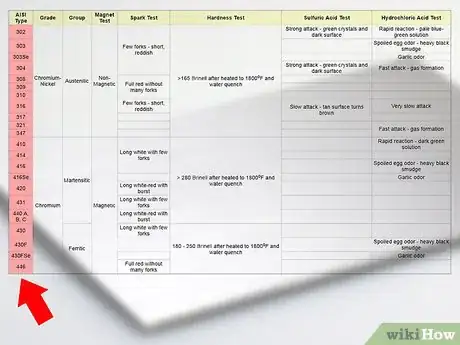
3Identify the type of base steel you have. Look for a 3 digit number printed on the steel. It may be on a flat part of the metal. If it isn't available, test the metal by using a magnet and a bench grinder. Match the kind of spark the metal produces to the image on a test chart.[3]
- Austenitic steel is a fairly common type of steel and is often labeled in the 300s. It consists of a high percentage of chromium and some nickel, so it isn't magnetic.
- Martensitic steel is used for wear-resistant projects. It is magnetic and produces long, white sparks with few forks.
- Ferritic is very common and is usually labeled as 409 or 439. Its high carbon content makes it magnetic. When ground, it produces white or red sparks with few forks.
-
4Select a filler metal that matches the base metals. Like pieces of steel, filler metals are sold with number labels used to identify their composition. To get the best weld, you need a filler material that is similar in composition to your base metals.
- Filler metals are available online or at most home improvement stores.
- If the pieces of steel you wish to join have different compositions, choose filler according to which piece is less likely to crack.
- Try to identify the metal using the tools you have. If you still aren't sure, choose an all-purpose filler. Something like 309L or 312L work well in most situations.
-
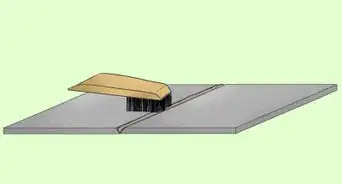
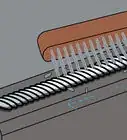
5Clean the base metal with a wire brush and acetone. Make sure you use a wire brush specifically designed for stainless steel. Rub the brush along the grain to remove the impurities. To finish, wipe away the debris a rag coated in acetone. Removing scale, slag, and other impurities in the metal helps you achieve a better weld.
- Wear gloves so you don't transfer oils from your hands onto the steel.
- The cleaning process eliminates the chance of oxides forming on the base metal, which can weaken the joint.
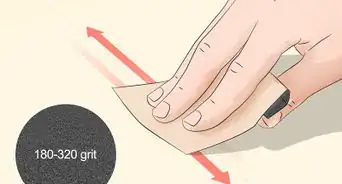
- Use other tools to clean the metal as needed. Some welders make use of sandpaper, angle grinders, or even saws.
-
6Choose the type of joint you need to weld. The type of weld you need to make depends on how you plan on joining the pieces of metal. Each joint can be welded in a number of different styles to strengthen the bond at the joint. Take into account the thickness of the metal and the accessibility of the joint. If the metal sheet are thin, you have to make a wider, shallower weld. Similarly, if the joint is hard to reach, you have to melt metal to flow into it.
- Butt joints are formed when you lay the sheets flat over one another and weld the edges. Simply melt the metal around the joint to fill it.
- Use a corner joint or T-joint to connect sides together. Since the joint is hard to access, you need to melt metal above the joint to fill it.
- Lap joints and edge joints are for connecting edges together. You may benefit from using a filler rod to help fill in the gap between the steel.
-
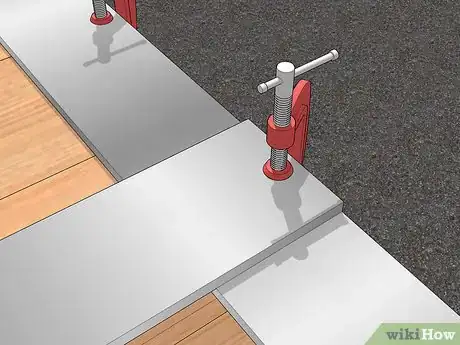
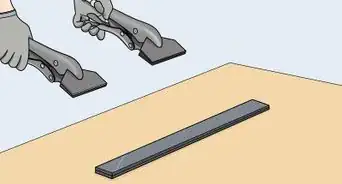
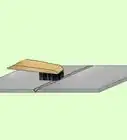
7Secure the metal to a welding bench with fixtures and jigs. Place the stainless steel on a metal work surface. Arrange the steel pieces together. Make sure you can see and reach the joint you plan on welding. The steel can easily slip out of position, so to get a good weld, pin the pieces to the table as firmly as possible.[4]
- Many welding tables come equipped with fixtures or jigs that hold metal in place. If you don't have another option, try using store-bought clamps or vices.
- It is possible to hold pieces together by hand while welding, but remember that any small slip-up can weaken the joint. In addition, during TIG welding, both of your hands are already occupied, making this very difficult.
Using a MIG Torch on Steel
-
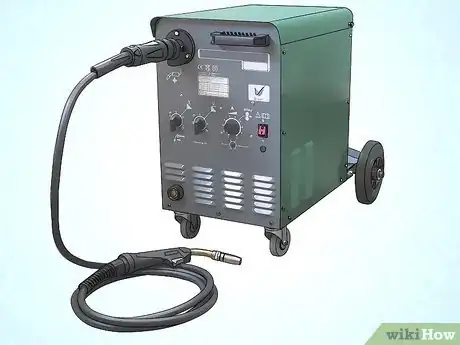
1Use MIG welding to join thicker pieces of metal. MIG welding is fast and requires less experience than TIG welding. A MIG torch has a filler wire inside of it, so you can do it with a single hand. MIG joints also cool relatively quickly, but this makes them more brittle.[5]
- MIG welding is also known as gas metal arc welding (GMAW).
- Most home improvement stores sell MIG welders. You may also be able to rent one from them.
-
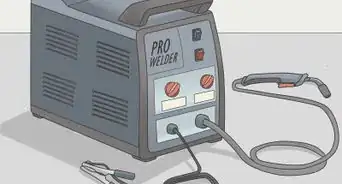
2Feed the filler wire through the torch and turn on the gas. Thread the wire through the MIG machine's reel and out through the tip of the torch. You do not need to force the wire through. Let the wire extend about 1⁄4 in (0.64 cm) beyond the torch. Once you are done setting the wire and have activated the gas, you can begin welding.[6]
- If you have trouble getting the wire through the torch, chances are it isn't set correctly. Avoid forcing it. Open the torch and adjust the wire's positioning.
-
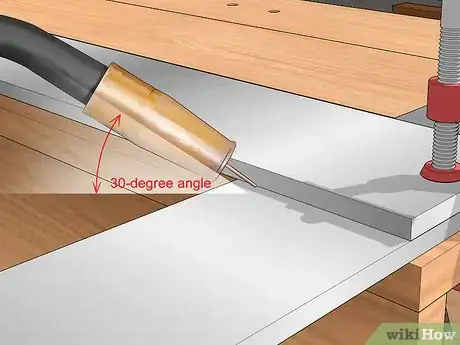
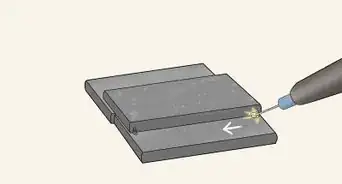
3Hold the torch at a 30-degree angle above the edge of the joint. It doesn't matter which end of the joint you start on. Position the torch so the tip of the flame hits the edges of the metal pieces. Wait for the flame to heat up the pieces, forming a bead of liquid metal in the joint.[7]
- If the metal splatters, you aren't using enough power. Turn the torch's heat setting up.
- Avoid using too much power, or else you'll burn through the steel! If the heat melts the metal too quickly, turn the power down until you have a smooth, controllable bead of liquid to work with.
-
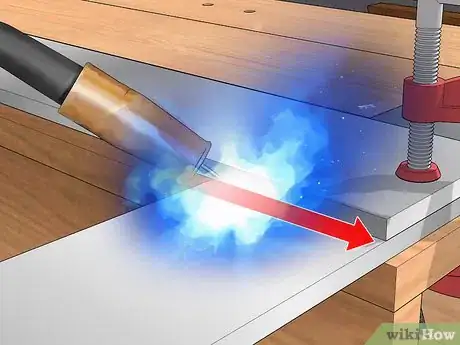
4Move the torch forward to fill in the joint. Move the torch slowly, holding it at a steady angle at all times. As you push the torch forward, the flame will push the bead along the joint. The heat will also melt the surrounding metal a little. Make sure the joint is filled in smoothly and evenly before you move the torch forward.[8]
- If you move too quickly, you won't melt the steel enough. The joint will feel flimsy and breakable in your hands.
- Avoid leaving the flame in place for too long. For thinner pieces of metal, the torch needs to move at a faster pace to avoid melting too much of the metal.
-
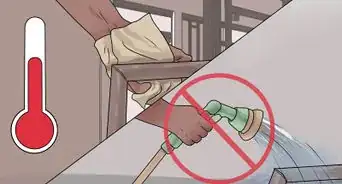
5Let the weld and torch cool before moving them. MIG welds cool down right away, so it won't be long before the joint is secure. Wait until you no longer feel heat coming up from the metal before handling it. In the meantime, set the torch in a secure location, such as a holster, until it cools as well.
- Turn off the gas when you're finished welding.
Joining Steel through TIG Welding
-
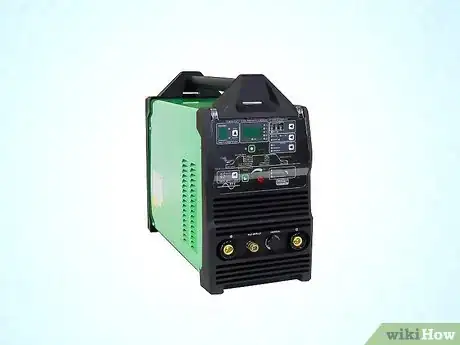
1Use TIG Welding to join thinner metals together. TIG welding machines are a little more complicated to use than MIG machines. TIG machines have multiple settings, so make sure you are using the correct ones for your project. Using a TIG torch also forces you to work more slowly, using your other hand to dip a separate filler rod into the liquefied metal.[9]
- TIG welding is also called gas tungsten arc welding (GTAW).
- TIG welding can create stronger, more lasting joints than MIG welds when done correctly.
- Check with home improvement stores to buy or rent TIG machines.
-
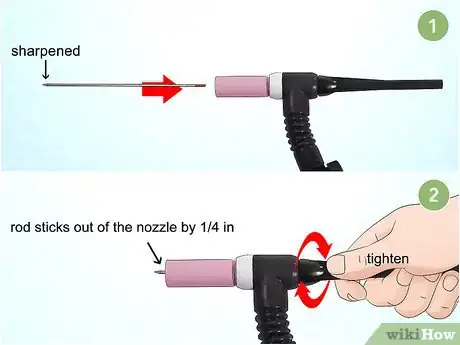
2Insert a sharpened tungsten rod into the torch and turn the gas on. Twist off the front end of the torch to open the electrode. Position a tungsten rod, about 1⁄16 in (0.16 cm) in diameter, in the center of the metal cylinder. Before closing up the torch, adjust the rod so it sticks out of the nozzle by 1⁄4 in (0.64 cm).[10]
- The rod needs to be sharpened to a point. If it isn't yet, grind it down with a tungsten grinder or less expensive bench grinder.
-
3Flip the switch for the DC setting on your welder. TIG welders have settings for both positive and negative electric currents. The negative current setting may be labeled as “DCEN” on your machine. You need this setting to weld steel properly, so make sure you select the right one before you begin.[11]
- The AC setting is for aluminum, so you don't want that. The DCEP setting may work for steel, but it's for stick welding, which won't create a strong enough weld in most cases.
-
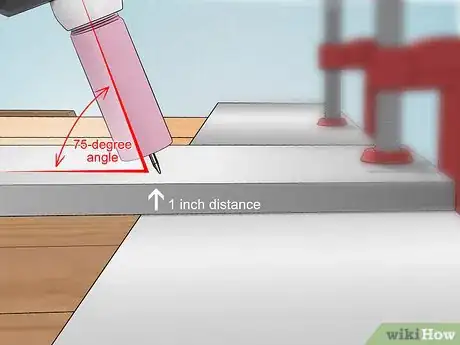
4Turn the torch on and position it over the edge of the joint. Hold the tip of the torch about 1 in (2.5 cm) above the joint. It doesn't matter which end of the joint you start at, so choose whichever way feels more comfortable to you. Hold the torch at about a 75-degree angle. You will need to hold the torch in this position at all times.[12]
- If you touch the torch to the metal, you may need to turn off the welder and grind the tungsten rod again.
-
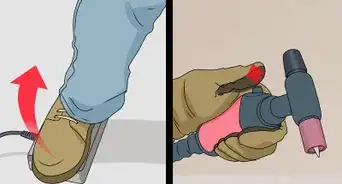
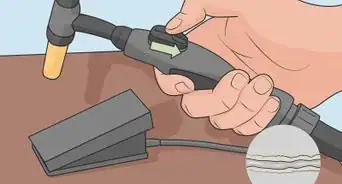
5Press the foot pedal to begin heating the torch. All TIG machines have an attached foot pedal that rests on the ground. Press down hard on the foot pedal to activate the torch. Hold the torch in place until the metal begins to melt and fill the joint.
- Make sure the liquid metal doesn't splatter. If it does, your torch isn't powerful enough. Turn up the amperage on the control panel.
- Be careful to avoid using too much power, since you will end up melting too much metal.
-
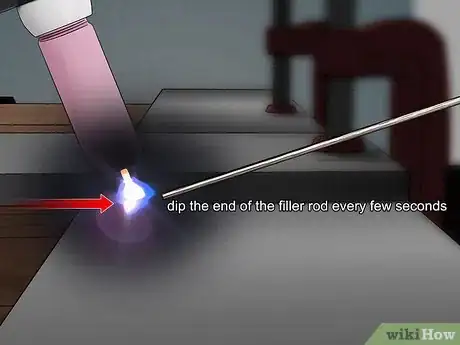
6Dab the filler rod into the liquid metal as you fill the joint. Begin pushing the bead of liquid metal along the joint. Hold the filler rod opposite of the torch with your free hand. Every few seconds, dip the end of the filler rod into the metal underneath the torch. Keep the torch still as you do this so the heat melts the filler.[13]
- Dab the filler rod very briefly. If you see clumps of metal forming on the weld, you are melting too much of the filler each time. Doing this correctly strengthens the weld.
-
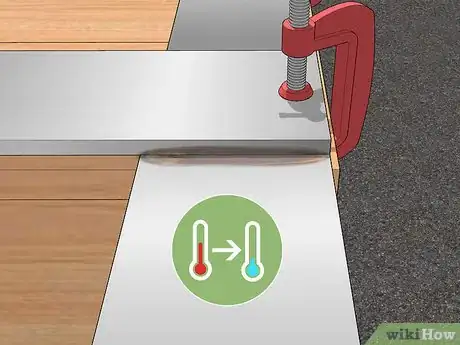
7Wait for the metal and the torch to cool before moving them. Leave the metal on the table until the joint solidifies. When you no longer feel heat radiating from the metal, undo the jigs you used to hold the pieces together. Keep the torch upright in a holster until it has had a chance to cool down.
- Always keep the torch upright in a holster. Laying a hot torch on a flat surface is dangerous and may even lead to fires.
Community Q&A
Did you know you can get answers researched by wikiHow Staff?
Unlock staff-researched answers by supporting wikiHow
-
QuestionCan you wire feed weld stainless steel?
 wikiHow Staff EditorThis answer was written by one of our trained team of researchers who validated it for accuracy and comprehensiveness.
Staff Answer wikiHow Staff EditorStaff Answer
 -
QuestionCan I weld stainless steel with a stick welder?
 wikiHow Staff EditorThis answer was written by one of our trained team of researchers who validated it for accuracy and comprehensiveness.
Staff Answer wikiHow Staff EditorStaff Answer
 -
QuestionIs it difficult to weld stainless steel?
 wikiHow Staff EditorThis answer was written by one of our trained team of researchers who validated it for accuracy and comprehensiveness.
Staff Answer wikiHow Staff EditorStaff Answer
Warnings
- To avoid fires, make sure you work on a metal welding table.⧼thumbs_response⧽
- Welding is dangerous when done without caution. To avoid injuries from flames and molten metal, wear full protection. This includes a long-sleeved clothing, work gloves, and a welding mask.⧼thumbs_response⧽
- Avoid working in a closed-off or non-ventilated area. The fumes created during the welding process are harmful, so always wear a respirator mask.⧼thumbs_response⧽
Things You'll Need
- Welding helmet
- Respirator mask
- Protective ear muffs
- Gloves
- Long-sleeved shirt and long pants
- Stainless steel
- Inert shielding gas
- Filler metal
- Stainless steel wire brush
- Fixtures and jigs
- Welding torch
- Acetone
- Rag
- Grinder or chipping hammer (if necessary)
References
- ↑ https://www.ccohs.ca/oshanswers/safety_haz/welding/ppe.html
- ↑ https://www.thefabricator.com/article/arcwelding/welding-stainless-steel-right
- ↑ https://www.engineeringtoolbox.com/identification-stainless-steel-d_383.html
- ↑ http://gowelding.org/welding/mig-gmaw/stainless-steel/
- ↑ https://www.youtube.com/watch?v=IZzS_25-h3M&feature=youtu.be&t=85
- ↑ https://www.youtube.com/watch?v=U1GTgDQFE4A&feature=youtu.be&t=1105
- ↑ https://www.youtube.com/watch?v=uQTUuHiJ8us&feature=youtu.be&t=50
- ↑ https://www.youtube.com/watch?v=_szXfQIXgMU&feature=youtu.be&t=143
- ↑ https://www.youtube.com/watch?v=IZzS_25-h3M&feature=youtu.be&t=156
About This Article
To weld stainless steel, you'll need an argon-carbon dioxide shielding gas and a filler metal that matches your base metal. Once you have your supplies, secure the metal you'll be working with to a welding bench. If you're working with thicker pieces of metal, use an MIG torch, which you can buy or rent from a home improvement store. For thinner pieces of metal, use a TIG torch instead. Make sure you put on a welding mask and protective clothing before you get started, including work gloves and a respirator mask. To learn how to use an MIG torch and TIG torch, scroll down!

