This article was co-authored by Spike Baron. Spike Baron is the Owner of Spike's Computer Repair based in Los Angeles, California. With over 25 years of working experience in the tech industry, Spike specializes in PC and Mac computer repair, used computer sales, virus removal, data recovery, and hardware and software upgrades. He has his CompTIA A+ certification for computer service technicians and is a Microsoft Certified Solutions Expert.
This article has been viewed 51,283 times.
You might be tired of using Microsoft's desktop and laptop operating system. This guide will help you purge it from your computer. There are three methods you can use: use the first option if you don't have a chance when booting the computer to mash any buttons to enter any menus, use the second option if your computer doesn't boot into windows immediately and allows you to mash a button to enter a menu, and use the third option if you're running Windows through Boot Camp on a Mac.
Steps
Uninstalling on PC When Unable to Open a Menu
-
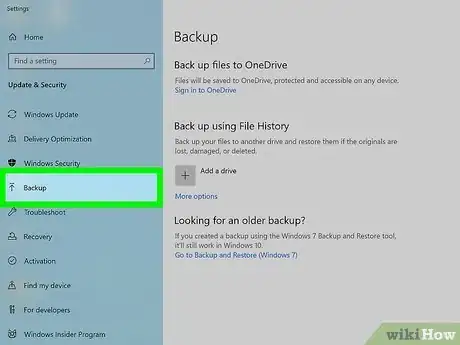
1Prepare to perform the uninstallation. Prepare installation media for the operating system you plan to use instead of Windows, as it will be used later. Keep it plugged into your computer. Backup anything important to you on the Windows drive because it will all be deleted by the time you're done.
- It's impossible to erase the hard drive or uninstall Windows while using the operating system.you can't erase the hard drive on your C drive when you're booted into Windows.
-
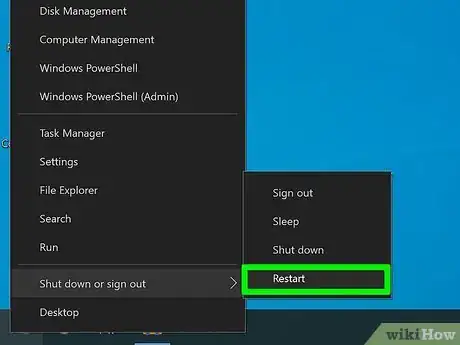
2Open the Start menu assuming you're still booted into Windows. Click on the power button icon. Hold down ⇧ Shift and click on Restart. This will restart the computer and allow you to access the troubleshooting options, which you will use to reboot into that installed media you made earlier. Don't panic if you see a blue screen - that's what it's supposed to look like.Advertisement
-
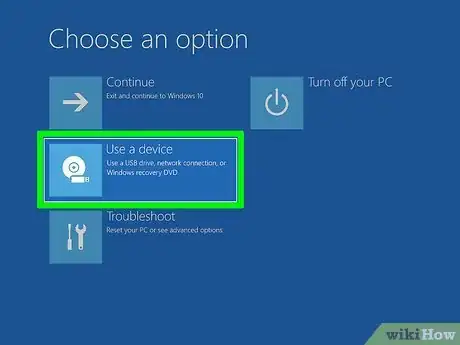
3Select Use a device. When this menu opens, you should see the installation media you made earlier. If you don't see your installation media, make sure it's still plugged into your computer.
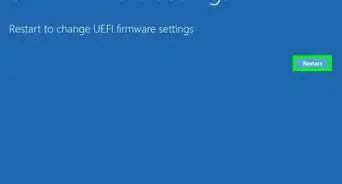
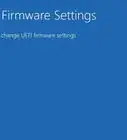
- If it is, you may need to enter your computer's UEFI settings menu to boot into it. Go back to the main menu, then select Troubleshoot, Advanced Options, and UEFI Firmware settings Once you're in the UEFI menu, use the keyboard (or mouse if you get a graphical menu) to navigate to a boot menu and select your device if it's there.
- If it isn't, plug the installation back in and go through the same process above to enter your UEFI menu and try to boot into it.
-
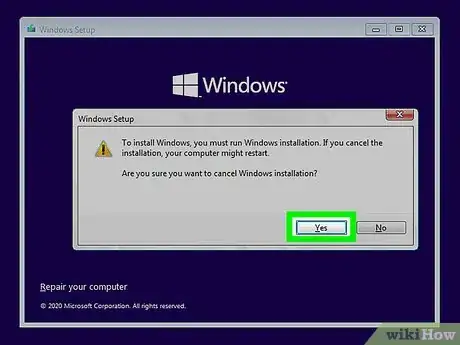
4Format the drive with Windows on the operating system you decided you wanted to install. This process can vary depending on what operating system you're getting ready to install.
-
5You're done!
Uninstalling on a PC When Able to Open a Menu During Boot
-
1Prepare to perform the uninstallation. Prepare installation media for the operating system you plan to use instead of Windows, as it will be used later. Keep it plugged into your computer. Backup anything important to you on the Windows drive because it will all be deleted by the time you're done.
-
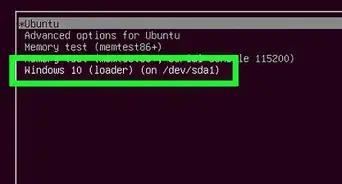
2Restart your computer. On boot, you should see some text on the screen listing a button to press. If there's only one button given, press it until a menu opens up. If there are multiple buttons given, press the one labeled Boot Menu.you can't erase the hard drive on your C drive when you're booted into Windows.
- If you entered a full screen menu, you will need to navigate over to a boot menu. If the menu you see on your screen is mainly blue and white, you'll need to navigate using your keyboard. If the menu is graphical, you can use your mouse.
- Once there, you should see the installation media listed there. If it isn't there, something might have gone wrong. If you pressed the button to open the Boot Menu, you should already see a list of bootable devices. Navigate to the installation media. Boot into it.
-
3Erase the Windows drive. The process for this will depend on what OS you're going to install once Windows is gone.
- If you want to do a complete clean install, delete all the partitions in the drive that are visible, until it's all unallocated space.
-
4You're done!
Uninstalling On a Mac through Boot Camp
-
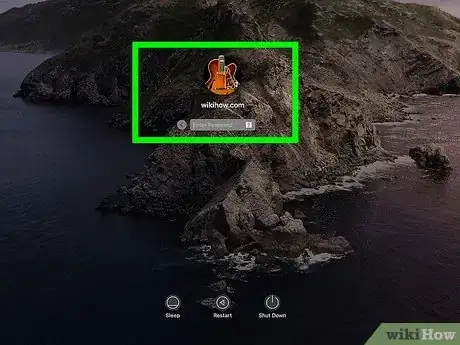
1Start up your Mac in macOS.
-
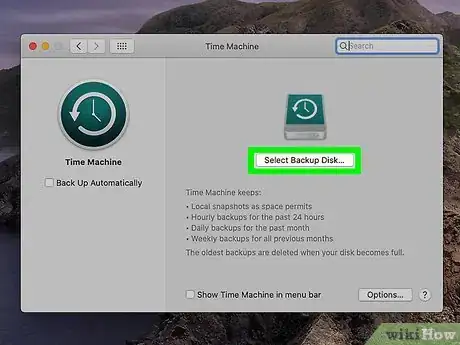
2Back up all important data stored on the Windows partition you are about to delete. When Windows is removed, all of the data on that partition with Windows on it will be erased permanently.
-
3Quit all open applications and log out any other user accounts on the system.
-
4Open the Boot Camp Assistant, then click Continue. If the Select Tasks step appears, select Remove Windows 10 or later version, then click Continue.
-
5Do one of the following based on your Mac's disk:
- If your Mac has a single internal disk, click Restore.
- If your Mac has multiple internal disks, select the one that has Windows on it, select Restore disk to a single macOS partition, then click Continue.
-
6You're done!
Warnings
- If you forget to backup your data before you delete Windows, it will all be lost.⧼thumbs_response⧽
