X
This article was co-authored by wikiHow Staff. Our trained team of editors and researchers validate articles for accuracy and comprehensiveness. wikiHow's Content Management Team carefully monitors the work from our editorial staff to ensure that each article is backed by trusted research and meets our high quality standards.
There are 7 references cited in this article, which can be found at the bottom of the page.
This article has been viewed 18,252 times.
Learn more...
You can easily test your crossover cable to make sure it's sending data from one device to another. We'll walk you through the steps, whether you're using a cable tester or two computers!
Steps
Method 1
Method 1 of 2:
Cable Tester
-
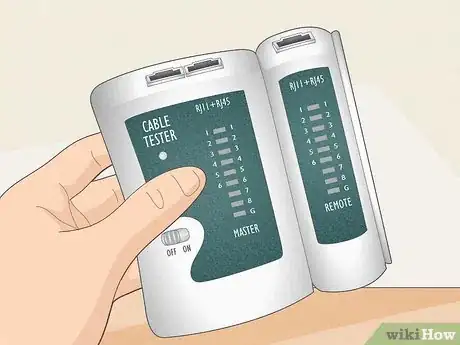
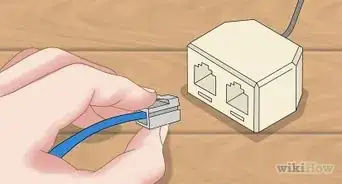
1Get a cable tester capable of measuring crossover cables. These are designed to check computer cables for any connectivity issues. You can find cable testers at electronics stores or online. Get a model that’s designed to measure crossover cables.[1]
- Testers should give a list of cable types that they work with on the label or in the product description. Make sure "crossover cable" is listed so you know you've found the right tester.
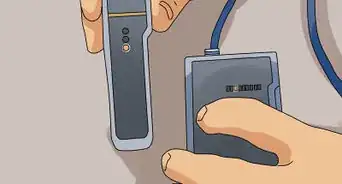
- Most testers have a main unit and a remote unit. The cable plugs into each of them, and the main unit produces a reading to confirm if the cable is working.
- Testers can range from $10-15 to a few hundred dollars. The expensive types are meant for professional work, like cable installers. A cheaper model is probably fine for your needs.
- Always check to confirm that a cable tester can handle crossover cables before buying it. Some testers are only designed for straight-through cables and won’t work if you plug a crossover cable in.
-
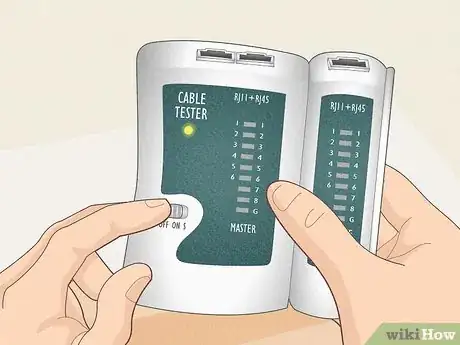
2Power the tester on. Hit the power button or switch on the device. A light on the display should light up and indicate that the tester is on.[2]
- Read all of the instructions that come with your tester. Different testers might have slightly different procedures.
- On some testers, you have to hit a different button to power it on. Follow the directions for the tester you use.
- If the tester won’t turn on, it might need a new battery. Try putting a fresh battery in to see if that works.
Advertisement -
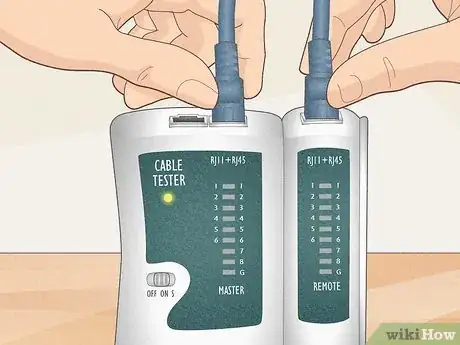
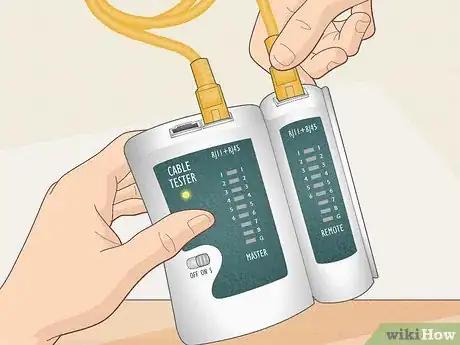
3Plug the cable into the jacks on the main and remote unit. Insert one end of the crossover cable into the ethernet jack on the main unit until it clicks. Then plug the other end into the jack on the remote unit to complete the connection.[3]
- It doesn’t matter which side of the cable goes into which jack. As long as both sides of the cable are inserted, it will make a connection.
-
4Press the test button to examine the cable. This begins the test. Wait a few seconds for the tester to give you a result.[4]
- On some testers you may have to hold the test button down, and on others you can just press it once. Follow the instructions on your tester.
- Other testers start testing automatically once you turn the device on and connect the cables.[5]
-
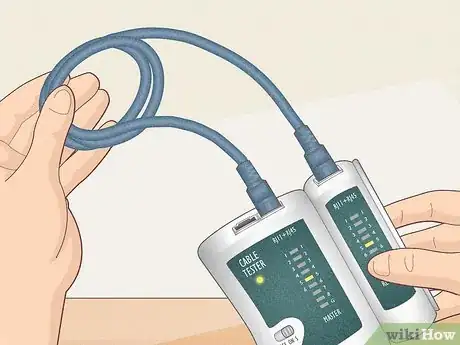
5Use the cable if all of the appropriate lights on the display light up. The display on the main unit will light up after the test is complete. On most testers, if all the green lights are lit, then that means the cable is good. You can then use this cable.[6]
- The specific light pattern depends on your tester type. Check the manual to see the combination that indicates a good cable.
-
6Replace the cable if the lights don’t light up. If the cable is damaged or wired incorrectly, then the connection lights won’t light up. This means the cable needs fixing or replacement.[7]
- Some testers indicate what the problem with the cable is, like a short. This means something is wrong with the wiring in the cable.
Advertisement
Method 2
Method 2 of 2:
Connecting PCs
-
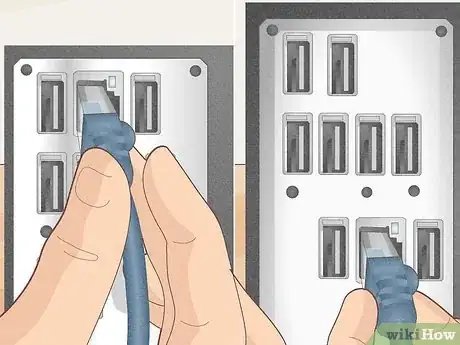
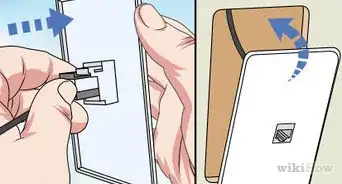
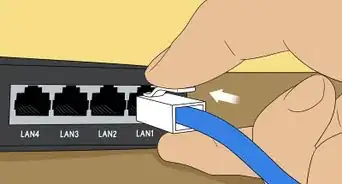
1Plug the cable into the ethernet jacks on two computers. Move 2 computers close enough for the cable to reach between them. Plug one end of the cable into the ethernet jack on one computer, and do the same for the other computer.[8]
- Make sure you use the right jack. The HDMI or USB jacks won’t work.
- Confirm that you’re using a crossover cable. This won’t work with a straight-through ethernet cable.
-
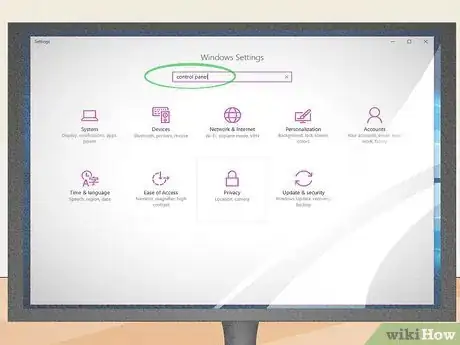
2Open the control panel on either of the computers. On most newer computers, you can find the control panel by entering “control panel” into the search tab. It also might be in the apps or Start section. Click on the control panel to open it. You only need to do this on one of the computers, so choose either. [9]
- Macs call this the “System Preferences” instead of the control panel, so look for that if you’re using Apple products.
-
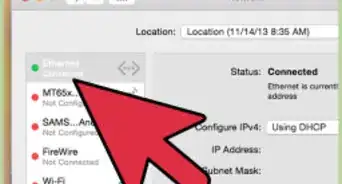
3Click on the Network Sharing Center. This controls sharing options between 2 computers. If your cable is working properly, then the second computer should appear in this menu.[10]
- If you’re using a different version of Windows, this might come up as Network and Internet instead.
- On a Mac, this is usually just called Sharing.
-
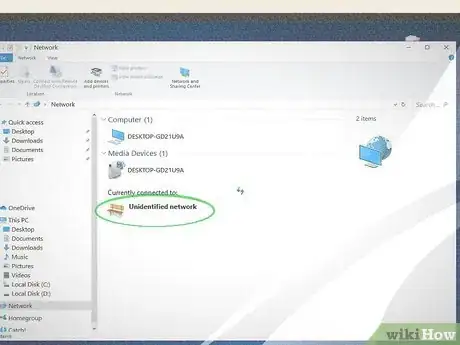
4Look for “unidentified network” in the sharing center. This is how the second computer will show up if you don’t have sharing enabled on your computer. However, it does indicate that the cable is successfully transmitting between the computers.[11] If you just wanted to know if the cable is working, then this is all the testing you need to do.
- If nothing shows up, then that means the cable isn’t transmitting between the two computers and you probably need a new one.
- If you wanted to connect both computers, then you’ll have to go through a few more steps to enable file sharing and link the computer IP addresses. This links them to each other.
Advertisement
References
- ↑ http://www.ies-sabadell.cat/cisco/cisco/Instructor-labpdfiles/9.4.2.8%20Lab%20-%20Building%20an%20Ethernet%20Crossover%20Cable%20-%20ILM.pdf
- ↑ https://youtu.be/fJbYhjjOX-Y?t=195
- ↑ https://youtu.be/fJbYhjjOX-Y?t=188
- ↑ https://s3.amazonaws.com/assets.mhint/downloads/60409/INT_780094_UM_0119_REV_5.01.pdf
- ↑ https://youtu.be/fJbYhjjOX-Y?t=194
- ↑ https://s3.amazonaws.com/assets.mhint/downloads/60409/INT_780094_UM_0119_REV_5.01.pdf
- ↑ https://s3.amazonaws.com/assets.mhint/downloads/60409/INT_780094_UM_0119_REV_5.01.pdf
- ↑ http://www.ies-sabadell.cat/cisco/cisco/Instructor-labpdfiles/9.4.2.8%20Lab%20-%20Building%20an%20Ethernet%20Crossover%20Cable%20-%20ILM.pdf
- ↑ https://kb.iu.edu/d/axtm
About This Article
Advertisement
