wikiHow is a “wiki,” similar to Wikipedia, which means that many of our articles are co-written by multiple authors. To create this article, 36 people, some anonymous, worked to edit and improve it over time.
The wikiHow Tech Team also followed the article's instructions and verified that they work.
This article has been viewed 726,152 times.
Learn more...
This wikiHow teaches you how to swap one person's face onto another by taking the facial features of one face and blending it onto another person's face in Photoshop. For this tutorial, you will need two different images of people that have similarly sized faces, where both faces are looking in the same direction. This requires Photoshop CS6 or later.
Steps
Outlining the Face
-
1Open Photoshop. It's the app with a light-blue "Ps" on a dark background.
-
2Open the two images. To open both images of the faces you want to blend;
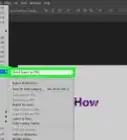
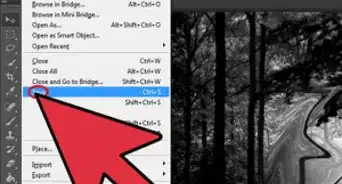
- Click File
- Click Open
- Hold down Ctrl (PC) or command (Mac)
- Click both images.
- Click Open.
Advertisement -
3Select the first picture. Click the tab at the top to select the picture you want to start with. This will be the picture of the person you want to borrow the facial features from.
-
4Select the Lasso Tool. Click the lasso icon the top of the toolbar on the left of the screen. If you don't see the Lasso Tool, you may need to first click and hold on the Polygonal Lasso Tool and then select the lasso tool.
- You can also press L to instantly switch to the currently selected Lasso Tool.
-
5Trace an outline of the facial features. Click and drag the Lasso Tool around the eyebrows and eyes, the nose, the mouth, and include any wrinkles that are connected. Make sure the end of the lasso selection meets back up to where you started. A flashing dotted line will highlight your selection.
-
6Copy the selection. You can do this several ways:
- Click Edit then Copy.
- Press Ctrl+C (PC) or command+C (Mac).


Combining the Faces
-
1Select the second picture. Click the tab at the top to select the second picture that contains the face we are going to blend the first one with.
-
2Unlock the background layer. To do this you can:
- Click the padlock icon.
- Right-click the layer and select Layer from background.
-
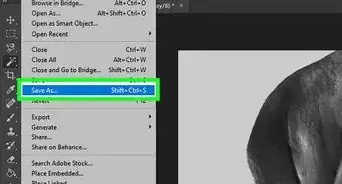
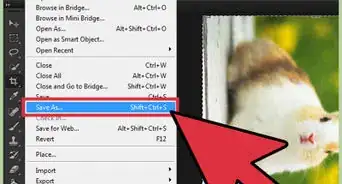
3Paste the selection. This will paste the outline you just copied from the first picture onto a new layer on the second picture. To paste:
- Click Edit then Paste.
- Press Ctrl+V (PC) or command+V (Mac).
-
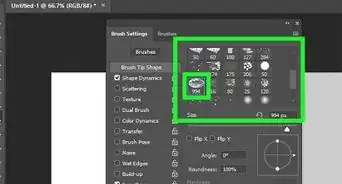
4
-
5Click Edit, then Free Transform. This will put the face layer into free transform mode, allowing up to manipulate it further.
- You can also press Ctrl+T (PC) or command+T.
-
6Transform the face to match the background face. Warp or stretch the picture to line up the eyes and mouth with the facial features of the background image. You can:
- Grow or shrink the image by dragging the corners.
- Stretch or squeeze the image by dragging the sides.
- Rotate the image by holding the mouse outside the corners and dragging.
- Move the image by clicking inside the box and dragging it.
-
7Press ↵ Enter to apply the changes to the image. When you have the image lined up to your liking, pressing Enter will save the change and apply them to the image.
-
8
-
9Hold Ctrl (PC) or ⌘ Command (Mac) and click the thumbnail of the face layer. This selects the visible pixels in the layer.
-
10Click Select then Modify, and then click Contract. This will open a new dialogue window.
-
11Type in 6 pixels and click OK . This will make the selection overlap the face a bit.
-
12Select the bottom layer and then press Delete. Click the name of the bottom layer to select it, then press Delete. This will delete the face on the bottom layer, leaving a 6-pixel overlap.


Blending the Faces
-
1Select both layers. Hold Ctrl (PC) or Command (Mac) and click the name of both layers.
- When a layer is selected, it will be highlighted in gray.
-
2Click Edit, then Auto-Blend Layers. This will open a new settings window.
-
3Select Panorama and make sure the box for "Seamless Tones and Colors" is checked.
-
4Click OK. Your faces have now been blended!


Community Q&A
-
QuestionI've been attempting to do this and it keeps popping up with an error alert. What am I doing wrong?
 Community AnswerMaybe your image resolution is not good. Try using a higher quality photo, so you have more pixels.
 -
QuestionHow do I make Photoshop tools colorful?
 Boulaabi KrayemCommunity AnswerUse adjustment layers or to edit in Adobe Camera Raw with adjustment layers, you apply edits on a separate layer in the image file, leaving the original image (background layer) intact. The easiest way to access the adjustment layer tools is clicking an icon in the Adjustments panel.
 -
QuestionWhat do I do if the modify option is grayed out and I can't click on it when trying to swap faces in Photoshop?Community AnswerUse the quick-selection tool and select the face. The modify option should be available once the object is selected.
Things You'll Need
- Adobe Photoshop Cs6 or higher.
- Pictures of two faces looking the same direction.


About This Article
1. Open both images.
2. Use the lasso tool to outline the facial features on one photo.
3. Copy the selection.
4. Unlock the background layer of the second picture.
5. Paste the selection onto the second picture.
6. Lower the opacity.
7. Transform the selection to match the face.
8. Blend both layers.