X
This article was co-authored by wikiHow Staff. Our trained team of editors and researchers validate articles for accuracy and comprehensiveness. wikiHow's Content Management Team carefully monitors the work from our editorial staff to ensure that each article is backed by trusted research and meets our high quality standards.
This article has been viewed 13,005 times.
Learn more...
With each update to Mac's Operating System come new and faster ways to locate files and documents. The updates to Spotlight and the addition of Siri on macOS Sierra offer more flexible and dynamic ways to locate files and documents than Mac has previously made possible.
Steps
Method 1
Method 1 of 3:
Using Siri
-
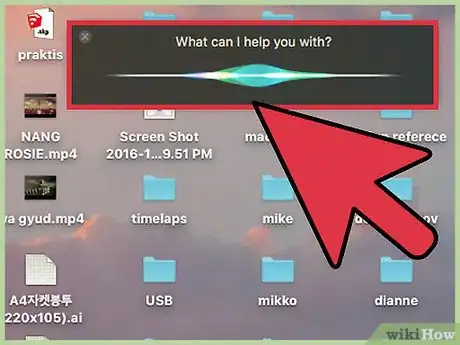
1Open Siri. On macOS Sierra, Siri allows you to search for files with your voice; if you know what the document you are looking for is called, this can be a quick way to access it. To open Siri, you can either:
- Click the Siri icon in the top-right corner of your screen (A black circle displaying red, green and blue wavelengths).
- Press and hold command+space.
-
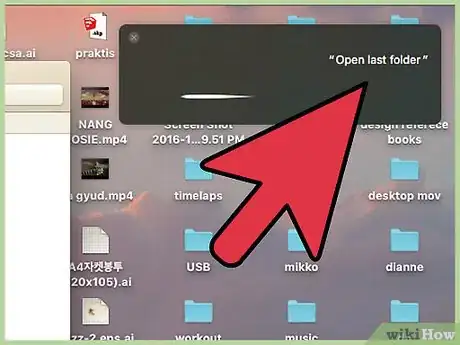
2Search for a file name. If you know the name of the file you would like to open, ask Siri to open the file. With a slow and clear voice, say:
- Open File name.
Advertisement -
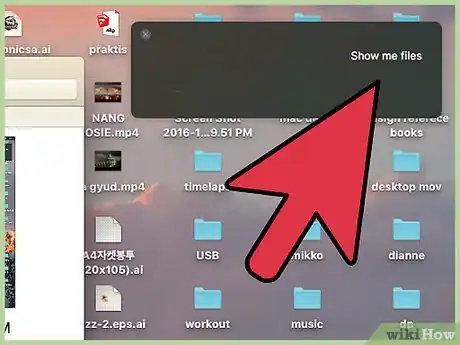
3Search for a file by term or phrase. If you're not sure what the name of the file that you'd like to open is, but are aware of any number of terms it contains, you can tell Siri to:
- Show me files containing search term.
-
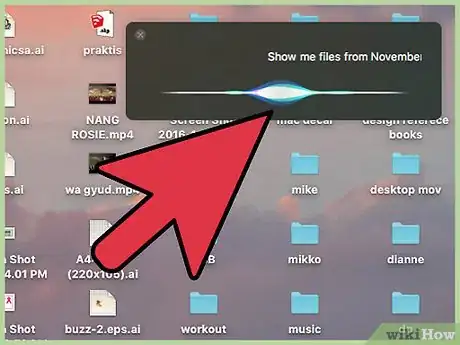
4Search for files by date. Perhaps you can see where this is going. To locate all of the work from a particular day, try the command:
- Show me files from [Month, day].
-
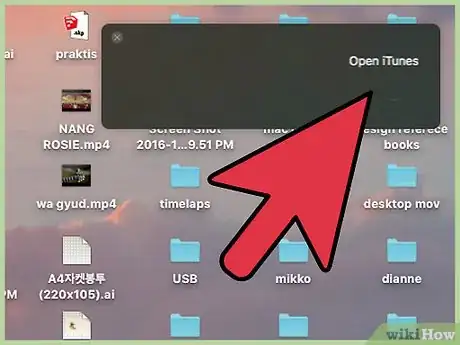
5Open an application. If you'd prefer to find a file by opening the application that it was saved in, simply tell Siri to open that application.
Advertisement
Method 2
Method 2 of 3:
Using Spotlight
-
1Open Spotlight. Spotlight is a search function that allows you to locate all saved data on your computer. You can open Spotlight one of two ways:
- Press command+space.
- Click on the magnifying glass at the top-right corner of your screen.
-
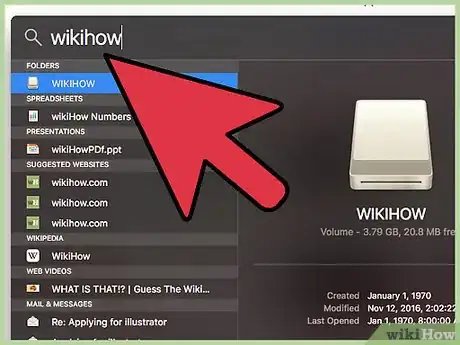
2Type in a file name. As you type it into the search bar, Spotlight will autocomplete with the name of a file that matches what you're searching.
-
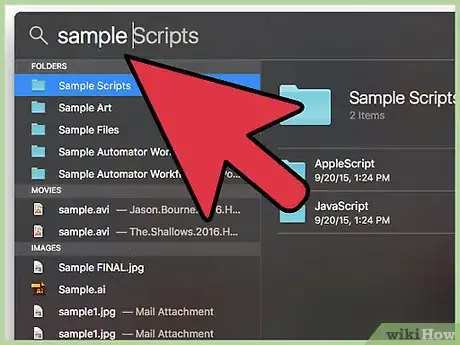
3Type in text from the file. If you're not sure what a file is called but remember a word or phrase contained in the file itself, you can type that in. A list of the files containing your search term will appear in the results list.
- By separating your search terms with a space, you can avoid having to enter your search terms in order.
-
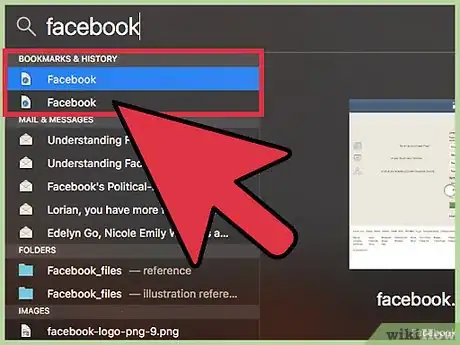
4Search your browser history. Spotlight allows you to lookup information that is recorded in your browser data, such as your bookmarks or history. Searching for either of these will bring up eligible results.
Advertisement
Method 3
Method 3 of 3:
Using Finder
-
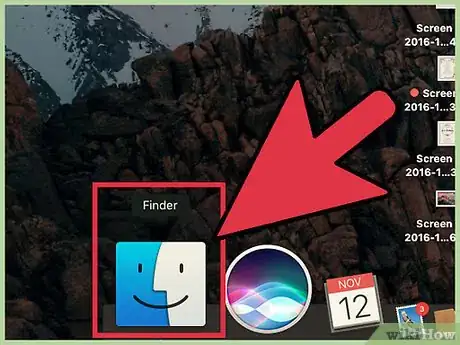
1Click on Finder to open it. This is the smiling blue icon in the bottom-left corner of your screen, in your Dock. When clicked, Finder will open,
- If you have moved your dock to a different part of the screen, your Finder will be wherever you've moved your dock to.
-
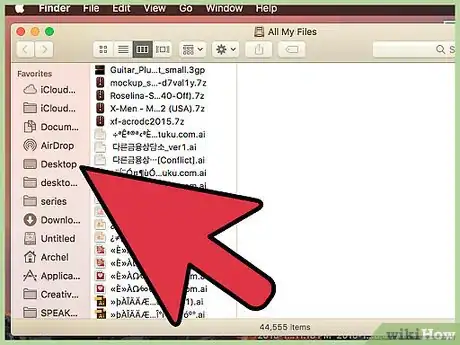
2Search for a file by location. In the left-hand sidebar in your Finder, you'll see a list of locations on your computer where files are saved. Click on any of these icons to search by that location.
- Click "All My Files" to see all of the files on your computer in the same view.
- Click "Applications" to see a list of all Applications on your computer (which may, themselves, contain saved files).
- Click Desktop to see files that have been saved to your desktop. This is where screenshots save by default.
- Click downloads to see items that you acquired by downloading them from an external site.
-
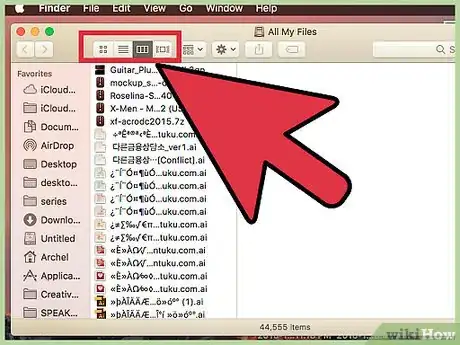
3Change the view of your results. In Finder, you can visualize your results as thumbnails, line items or as a slideshow. Click on the four buttons near the top of the window (to the right of the two navigation arrows) to toggle between these displays.
-
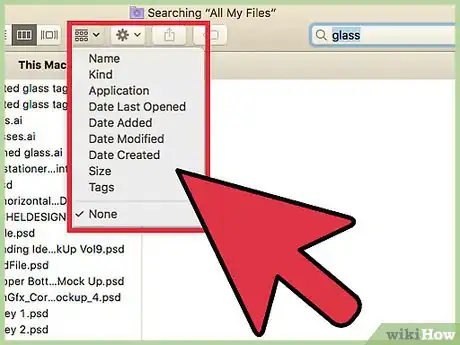
4Arrange your results. Click on the button containing six boxes and a downward-pointing arrow to arrange your search results according to their name, file type, associated application, size, or date.
Advertisement
About This Article
Advertisement
