This article was co-authored by wikiHow staff writer, Nicole Levine, MFA. Nicole Levine is a Technology Writer and Editor for wikiHow. She has more than 20 years of experience creating technical documentation and leading support teams at major web hosting and software companies. Nicole also holds an MFA in Creative Writing from Portland State University and teaches composition, fiction-writing, and zine-making at various institutions.
This article has been viewed 27,041 times.
Learn more...
This wikiHow teaches you how to view the contents of an ISO file on Windows and macOS. There's no need to install any special software or burn it to a disk—both operating systems have all the tools you'll need built in.
Things You Should Know
- You can view the contents of an ISO file without downloading special software.
- When using Windows, you'll need to right-click the file and select "Mount" to access the new drive.
- On Mac, you'll need to "Open Disk Image" and select your ISO file.
Steps
Windows
-
1Press ⊞ Win+E to open File Explorer. You can also open File Explorer by right-clicking the Start button and selecting File Explorer.
-
2Open the folder that contains the ISO file. You may have to double-click This PC in the left panel to expand additional folders before you can find the one you're looking for.Advertisement
-
3Right-click the ISO file. A context menu will expand.
-
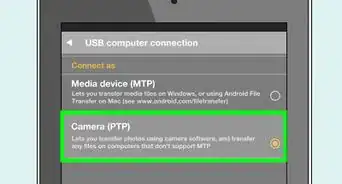
4Click Mount on the menu. This mounts the file, which means Windows will recognize it as a connected drive. If you don't see Mount as an option, follow these steps:
- Press Windows key + i to open your Windows Settings.
- Click Apps and select Click Default Apps.
- Scroll down to the bottom and click Set defaults by app.
- Select Windows Disc Image and click Manage.[1]
- Click the name of the app you see listed as the default and select File Explorer.
- Return to File Explorer and you should be able to mount the file.
-
5Double-click the new drive in the left panel. Now that you've mounted the ISO file, you'll see a new virtual drive in the left panel under "This PC" (you may have to double-click This PC to see it).
- What happens when you double-click the virtual drive depends on the ISO file. For example, if the ISO is an image of a DVD that contains software, you may see a screen asking you to the software when double-clicking it. If there's no automatic installer, you may see a list of folders and files in the right panel—you can explore those files to see what's there and double-click files ending with EXE to run programs.
- If you want to unmount the ISO, right-click the drive in the left panel and select Eject.


macOS
-
1
-
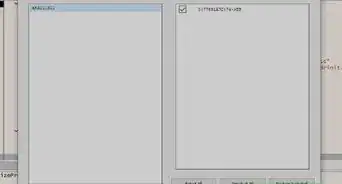
2Click the Applications folder. You'll see it in the left panel.
-
3Double-click the Utilities folder. It's in the left panel.
-
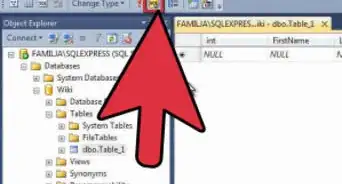
4Double-click Disk Utility. It's also in the left panel. This opens the Mac Disk Utility tool.
-
5Click the File menu. It's in the top-left area of the screen.
-
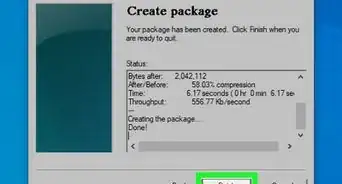
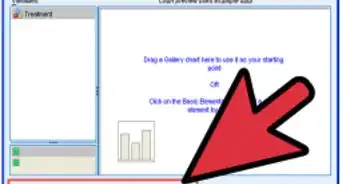
6Click Open Disk Image on the menu. This opens the file picker.
-
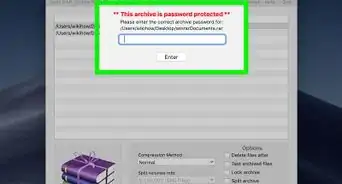
7Select your ISO file and click Open. This mounts and opens the ISO file.
- What happens when you open the ISO depends on what's in the file. For example, if the ISO is set up to run a software installer, it may launch automatically. Usually it'll just open a window containing files, which you can then double-click to open.


About This Article

1. Right-click the ISO file.
2. Click Mount.
3. Double-click the new drive under "This PC."
4. Browse the contents or run the program.