X
wikiHow is a “wiki,” similar to Wikipedia, which means that many of our articles are co-written by multiple authors. To create this article, volunteer authors worked to edit and improve it over time.
This article has been viewed 36,952 times.
Learn more...
Winamp is a free media player downloadable over the Internet, available for both Windows and Mac computers. The program supports various kinds of music and video formats. Winamp also allows you to rip your audio CD so that you can add it to your media library.
Steps
Part 1
Part 1 of 2:
Rip the Audio CD
-
1Launch Winamp. Just double-click on the shortcut icon on your desktop.
-
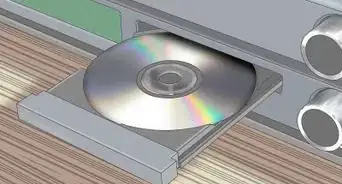
2Put your audio CD in your drive. Wait for Winamp to recognize the file.Advertisement
-
3Click on the Media Library tab. This is found in the upper-left area of the window, below the media control buttons.
-
4Look for the CD album you want to rip. Just navigate down the panel and choose “Audio CD” or the name of the CD album you’re going to rip.
-
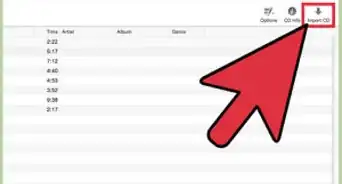
5Right click on it and select “Rip Audio CD” from the pop-up menu. A small window labeled “Rip CDs faster in MP3” will appear.
- The window only notifies you that the free version of Winamp only rip CDs at 8x speed. To continue, simply click “Rip at 8x in AAC.”
- If you don’t want to see this window the next time you rip a CD, simply put a check on “Never show me this again.”
-
6Wait for Winamp to finish ripping your audio CD. You can view the progress on the main window.


Advertisement
Part 2
Part 2 of 2:
Open the Folder Containing the Audios
-
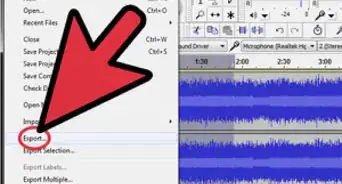
1Click on “Options” on the menu toolbar. When you’re there, select “Preferences” from the pop-up menu.
- You can also open the Preferences window by using the CTRL + P keyboard shortcut.
-
2Scroll down the panel on the left side of Winamp’s Preferences window. Look for the “Media Library” directory. Under Media Library, click on "CD Ripping."
-
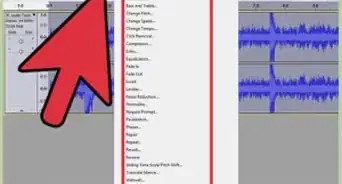
3Click on the “Output File Settings” tab.
-
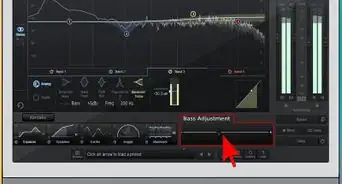
4Look for the text field labeled “Specify the destination folder for ripped tracks.” Take note of the location displayed on this field. This is where Winamp places the ripped audio files. You can change this location to the directory you want.
-
5Navigate to the files. You'll need to locate where your audio files are.


Advertisement


References
About This Article
Advertisement