This article was co-authored by wikiHow staff writer, Rain Kengly. Rain Kengly is a wikiHow Technology Writer. As a storytelling enthusiast with a penchant for technology, they hope to create long-lasting connections with readers from all around the globe. Rain graduated from San Francisco State University with a BA in Cinema.
The wikiHow Tech Team also followed the article's instructions and verified that they work.
This article has been viewed 1,364 times.
Learn more...
Snapchat lets you edit and add effects to videos that you can share with others. A popular way to enhance a video is to play it backwards. If you want to add some flair to your videos by reversing them, Snapchat gives you the tools to easily do so. This article will teach you how to use Snapchat’s built-in filter to reverse a new or existing video on an iPhone or Android.
Things You Should Know
- When reversing a video on Snapchat, you can choose to reverse a new or existing video.
- The reverse filter is free to use for every Snapchat user.
- After reversing a video, you can save, send, or post it to your Snapchat Story.
Steps
Reverse a New Video
-
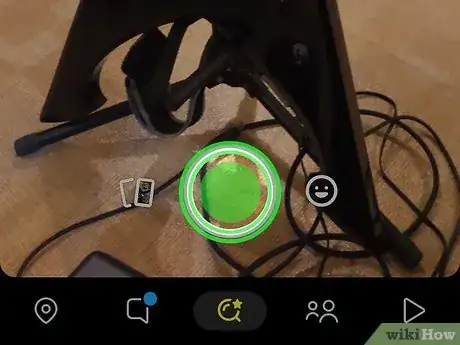
1Open the Snapchat app. By default, the camera will be open.
- If the camera isn’t open, you can find it by navigating to Camera in the middle of the toolbar between Chat and Stories.
-
2Record your video. Press and hold the white circle to begin recording. Release it when you’ve captured everything you need.
- You can swipe left on the white circle to continue recording after releasing your finger. Press the circle again to stop the video.
- Videos will need to be under 10 seconds long if you want to reverse them.
Advertisement -
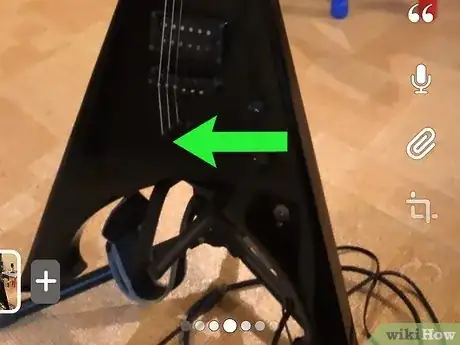
3Swipe left on your video to browse available filters. There will be plenty of Snapchat effects to choose from, but the filter you need will be located a few swipes to the right.
- The video will replay as you browse the filters.
-
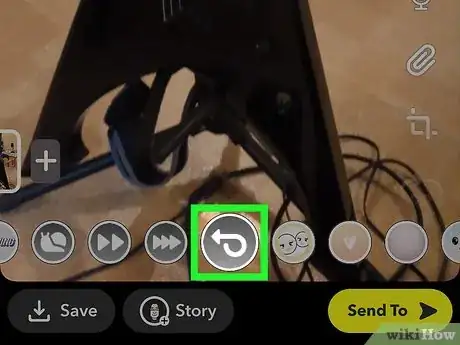
4Apply the reverse filter. In the filter list, this will look like a curved back arrow. Click it to apply.[1]
- Three reverse arrows will show up on your video when it’s first applied.
- Any existing sound will also be reversed.
-
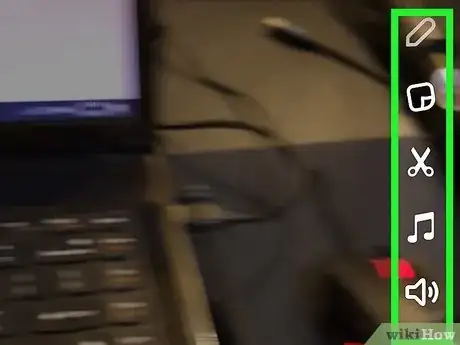
5Add finishing touches. You can add text, drawings, stickers, music and more. These will all be found on the right side of the editing screen.
- If you want to remove the reversed sound, you can do so by clicking the volume icon until an X replaces the sound bars.
-
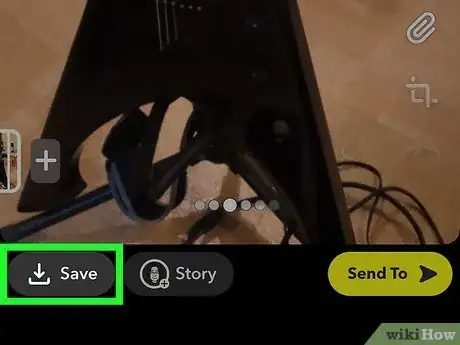
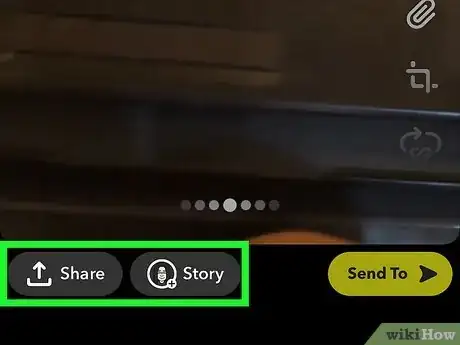
6Save or send the video. You can save the reversed video to your Memories and Camera Roll, send it to an individual, or post it on your Story for all your friends to see.[2]
- These options can be found at the very bottom of the editing screen.
- Save will give you the option to save the Snap into your Memories or Memories & Camera Roll. Select the option you want, then click Save.
- Story will let you add the Snap to your Story, which can be seen by your friends for 24 hours. Click Add to publish the Snap.
- Send To lets you send the Snap to your friends. Click your friend’s username, then the blue arrow to send the Snap.
Reverse an Existing Video
-
1Open the Snapchat app. The camera will be open by default.
-
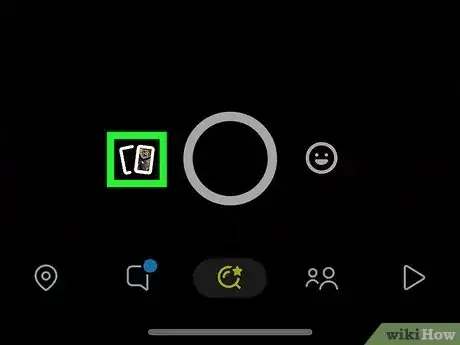
2Open your “Memories” to find a video. This can be found to the left of the record button, indicated by the icon of two overlapping rectangles.
- A preview of the last video saved will appear within the rectangle. Click the icon.
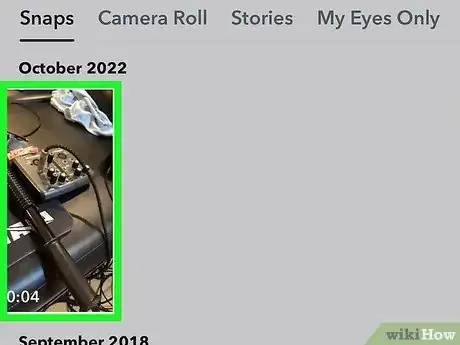
- In your Memories, you can sort between Snaps, Stories, Camera Roll, and My Eyes Only. Click the section title or swipe left and right to navigate your Memories.
-
3Choose the video you want to use. This will play the selected video and provide options for next steps. Click the pencil icon in the bottom left corner to edit your video.
- You can also long-press on the video or tap the three dots in the top right corner. Click Edit Snap.
-
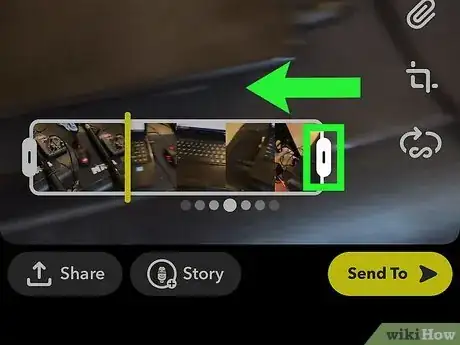
4Trim the video if necessary. Reversed videos need to be under 10 seconds long, so you may have to edit your Snap.
- You will know your video is the proper length when the reverse filter is present.
-
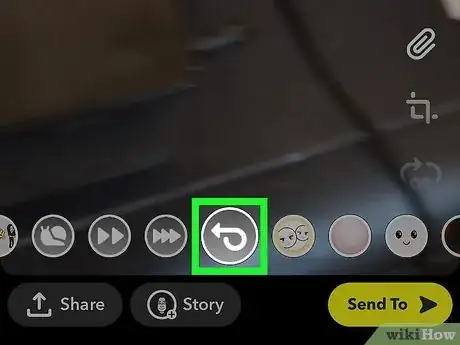
5Apply the reverse filter. Select the curved back arrow and click to apply.
- Three reverse arrows will show if it’s the correct filter.
-
6Add finishing touches. Remove any unwanted audio or add any desired embellishments.
-
7Save or send the video. The options can be found on the bottom of the editing screen.
- To save the video, click Done at the top left, then Save Changes. This will apply the added changes to the video you picked from your Memories.
- You can also share Snaps on social media.
Fun Ways to Use the Reverse Filter
-
1Reverse a video that captures movement. We’re accustomed to seeing motion represented in a certain way, so reversing the video can bring new perspectives.
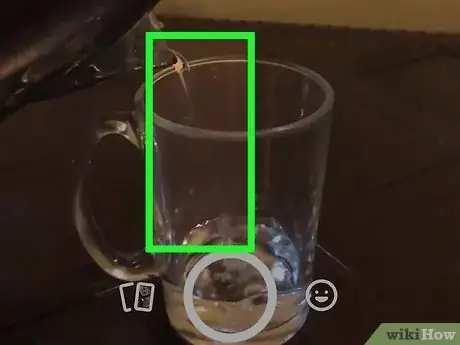
- Moving water, such as rain or liquid poured into a glass, can make interesting shapes in reverse.
- A sunset in reverse can look like a sunrise. A sunrise can look like a sunset!
-
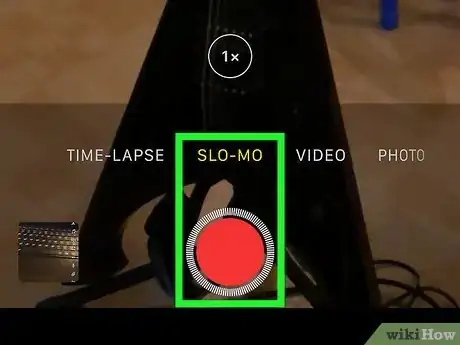
2Reverse a video captured in slow-motion. Some cameras may have the option to shoot the video in slow-motion or “slo-mo”.
- This can highlight the movement process of the subject, whether it’s a dog during a full sprint or a balloon being popped by a needle.
- Slow-motion lets you showcase the tiniest details.
-
3Tell a visual story with the reverse filter. With regular videos, there is usually a clear start and end goal. Use the reverse filter to keep your viewers captivated and guessing.
- In reverse, a jump into a pool can look like an elegant resurfacing.
- Spills can look like a quick and easy clean-up.
- Use the reverse filter to your advantage and spin the narrative.

